
 Those who use small corners, instead of bookmarks, note that these are very convenient things that are indispensable in study and in everyday life. And also such bookmarks, made with their own hands in the technique of origami - this is a great reason for joint creativity with children of different ages. It does not matter whether the child already goes to school, whether he has a lot of textbooks, a cute bookmark may be needed and preschoolers.
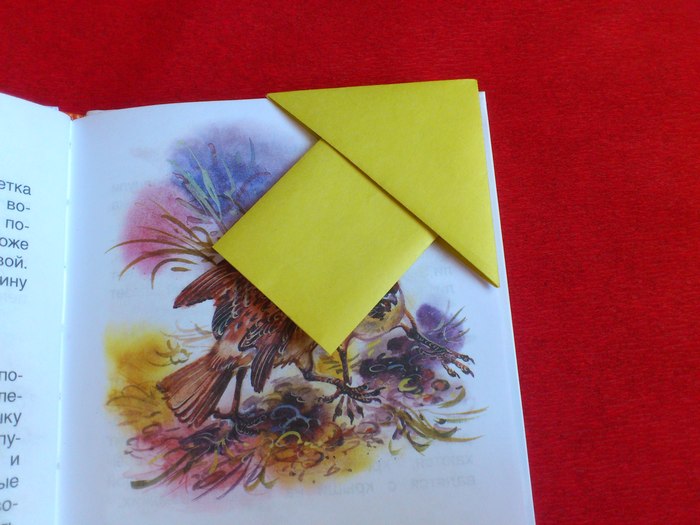
This lesson shows how to make your own hands bookmark-corner in the technique of origami. And it will be not just a pocket, but an arrow. This is a kind of pointer, which shows on which page previously stopped the reader, from where you should resume reading.
For the arrow-shaped bookmark-corner, prepare:
- a rectangular piece of colored paper;
- scissors to cut out this sheet.
How to model an origami arrow
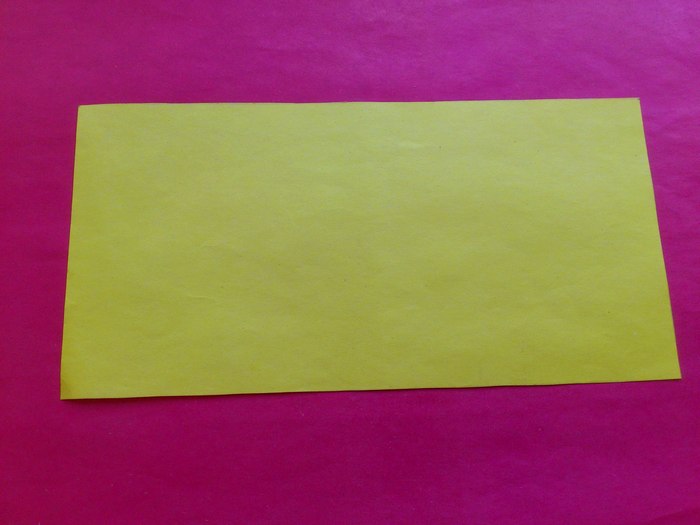
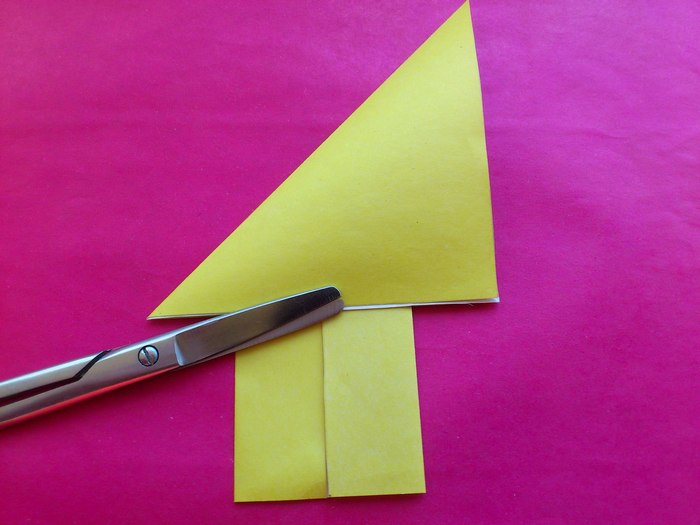
1. Cut out a rectangle from paper of any color (yellow was used here). Its size can be any, but one side must be 2 times larger than the second. Here we used a blank with parameters 6 cm by 12 cm.
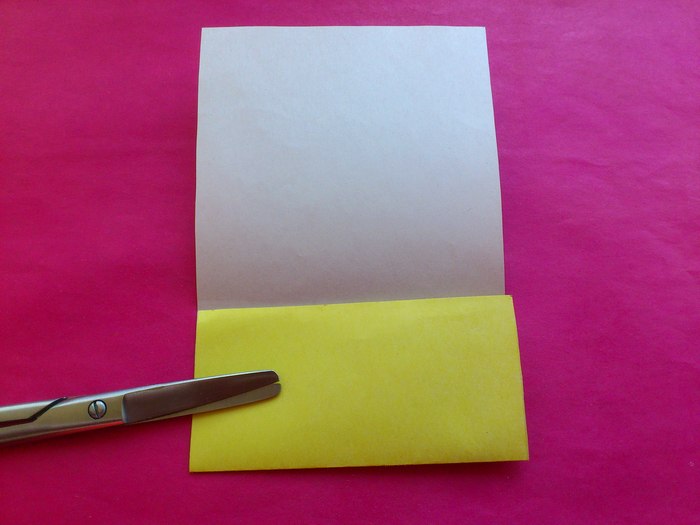
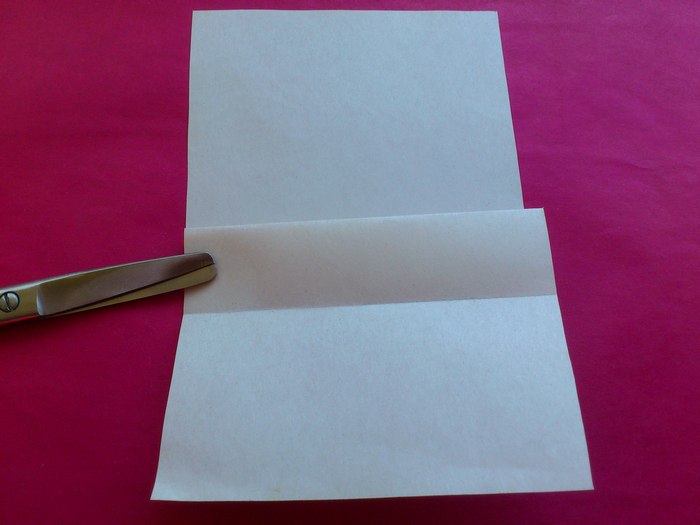
2. Fold the rectangle in half, pressing the fold along the short side. If the paper is one-sided, the white side must remain on top. Then align one short side with the center fold and smooth out the new fold.
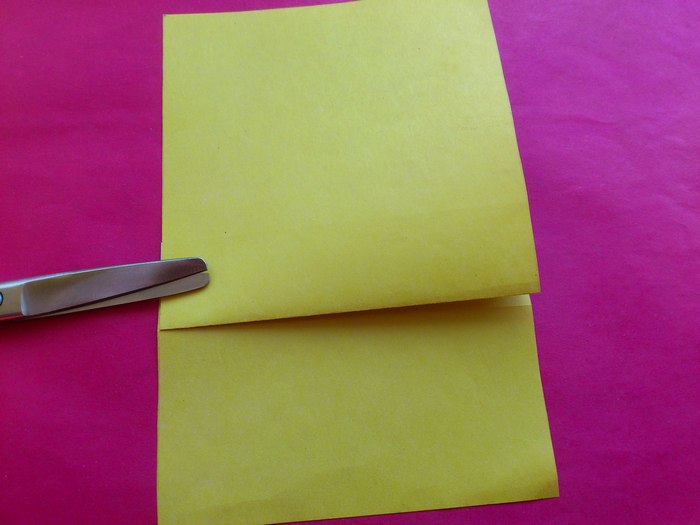
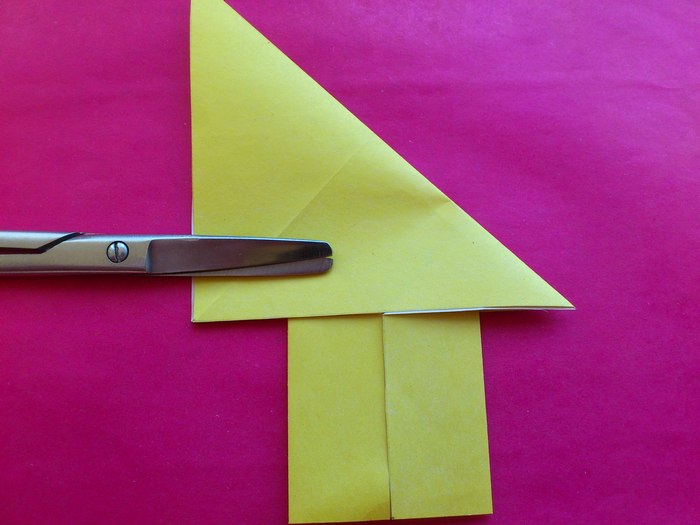
3. Unfold the paper, turn it away from you. Make a fold in the center as shown in the photo.
4. Turn again with the white side facing you.
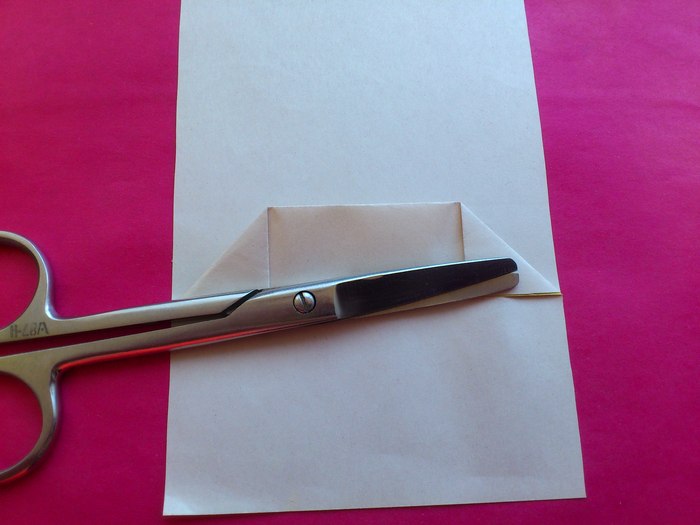
5. You will see on the white background a convex fold in front of you. It will be long and rectangular in shape. Fold the corners down symmetrically on this fold.
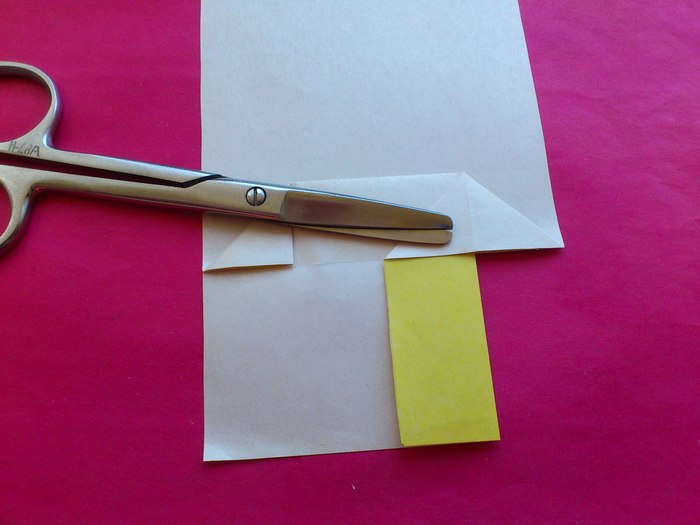
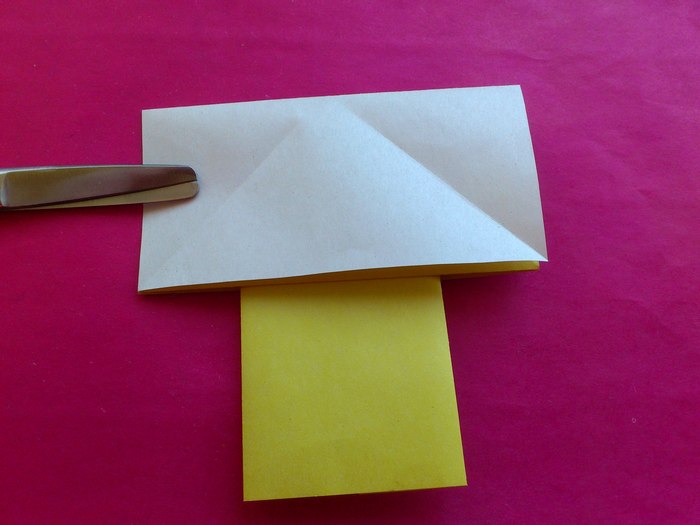
6. Next, put your finger in the slit near one corner of the resulting corner and take the triangle to the opposite side. Fold the strip at the bottom, showing the yellow side of the paper.
7. Fold the second corner aside in the same way, showing the yellow side of the paper.
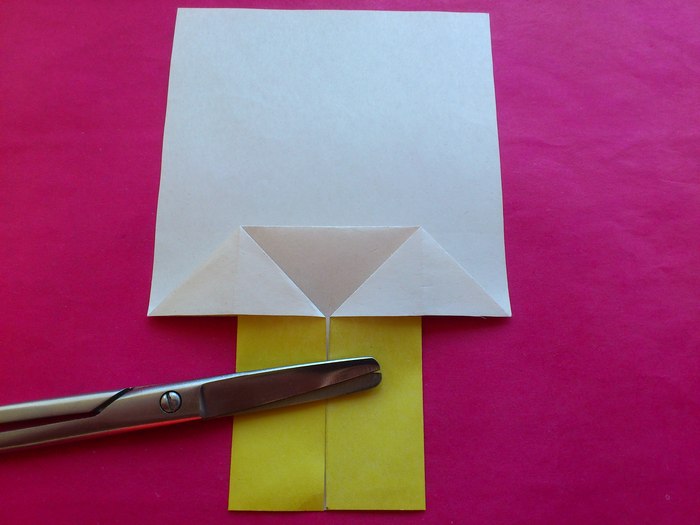
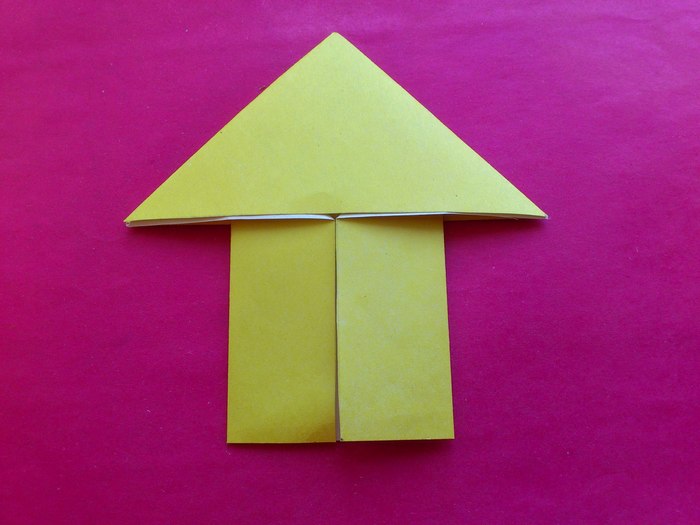
8. Now move on to the upper part. After the previous folding procedure, you will see that there is a square left untouched from the former rectangle, and the bottom part has already turned into the bottom of the arrow. Fold the remaining square first along one diagonal at an angle.
9. Then unfold and fold in the same way, but on the other diagonal, to mark the center lines for further folding.
10. Now fold the square in half onto itself at the height.

11. Unfold the paper. Insert your fingers on both sides of the paper inside the paper, pressing down on the strips that have been folded.
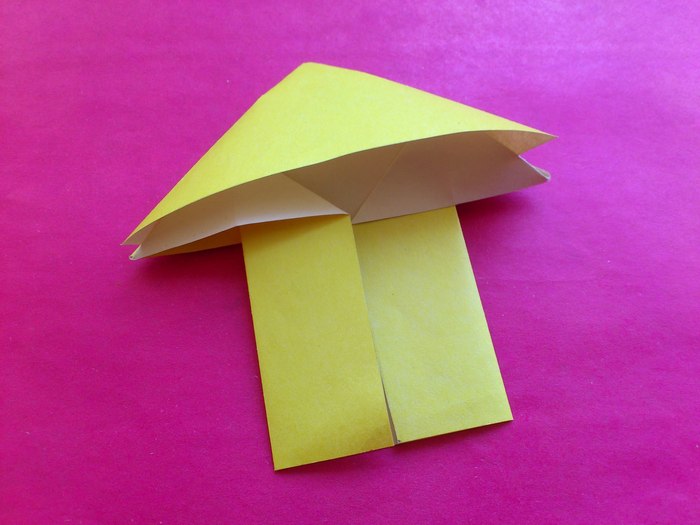
12. Press the workpiece down, leaving it in this forced position. An arrow has already appeared in front of you.
13. Press the whole construction again, you can even glue it. But do not forget that you are still preparing a bookmark for books, it should be put on the pages.

14. Turn the other side toward you - this will be the face.
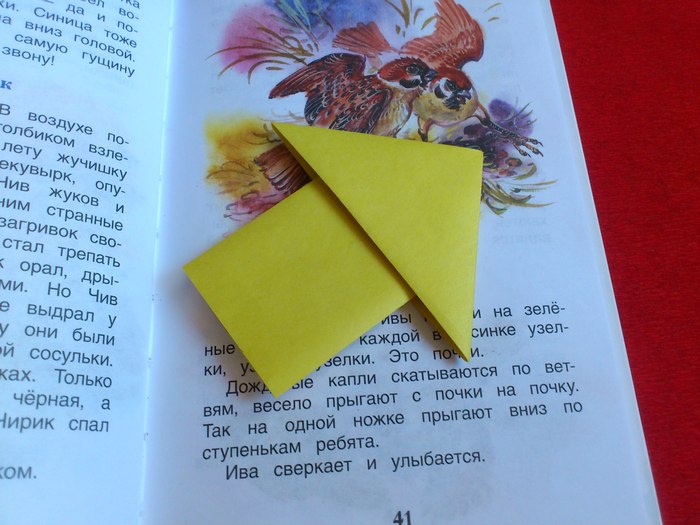
An unusual corner for a book, assembled in the technique of origami, is ready. And you can use it yourself or give it to someone as a gift.


