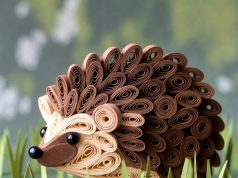
Beautiful crafts from paper in the form of a bunny will please the future owner with its simplicity and optimism.

Materials needed:
[INDENT]- white and yellow double sided half board or paper;
- black marker;
- stationery glue;
- a simple pencil;
- scissors;
- ruler[/INDENT]

How to make a paper bunny:
1. Our cartoon bunny from colored paper will be yellow coloring. To do this, take double-sided paper or half-cardboard of this shade and cut out a circle from it.

2. Next we make ears. On a sheet of yellow double-sided half-cardboard draw two strips with a simple pencil. Their sizes: horizontally - 18 cm, vertically - 1.5 cm.
3. Carefully cut strips from a sheet of half-cardboard with scissors.

4. To give the strips the necessary shape you need to take stationery glue and join both ends together.

5. Do the same with the second strip. As a result, you will have the bunny's ears.

6. Glue our ears on the back side of the circle with stationery glue.

7. Now we make the bunny's paws. To do this, draw two identical circles on yellow double-sided half-cardboard. They should not be big in size. Next, take scissors and carefully cut them out along the marked lines.

8. With a black marker, draw 3 stripes on each circle. These will be the claws.

9. Glue the finished legs to the base of the body.

10. Now let's start making the bunny's face. The first thing to do is to make his eyes. To do this, take a white double-sided semicardboard or paper, draw a couple of small circles and cut them out with scissors. To make them look more like eyes - draw pupils with a black marker. Glue the ready-made eyes in the middle of the torso.

11. black marker dorisovayut bunny eyelashes, eyebrows, nose in the form of a circle, whiskers and a smile.

12. Our cute colored paper bunny is ready!


