
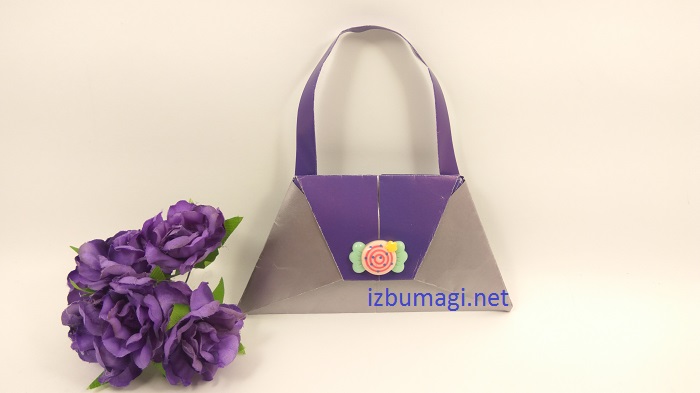
A handmade purse or handbag is a useful handicraft. You can make it by applying the origami technique. In fact, it is an ordinary purse, which will fit coins, bills, small cards, calendars, calendars, wrappers and other trinkets. If you attach a handle to such a purse, you will get a wonderful purse for a doll. This lesson gives step-by-step instructions for modeling origami purse.
Materials to work with:
- a square sheet of colored heavy paper;
- Glue to attach the handle if you plan to make a purse;
- a bead or a beautiful cabochon for decoration.
How to make a purse or handbag in origami technique step by step
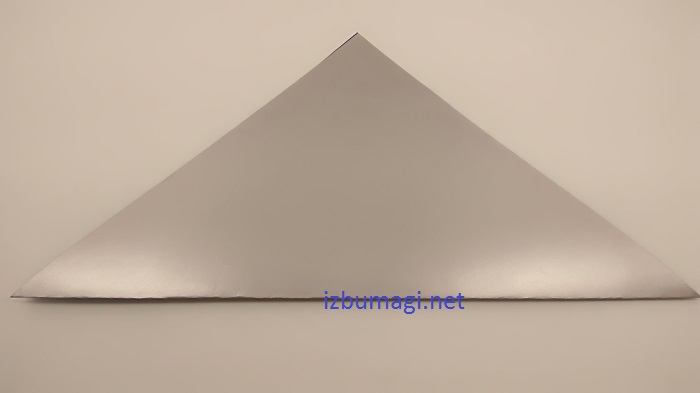
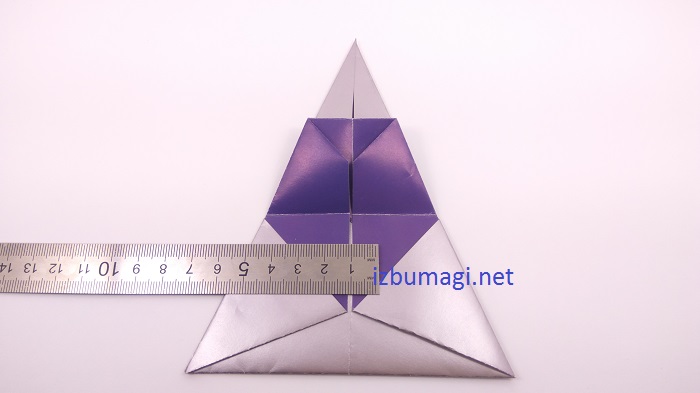
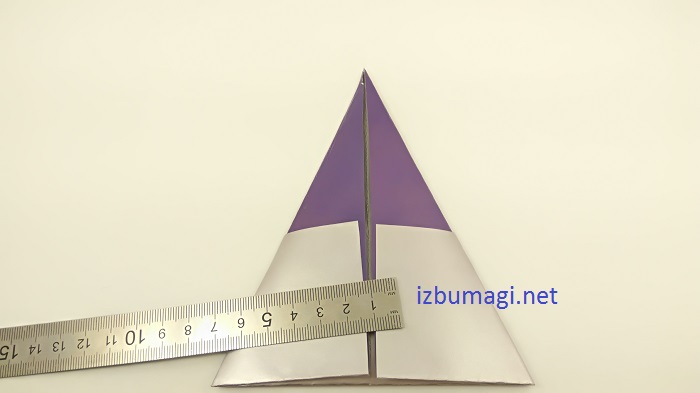
1. Take a square sheet of paper for work, it is desirable that it was two-color, that is, different colors on both sides. Here we used a silver-purple variant. Prepared square, cut out of A4 sheet, fold in half along one diagonal.
2. With this fold, you will mark the diagonal that is needed to join the two adjacent sides.
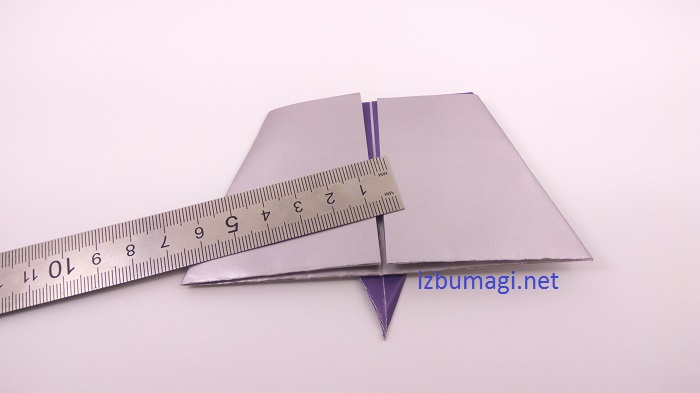
3. Raise the bottom corner of the resulting shape upwards and join it with the opposite corner.
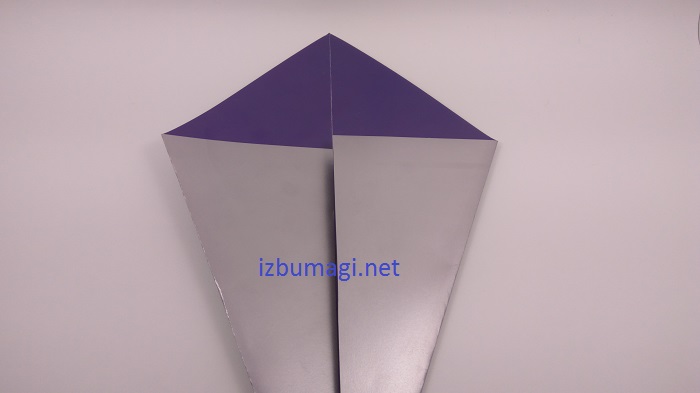
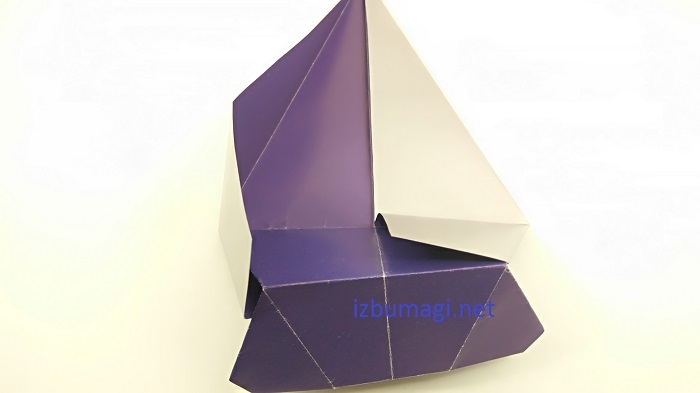
4. Turn the piece over with the other side facing you. This side will be solid, and the shape will be a pentagon.
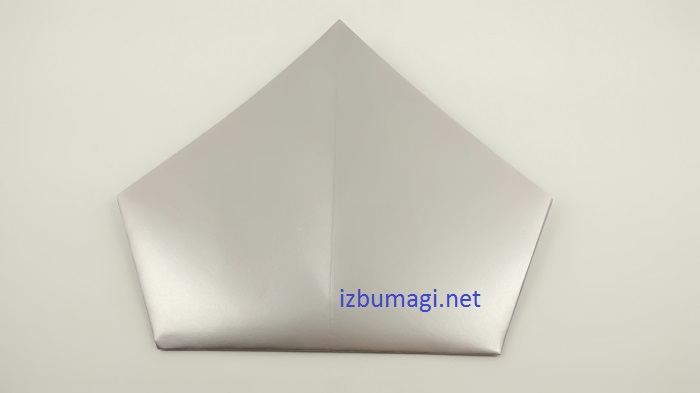
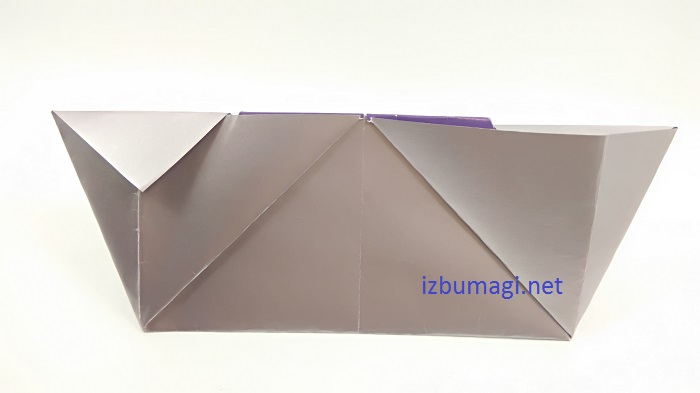
5. Bring the 2 top sides down, joining them in the middle of the line. In this way, you will already show a different color of paper.
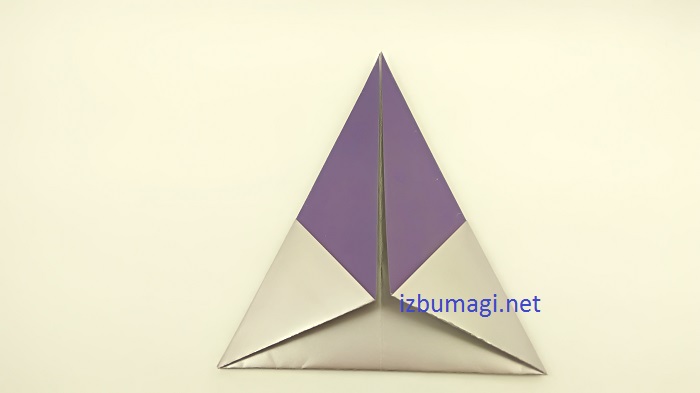
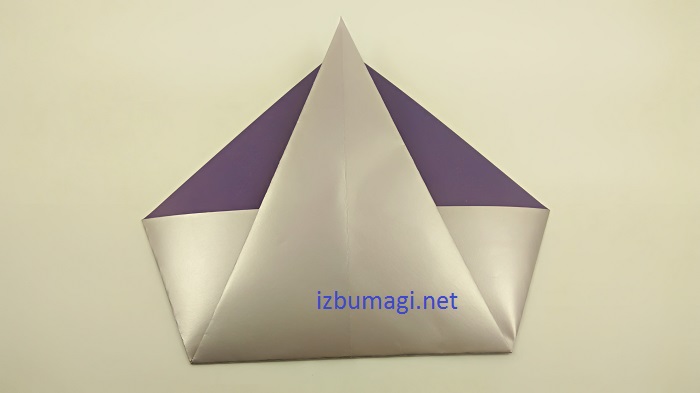
6. Push the top layer down. This will be the top corner. Orient the points where the 2 different colors meet.
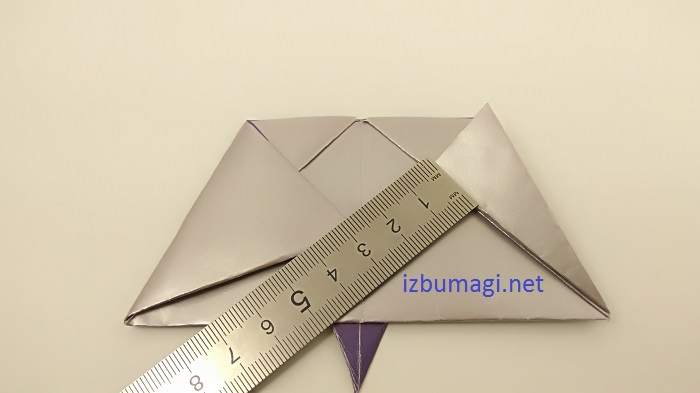
7. Bring the same corner up, dividing the acute triangle roughly in half.

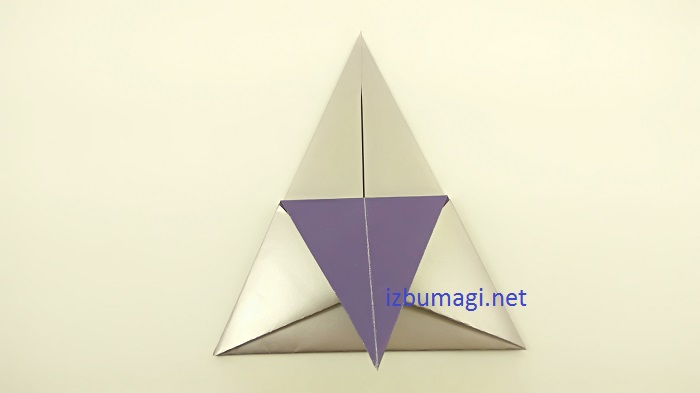
8. Expand the workpiece to the previous pentagon. You will have new lines highlighted.

9. Lower the top corner of the surface layer down to the middle, referring to the center point.
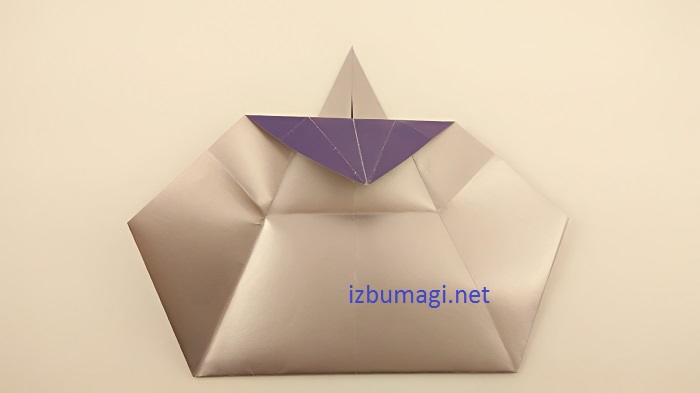
10. Return the side pieces to their places again, and the corner at the top will already be hidden inwards.
11. Use your fingers to pull the sides of the top layer apart and try to bend them.

12. Fold the top corner to make a trapezoid.

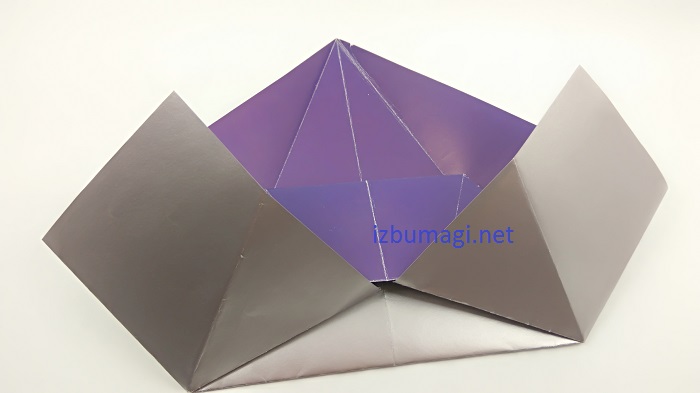
13. Start processing the bottom layer by pulling the trapezoid away from you and turning the large triangle of the bottom layer sideways.
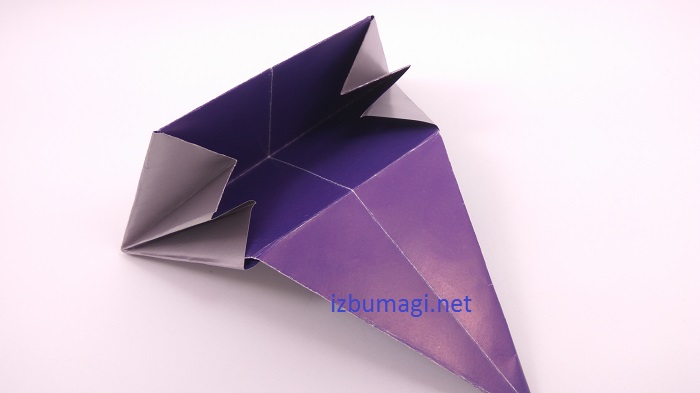
14. On both sides, symmetrically spread the paper of the bottom layer apart, and you will have a new pentagon, but of a larger size. In the center will be the same small trapezoid that you modeled a little earlier.

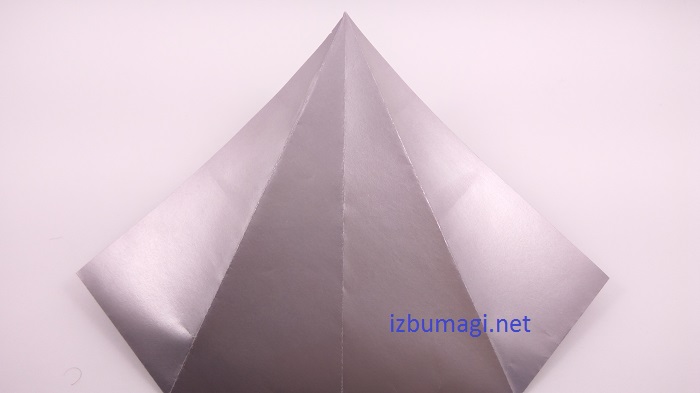
15. Bring the paper up from underneath the bottom.
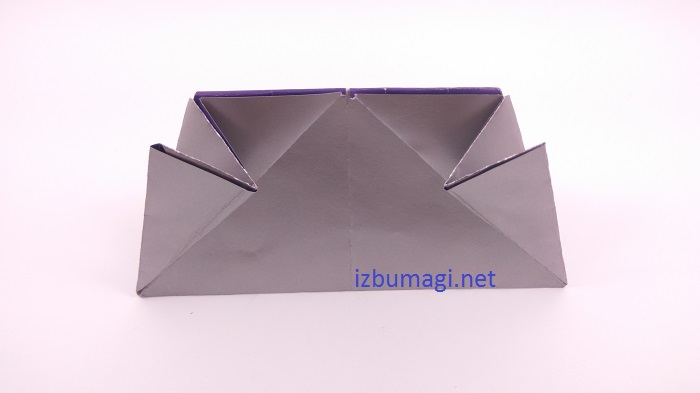
16. Turn the workpiece over with the back side facing you.
17. Bring the 2 sides together in the center, bring them together.
18. Fold the resulting triangle in half. A small corner will be visible at the bottom.
19. Start unfolding the sides by pushing the paper to the sides.

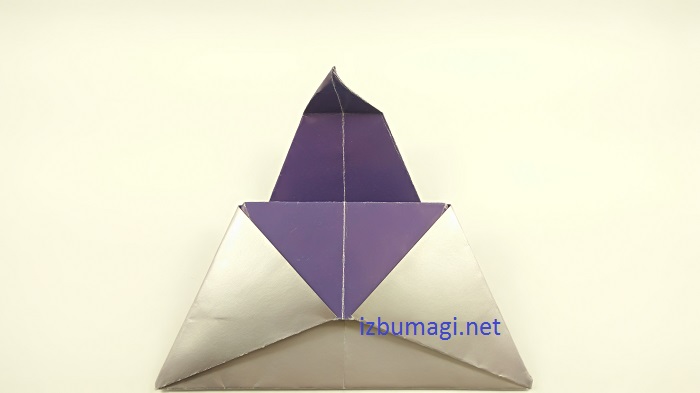
20. Make a trapezoid, turn it with the smaller base down and hide the excess paper in the pockets.
21. Fold in additional side pieces.
22. You will have triangular protrusions on both sides.
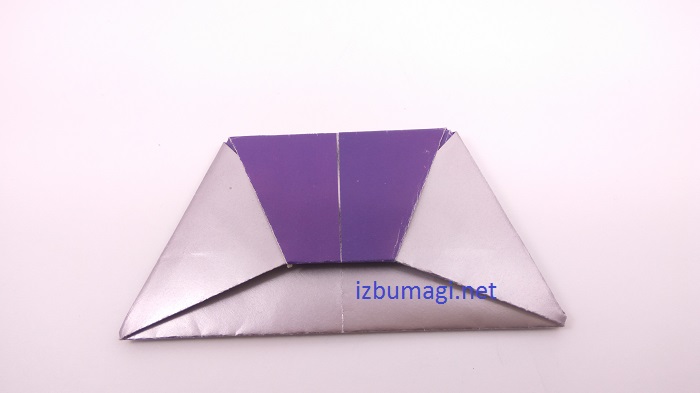
23. Turn the piece over with the other side facing you. You have a model of the handbag, but it still needs to be finalized.
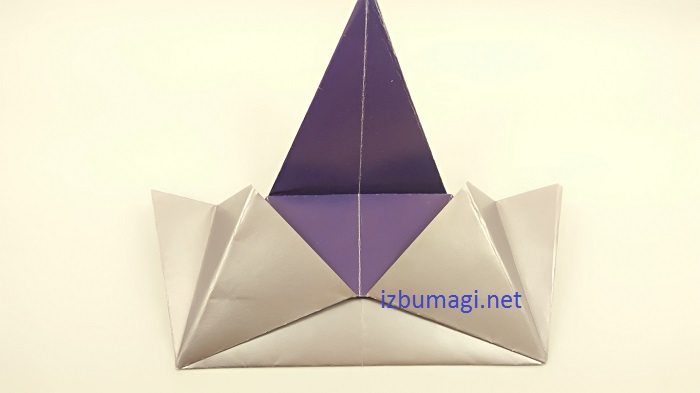
24. Press the sides inward so that the shape of the fold resembles the letter M. The purse container itself is ready.
25. The top corner will become the clasp, just release it down and tuck it in.
26. With this simple clasp, the purse closes securely.
27. To turn the resulting origami craft into a handbag, it is enough to glue a thin handle made of the same paper.
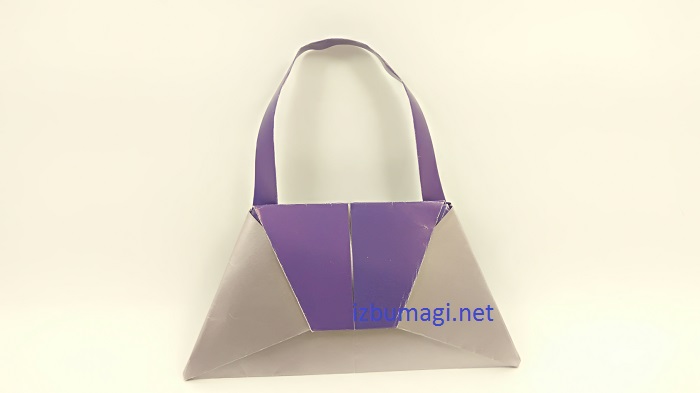
28. You can also decorate your craft with a beautiful cabochon or button.


