
Technique "salt and watercolor" transforms ordinary drawings into magical landscapes with shimmering snowflakes, starry skies, or fluffy tree crowns. In this guide, you'll learn how to:
✔ Which salt to use for different effects.
✔ 5 techniques for creating textures (from snow to galaxies).
✔ Lifehacks for predictable results.
✔ How to correct mistakes if the salt "overdid" the paint.
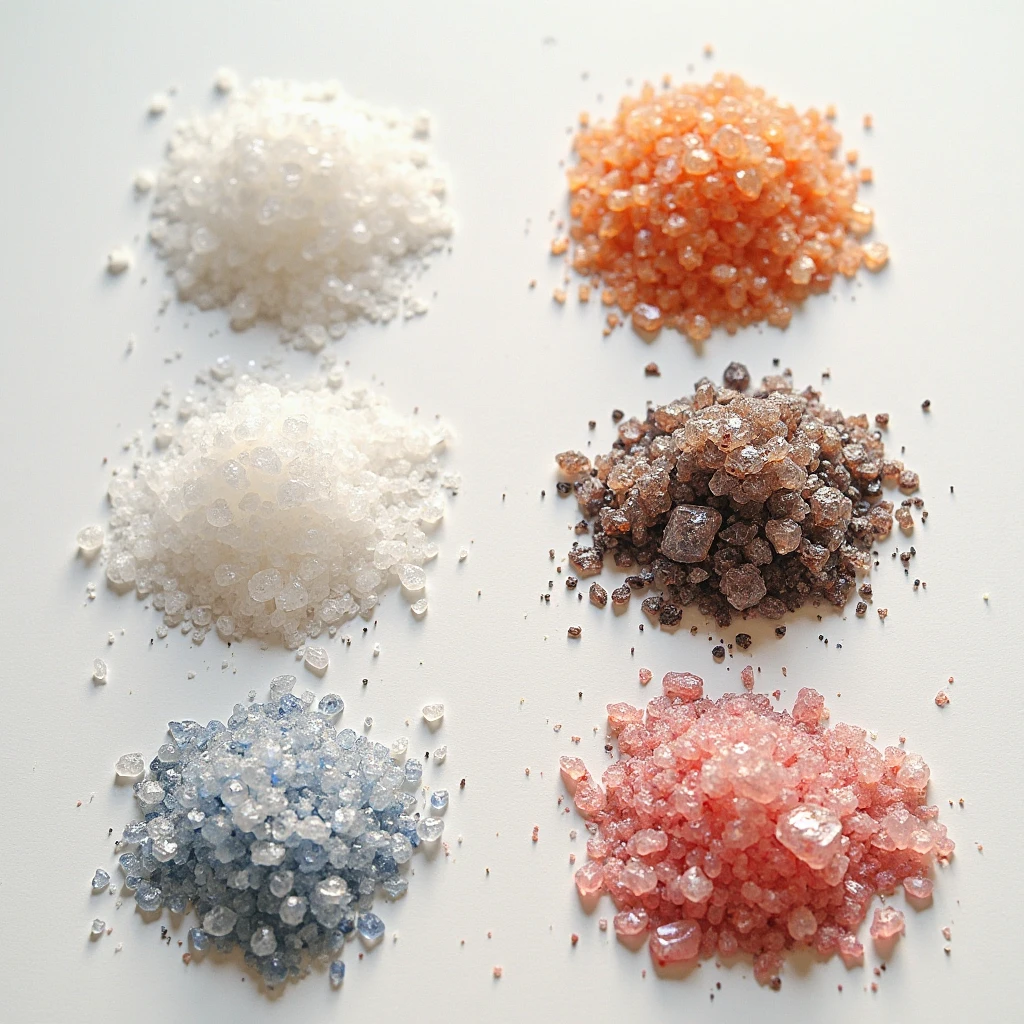
🧂 Step 1: Choose the "magic" salt
| Type of salt | Effect | Suitable for |
|---|---|---|
| Fine Extra | Thin stars, frost | Winter landscapes, the moon |
| Large stone | Contrasting divorces | Trees, mountains, clouds |
| Marine | Chaotic patterns | Ocean, space |
| Himalayan pink | Pink highlights | Sunsets, abstracts |
Important! The salt must be dry. Wet will stick together and have no effect.
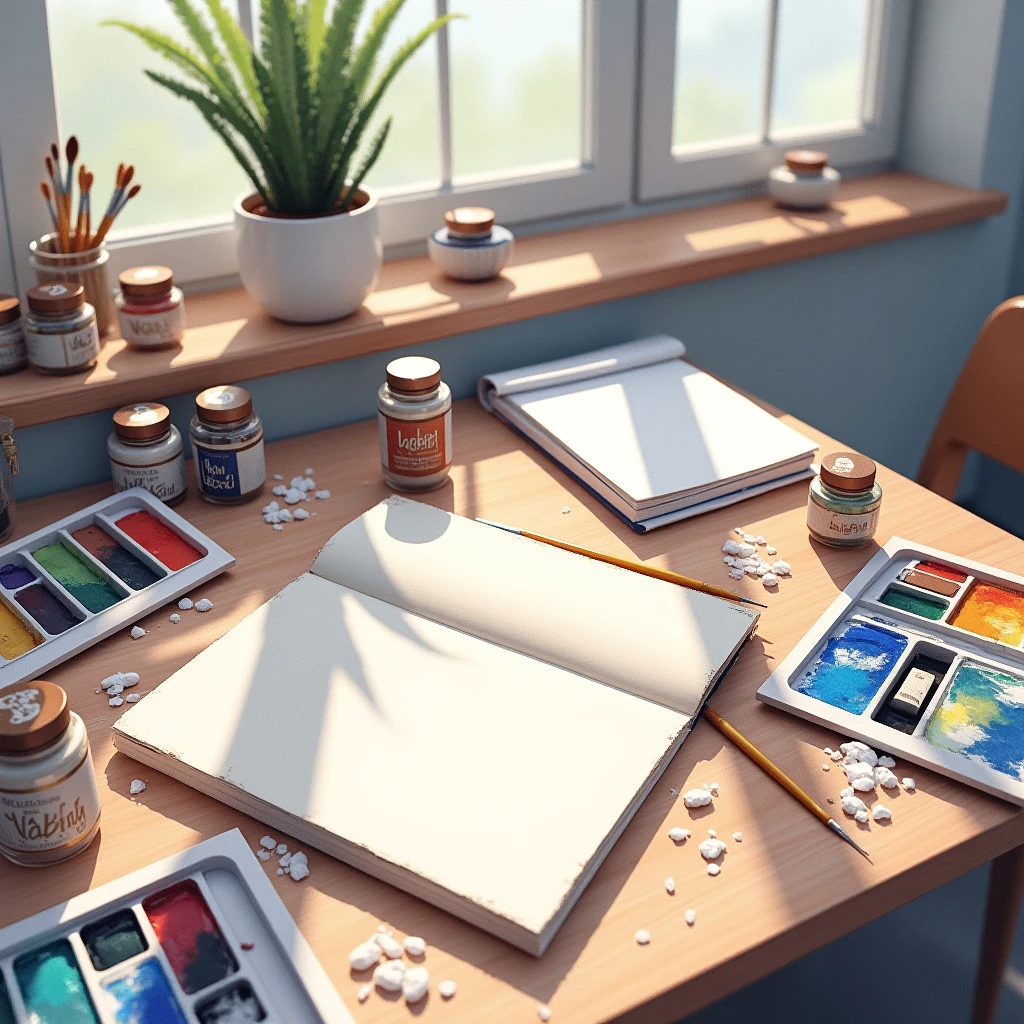
🎨 Step 2: Prepare materials
- Paper: heavy watercolor (300 g/m²), so that it does not warp.
- Colors: liquid watercolor or tubes (gouache is not suitable!).
- Brushes: soft (squirrel, synthetic) so as not to scratch the paper.
- Additionally: hair dryer to speed up drying (optional).
🌌 5 techniques for stunning effects
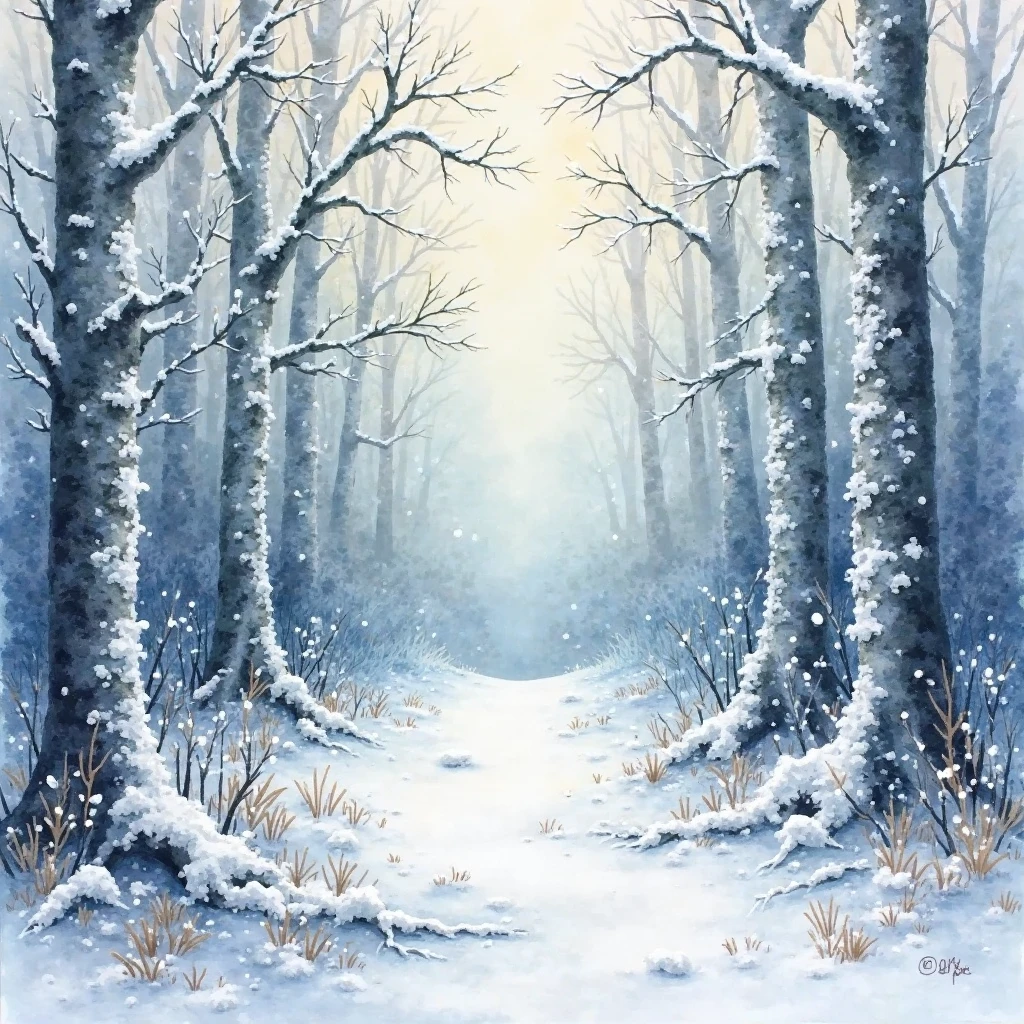
1. Winter snowfall
- Wet the paper, fill the background with blue/gray paint.
- While the paint is shining, pour in the fine salt.
- After drying (20-30 min), shake off the salt - "snowflakes" will remain.

2. Space nebula
- Apply purple, blue and pink strokes.
- Throw in some sea salt - it will create "star clusters."
- Add a splash of white gouache for the stars.
3. Fluffy trees
- Draw the crown in green.
- Quickly sprinkle coarse salt around the contour - you'll get "foliage."

4. Sea foam
- Paint the water with blue paint.
- Pour salt in the waves - it will "repel" the pigment, mimicking foam.
5. Volcanic rocks
- Use black and ochre.
- Coarse salt will give the effect of porous lava.
⚠️ top 3 mistakes (and how to avoid them)
- Salt drips on dry paint → No effect! The paint should be wet, but without puddles.
- Too much salt → You'll get a white spot. Sprinkle in pinches.
- Wiping off the salt until dry → The texture will "smudge". Wait for complete drying!
✨ More Lifehacks
- Colored salt: mix coarse crystals with pastels (crushed into powder).
- Laminating: fix the work with spray varnish to prevent the texture from crumbling.
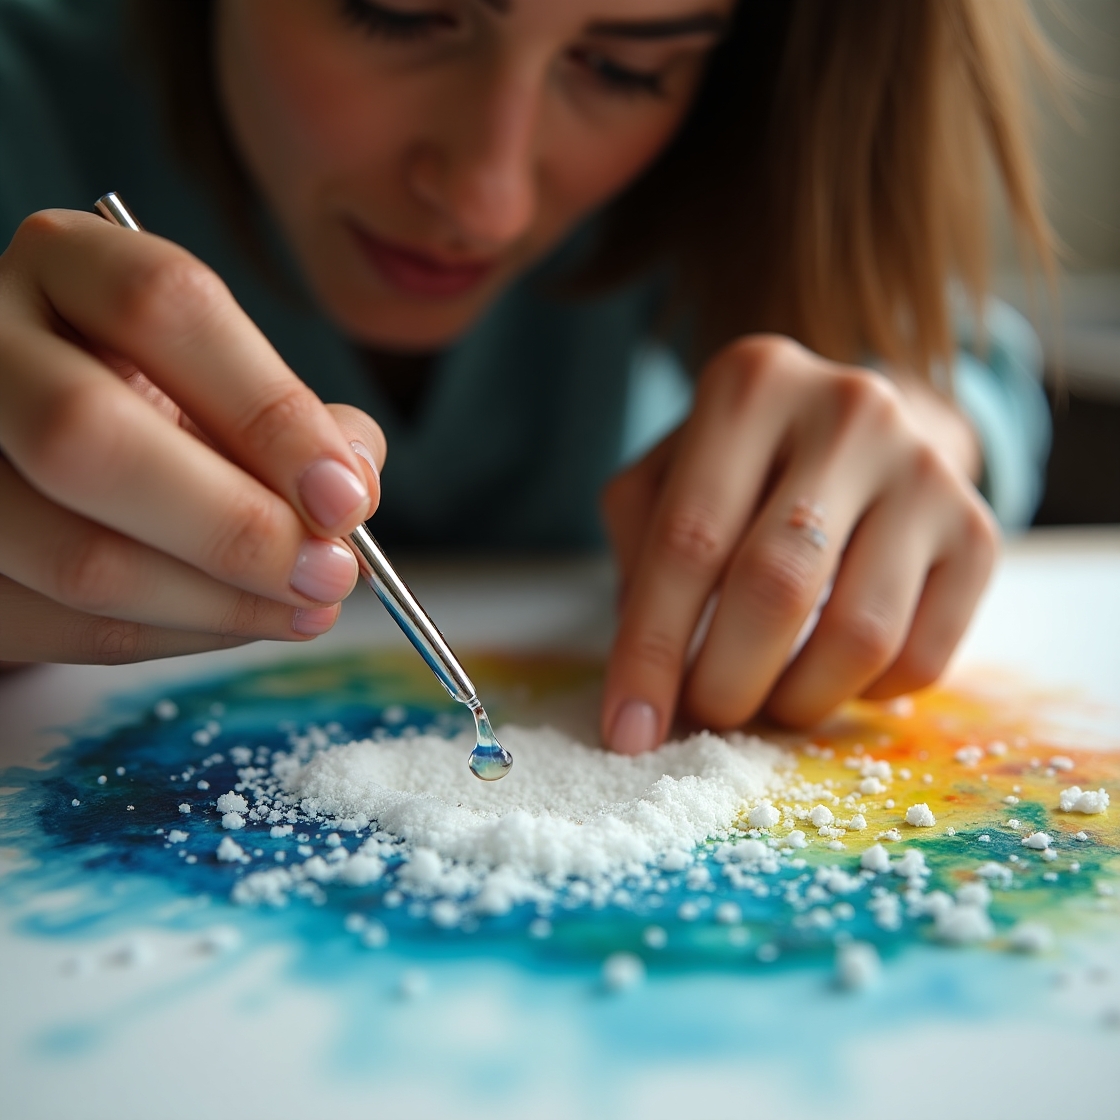
- Combination: add alcohol (drop with a dropper) for "craters" next to the salt patterns.
🌠 Ideas for inspiration
- Northern Lights: dark background + green-blue paint + "Extra" salt.
- Underwater world: salt on blue paint + scratched white fish.
- Autumn forest: orange-yellow strokes + coarse salt for "foliage".

Salt + watercolor technique - It's magic that even beginners can do! Experiment with proportions and create your own unique landscapes.
Give it a try today - share the result in the comments!

Want more magic techniques? The next master class "Painting with soap bubbles"! 🎨✨


