
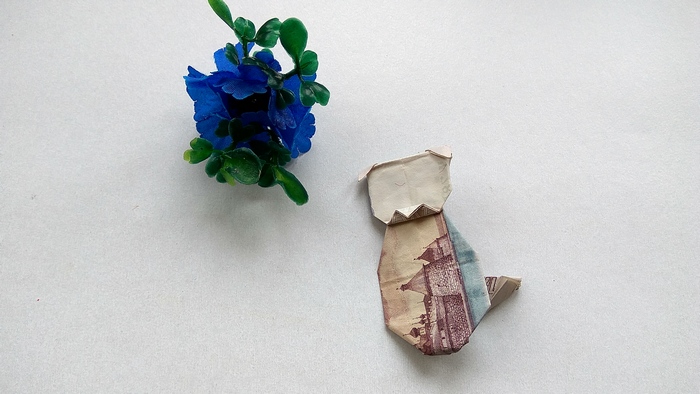
 As well as from ordinary paper, it is not difficult to create all kinds of crafts from money bills - figures of animals and birds. Modeling of a dog is demonstrated in this lesson. Only unlike colored and white sheets, a money bill has some value, so you can even give a gift to someone on any holiday. And it is very interesting to create it.
To make a figurine of a dog, prepare a banknote. Here is a variant of 500 rubles. But just as tempting and more richly the animal will look in the form of a dollar sculpture or in the form of euros. Now let's look at the detailed instructions.
[H3]Manigami doggie modeling instructions[/H3]
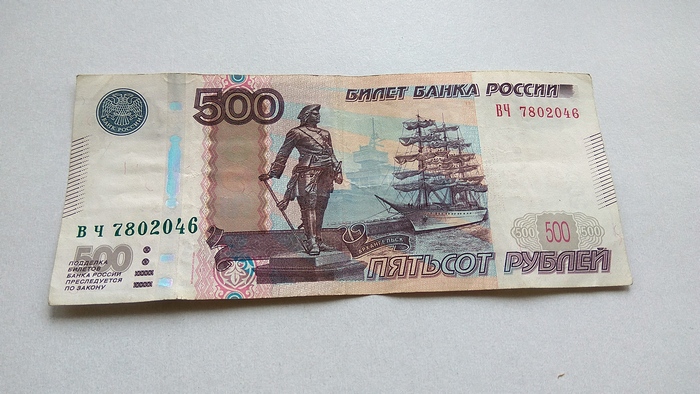
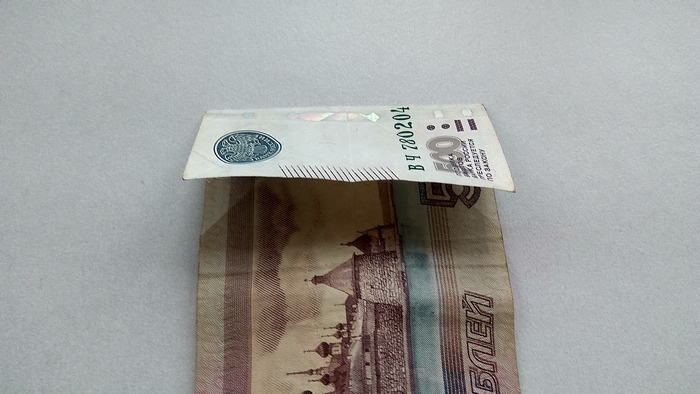
1. Take a bill of 500 rubles or the variant you are interested in.
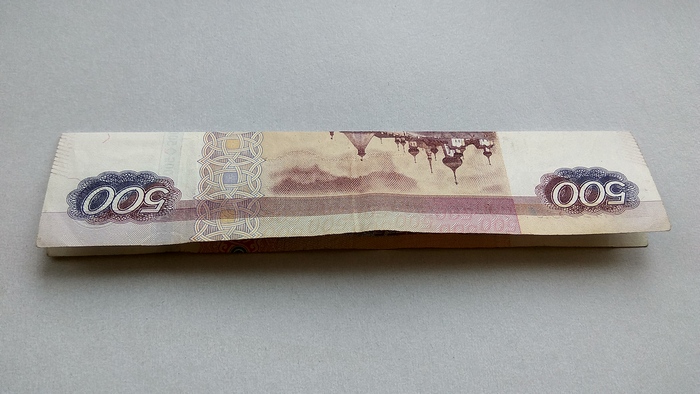
2. Fold it clearly in the center lengthwise. Align the opposite corners so that you get a narrower rectangle, the piece is half the width. Since the bill is a very even figure, the corners should be aligned very precisely, otherwise all the errors will be immediately visible. In the future, the figure will turn out lopsided.
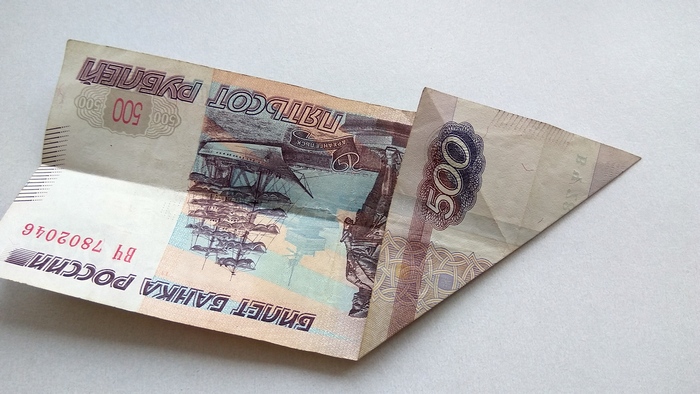
3. Next, unfold the fabric again. Focus on one side of the rectangle and work with it at this stage. Fold one corner to the side at a 45 degree angle, then fold the second corner.
4. After you have marked out the center point in a kind of letter X as a result of the previous cross fold, fold the side towards you, indenting exactly as much as the center point of the fold shows you.
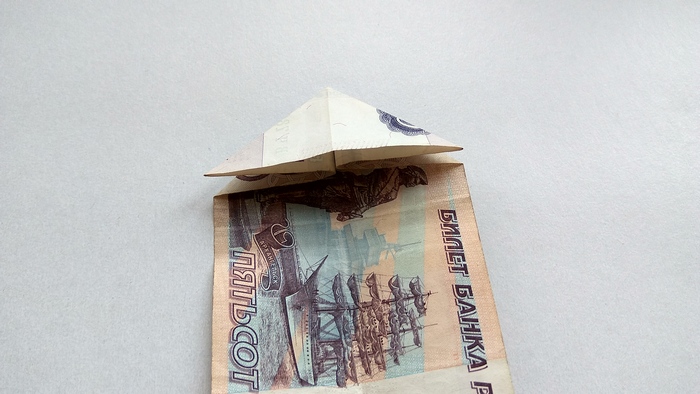
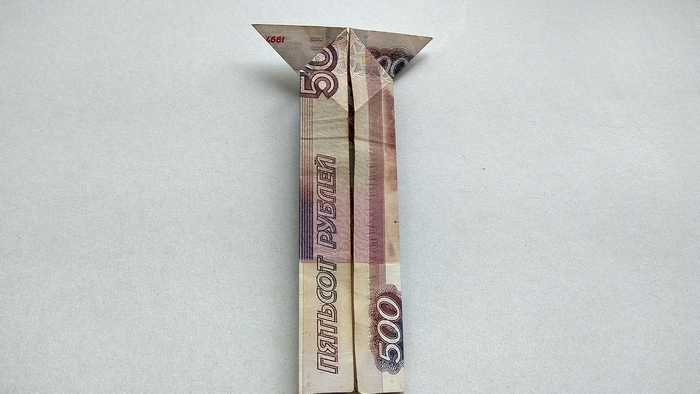
5. You will now have snowflake-shaped folds. Press the sides inwards so that you have a double triangle in front of you.
6. Lift one part of the upper triangle up and fold. Make a longitudinal fold along the entire length of the bill.

7. Do the same on the second side.
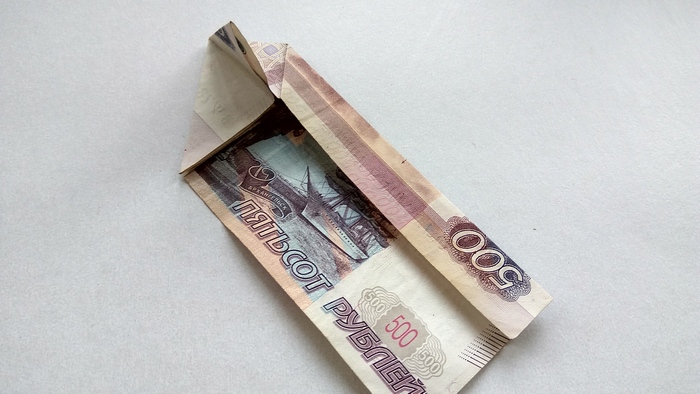
8. Now unfold and reorient the paper in the assembled area as shown in the photo.
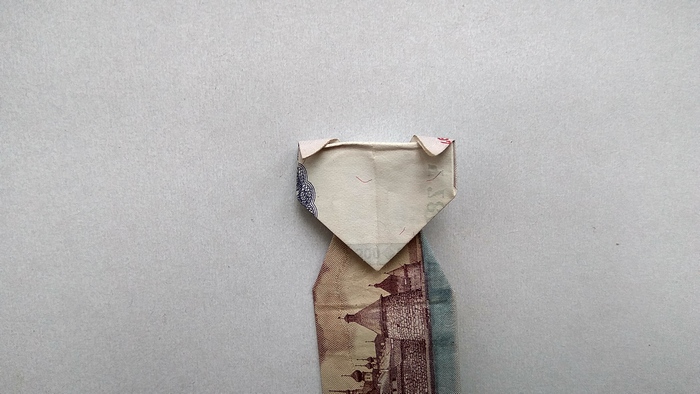
9. Next, assemble the bill in the form of a watering can. In the center you should have the opposite long sides of the rectangle joined together. There should be sharp ears at the top, which will be tucked inside.
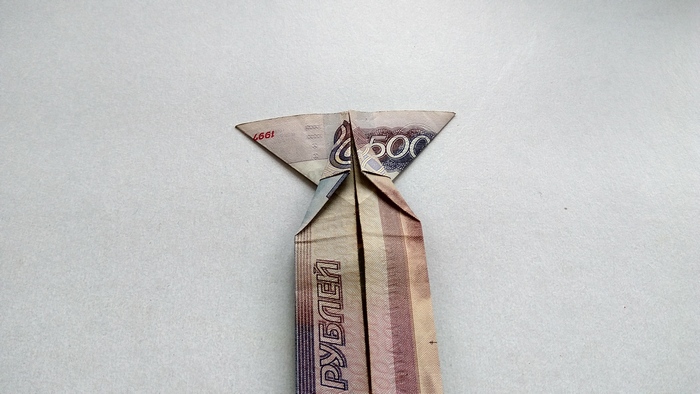
10. At the top, make an additional 2 folds at a 45 degree angle, highlighting the sharper center corner. Leave the pointy ears unchanged.
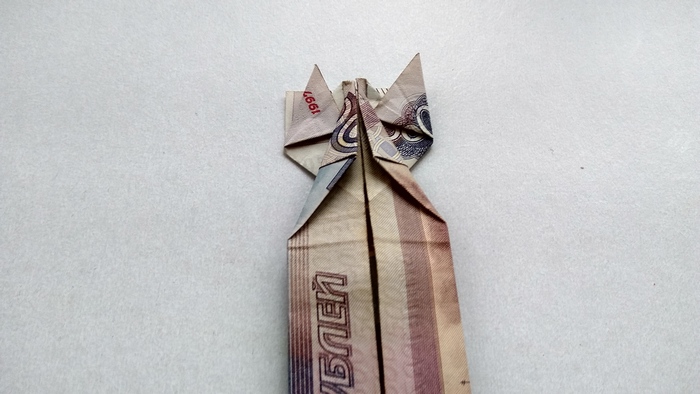
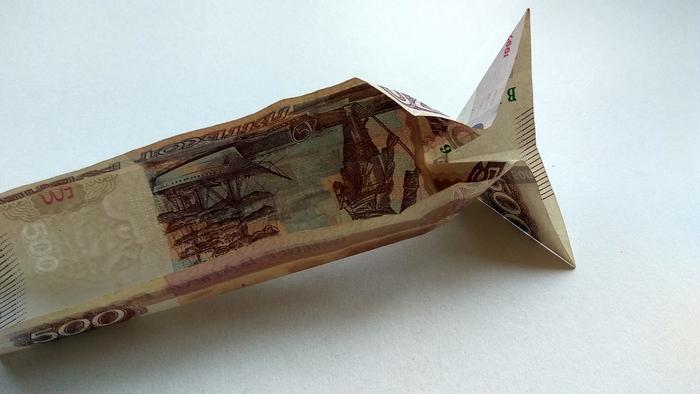
11. tuck the pointy ears down first, then gently split the paper at the base and lift up again, but only the sharpest tips.
12. Turn the future doggie over with its face toward you. You can see a plausible outline, ears, bottom part.
13. Lower the pointy ears downward.

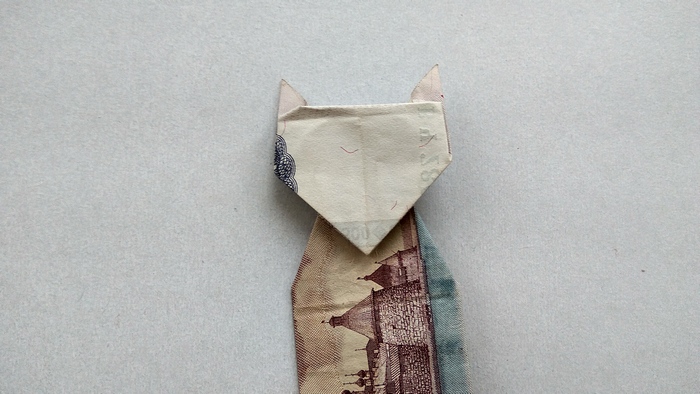
14. Also, curve the bottom (pointy) part of the face upwards, then lower the corner down. This way you will make a more believable head shape and highlight the nose. Fold the bottom of the strip to the side so that the bottom short side is aligned with the side.

15. Leaving the bill at the bottom in this position, bend it again. The photo shows the rear view.
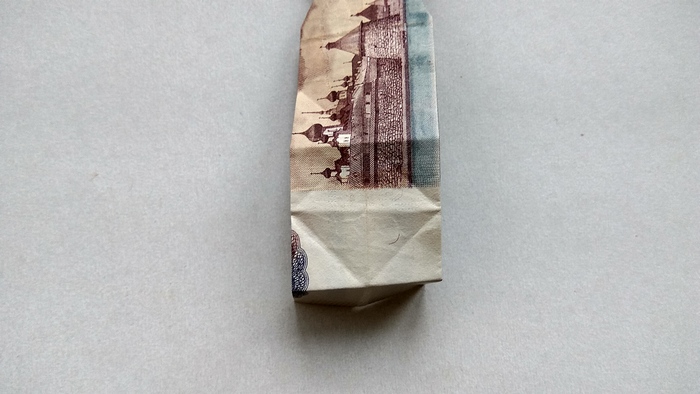
16. Unfold the paper at the bottom. You will see a grid - a reference point for further bends.
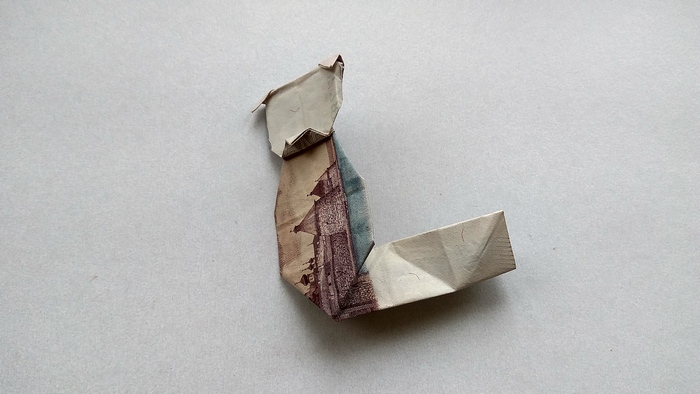
17. Lift the fold from the back to the top. Fold the paper in half at this part, leaving a right angle at the bottom.
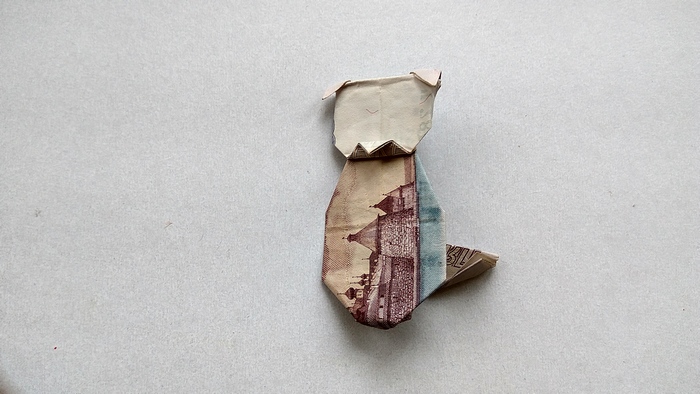
18. Curve the tail as you see fit to complete the figure.
The manigami dog figurine is ready.


