
 Flat, round and polygonal geometric figures are memorized by children only if the information is presented to them in a playful way. Even more difficult for them are volumetric parts: cylinders, cones, pyramids and so on. Such information certainly needs to be played with in some way. To easily memorize what a cylinder looks like, make a small figure in the form of a dog from this geometric figure. It is enough to take 2 parts for the head and torso, and everything else is made of plain paper.
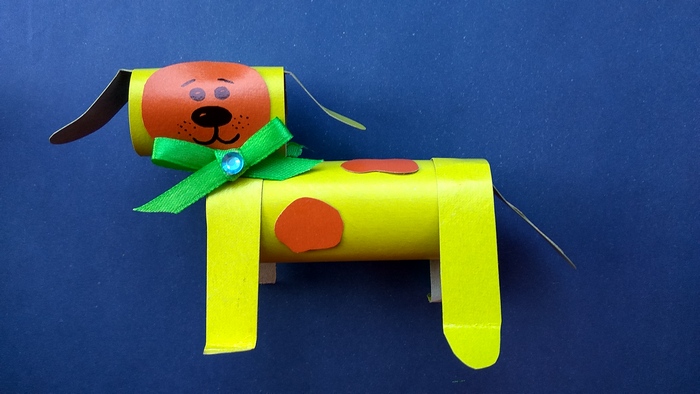
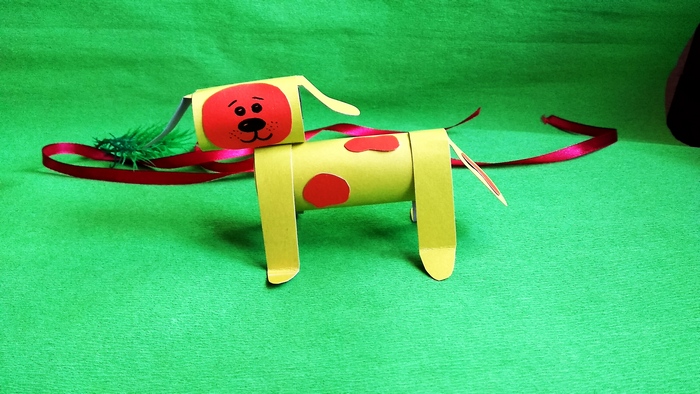
This tutorial shows the process of creating a small red or yellow dog. Why this one? Because the year of the fire dog is coming. The souvenir is relevant in winter. Here we will demonstrate the creation of this wonderful symbol.
To create a cylindrical fantasy, prepare:
- yellow cardboard (specifically heavy paper that will hold its shape well);
- brown paper or cardboard;
- a small bow or ribbon to create it and a bead to decorate it;
- scissors;
- stapler and glue;
- black marker.
How to make an unusual dog figurine
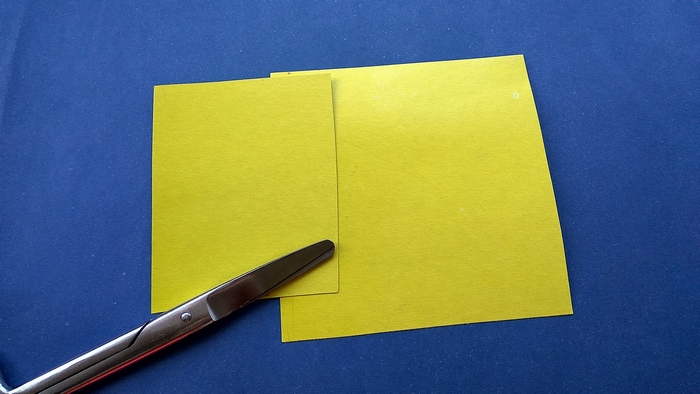
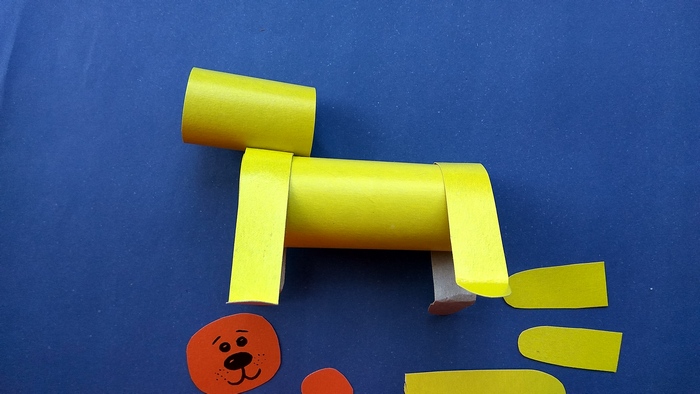
1 Cut out 2 rectangular pieces of different sizes from yellow heavy cardboard. The smaller piece will be used for modeling the head, the larger one for the torso.

2. Twist cylinders of two rectangular blanks with your fingers. Hold the paper in this position, staple the ends lengthwise with a stapler. You can punch staples in two places to hold the paper well. You can also use glue to create cylinders, but usually cardboard is hard to glue, especially in this forced position. The edges of the cylinders around the circumference can be trimmed to even out. Thus, since we prepared rectangles of different sizes, the cylinders will also be of different lengths.
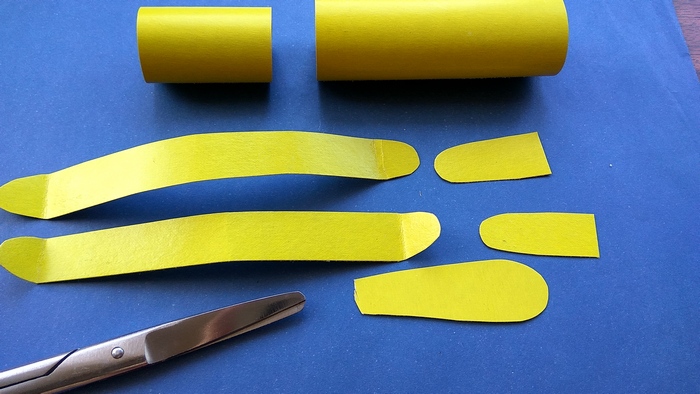
3. Cut out additional flat parts that are important from the yellow cardboard. Equal-sized oblong ribbons will become the front and back legs. Cut out enough ribbons to wrap around the bottom cylinder and bend at the ends. Round the ends, bend them. You also need to prepare the ears and tail.
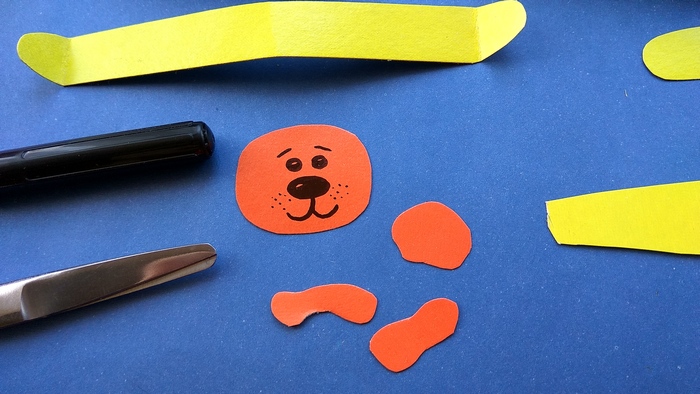
4. Cut a round cake out of orange paper or cardboard to make the dog's face. Draw eyes, nose and mouth with a black marker. Also cut out some spots.
5. Glue or staple the figure together. Glue the ribbon feet onto the lower (larger) cylinder. Glue the cylindrical head on top of one side. Thus, the front legs should be glued before the head.
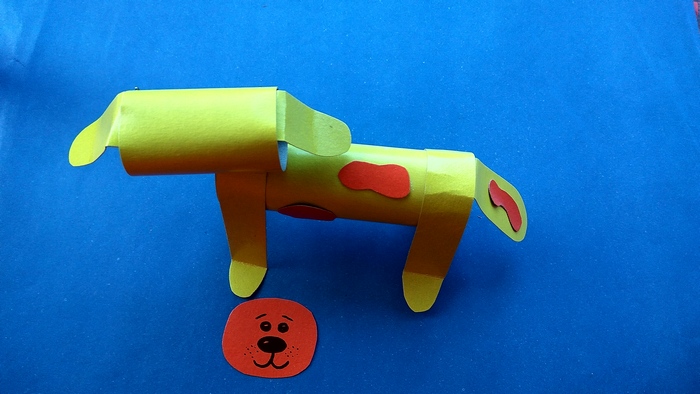
6. Glue ears on both sides into the holes of the cylinder-head. Put them down, fold the paper. Glue the tail to the back in the same way. You can glue a red spot on the tail.
7. Glue a couple of spots on the back.
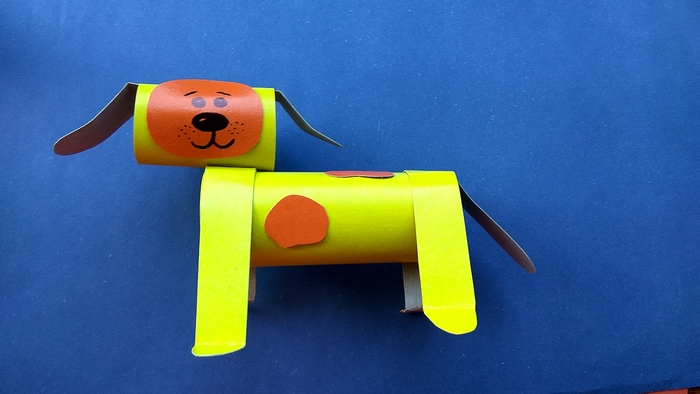
8. Glue a round face on the front. The image of the dog is ready, the figure is assembled.
9. If you want to still somehow decorate your doggy, then stick a paper ring on the neck - a collar or make a small bow. A satin ribbon and a bead were prepared for this purpose.


