
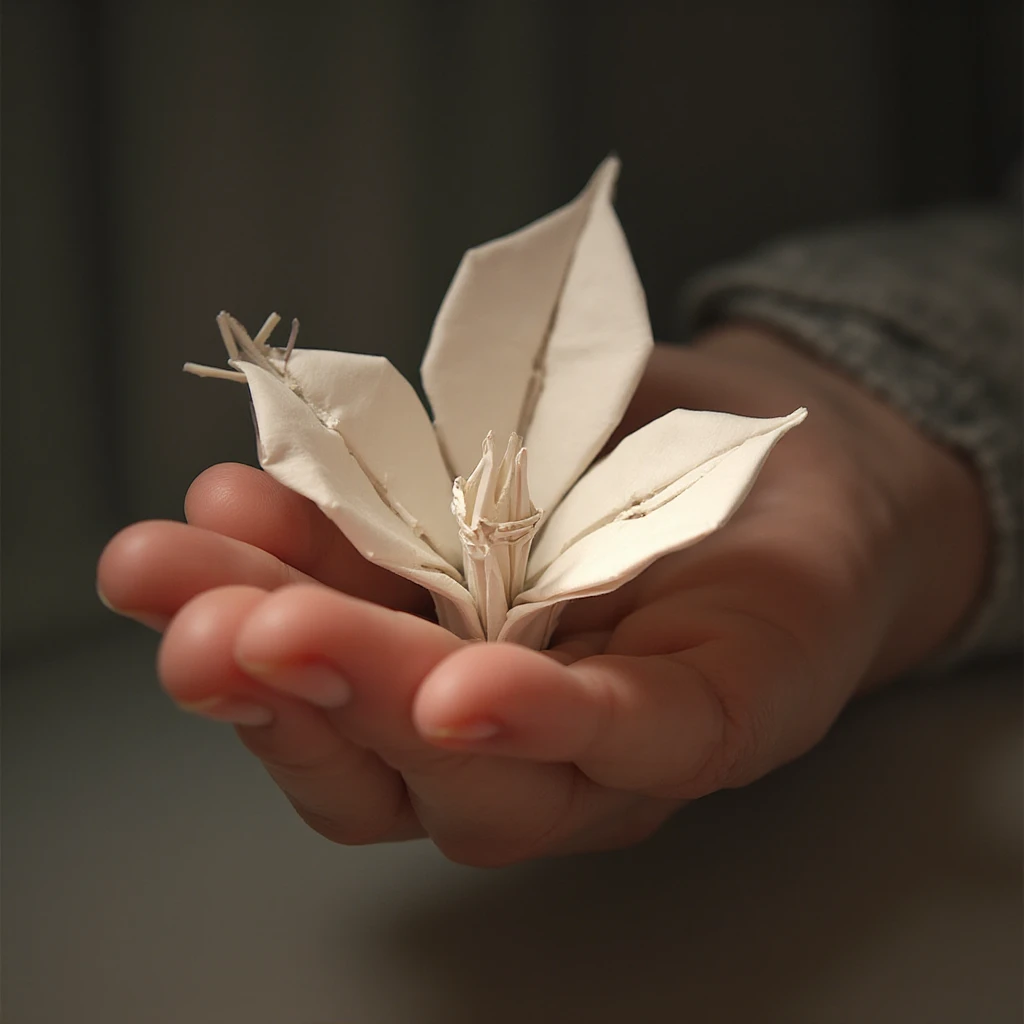
You enthusiastically take up a new origami model, carefully repeat all the steps, and then - at the most crucial stage there is that heartbreaking crunch... The paper is torn along the fold line, and all the labor goes to waste. Does this sound familiar? It happened to everyone who was interested in origami, from beginners to experienced masters. But why does it happen and can it be avoided? Let's understand the reasons and find practical solutions to this common problem.
🧩 Main causes of paper tears
Unsuitable paper is the origamist's greatest enemy
More often than not, paper tears simply because it is not designed for the model you are trying to fold. Imagine trying to build a multi-story house out of shoe cardboard - the structure just won't hold the load. The same thing happens with origami.
Origami paper varies in density, tensile strength and elasticity. 80 g/m² office paper may be ideal for simple cranes or frogs, but it will inevitably tear when you try to fold a complex dragon with many layers. Special origami paper, such as Japanese Kami or Tant, has a different fiber structure - it is more flexible and better able to withstand repeated folding.
Mistakes in folding technique
Even with the best quality paper, you can experience tears if you fold it incorrectly. The most common mistake is to apply too much pressure when ironing the folds. Many novice origamists try to "push" the fold as hard as possible, using fingernails or sharp objects. This causes damage to the surface layer of the paper and tears the fibers.
The correct technique involves applying smooth, even pressure along the entire length of the bend. It is best to use a special tool - a bone knife, or, if you don't have one at hand, the back of a tablespoon or just the pad of your finger.
Another common mistake is repeatedly re-folding the same fold. Every time you unfold and re-fold the paper in the same place, you weaken its structure. Imagine bending a wire back and forth - at a certain point it breaks. The same process happens with paper, it just takes fewer cycles.
Features of a particular model
Some origami patterns are inherently extreme for paper. When 4, 5 or even more layers of paper converge at one point, tremendous stress is created. Modular designs are particularly challenging in this regard, where precision fitting of the pieces is critical.
Before starting a complex model, always estimate how many layers of paper you will have to fold in the most "problematic" places. If you see that there are more than three, it is a signal that you need to choose a thick and strong paper and be especially careful when making these folds.
🛠️ Practical solutions and prevention
Choosing the right paper
The first and most important step to success in origami is to learn how to choose the right paper. To begin with, remember a simple rule: the more complex the model, the denser the paper should be. But there is a nuance here - too dense paper can be unyielding and also lead to problems when folding.
Inexpensive special origami paper (Kami) is ideal for practicing new patterns. It has an optimal density of 70-90 g/m² and a special coating that makes it easier to fold. For advanced models, switch to Tant paper (90-100 g/m²), which is stronger but still flexible.
Before you begin, perform a simple test: try making a sharp fold on a corner of the paper. If a bright white streak appears at the corner of the fold, this is a sign that the paper may tear if it is folded vigorously.
Mastering proper technique
Folding technique is what separates a beginner from an experienced origami artist. Start by learning how to iron the folds correctly. Do not press on the paper, but as if "iron" it smoothly from the center to the edges. Imagine that you are smoothing the fabric - you do not need force, but precision and evenness.
Use the right tools. A bone knife is not just a professional accessory, but a really useful tool. It allows you to evenly distribute pressure and does not damage the surface of the paper. If you don't have one, use a plastic card or the back of a table knife.
Try to minimize the number of folds. Before making a fold, mentally visualize the entire process and make sure you understand the direction of the fold. If in doubt, check the diagram again before folding.
Emergency treatment for an incipient rupture
What should you do if you feel that the paper has started to tear, but disaster can still be avoided? The first thing to do is to stop applying pressure immediately. Carefully unfold the fold and assess the damage. If it is a superficial crack, you can try reinforcing the area on the underside with thin, transparent tape.
For more serious damage, there is a "heavy artillery" - PVA glue diluted 1:1 with water. Apply a thin layer of this mixture to the damaged area from the underside and allow to dry completely before continuing. This method works especially well with heavy paper.
If a tear occurs in the finished model, do not despair! Carefully glue the damage and consider that some masters specially age their work, creating the effect of "living history" of the craft.
💡 Advanced techniques and tips
Paper preparation for complex models
For extremely complex models with many layers, experienced origamists use the technique of pre-strengthening the paper. The easiest way is to apply a thin layer of acrylic varnish or a special paper reinforcing compound to the underside of the paper.
Another interesting method is to create a "sandwich" of two layers of thin paper using spray adhesive. This provides a material with unique properties: the outer layers hold bends well, while the inner layer provides strength.
Working with different types of paper
Each type of paper requires a different approach. Japanese washi paper, made of long fibers, is very strong but requires more careful handling when folding - it can "fluff up" at the edge of the fold. Metallized paper is beautiful but less flexible, so precise planning of the folds in advance is especially important.
Foil paper is a different story. It holds its shape very well, but it can leave unsightly white streaks on the folds. To avoid this, try to fold it slowly and evenly, slightly warming the fold with your breath.
🎯 Bottom line: patience and practice
Remember that the art of origami is learned gradually. Each paper tear is not a failure, but a valuable experience. Over time, you will develop a "paper sense" - you will learn to intuitively understand how much pressure to apply, when to be especially careful, and what paper to choose for a particular model.
Start with simple patterns, practice basic folds and gradually move on to more complex projects. Don't be afraid to experiment with different types of paper and tools. And most importantly, enjoy the process, because origami is not only a result, but also a meditative, soothing process of creating beauty from a simple sheet of paper.


