
The onset of autumn inspires the creation of bright and cozy crafts. One of the best options is a paper basket with filled apples, which can be used as an interior decoration, a school exhibition or a gift made with your own hands. Despite the busy look, the craft is made quite simply, and most importantly - it can be adapted to any age and level of difficulty. 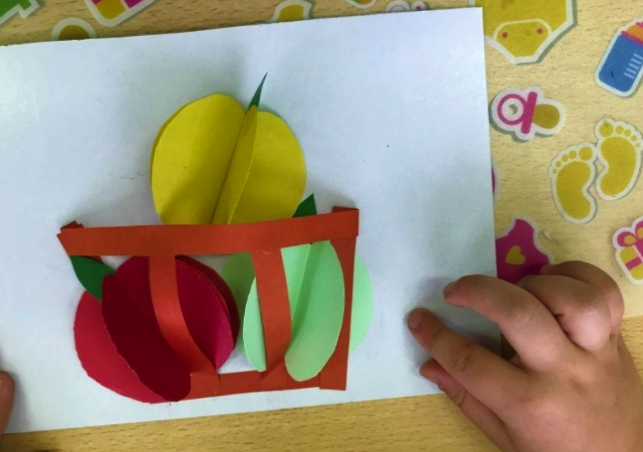
The finished basket turns out to be voluminous, and apples can be taken out and put back in, as in a real one. Such work develops spatial thinking, accuracy and creative imagination.
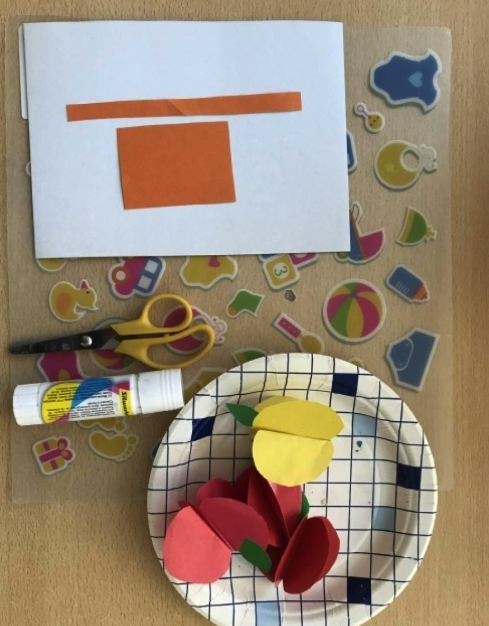
What you'll need
- Cardboard or heavy paper (for the base of the basket)
- Colored paper (red, yellow, green, brown)
- Glue stick or PVA
- Scissors
- Pencil and ruler
- Compass (or round template - cup, lid, etc.)
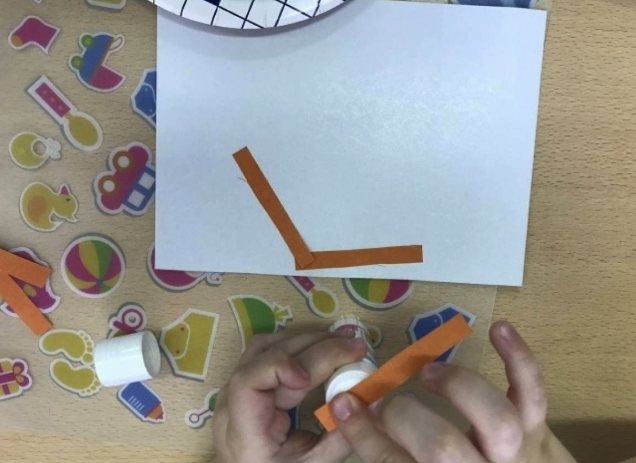
Step 1: Making the base of the basket
For the body of the basket take a sheet of brown cardboard and cut out a rectangle of about 20×10 cm. This will be the side wall. Roll it into a cylinder and glue at the seam. The base is a circle with a diameter of about 10 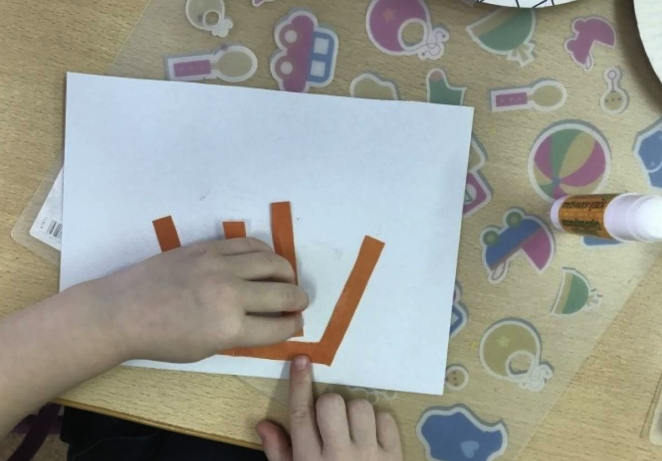 cm, cut out separately and glued to the bottom. To make the bottom stronger, you can duplicate it with two layers of cardboard.
Now make the handle: cut a strip 2-3 cm wide and about 25 cm long. Glue it to the edges of the basket or fix it with a stapler. You get a classic shape. 
Step 2: Preparing the apples
From red and yellow paper cut out circles with a diameter of 5-7 cm - 3-4 of each color. Each circle is folded in half and then glued together with folded sides according to the principle of a book: 4 circles give a neat volume. Do not glue the last side - it will be the bottom, flat, for gluing to a stand or placing in a basket. 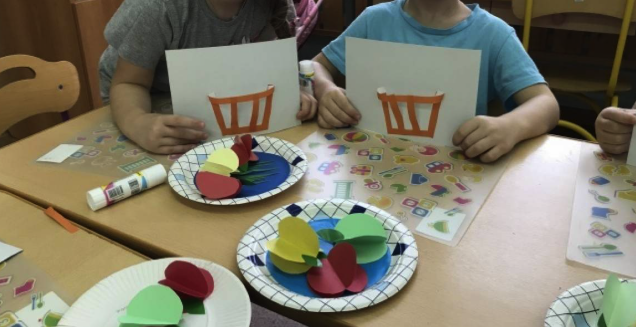
Cut small strips of brown paper for the tails and glue them on top. Leaves are made of green paper - oval shape, you can draw veins. 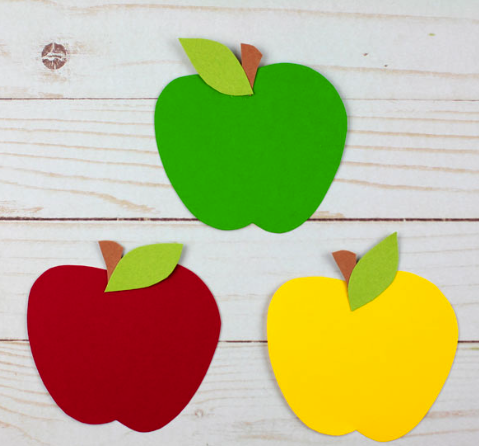
Step 3: Assembling the composition
The basket can be filled with green paper "grass" cut into thin strips. You can also use crumpled green corrugated paper or just a folded napkin.
Apples are placed inside the basket randomly or neatly, depending on the idea. You can glue them to the bottom if you want a stationary design, or leave them lying free - then the basket becomes interactive.
Step 4: Decor and Variations 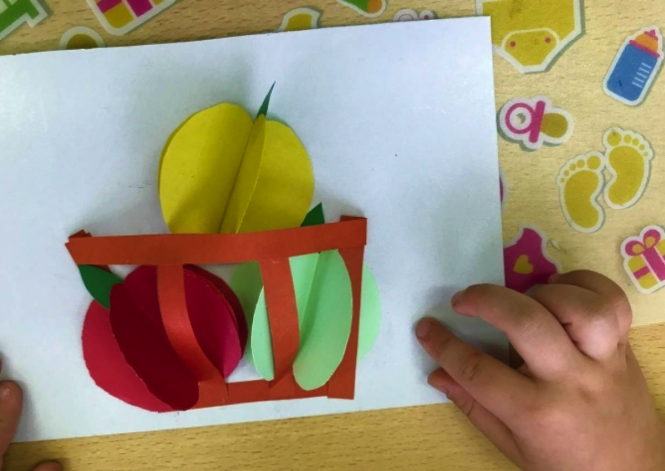
- The edges of the basket can be decorated with a pattern or woven paper strips
- Apples are additionally decorated with glue drops or glitter - imitation dew drops
- Instead of a pen, you can make a decorative tag with an inscription such as: "Autumn Harvest"
- Add mushrooms, leaves, a paper hedgehog or squirrel next to the basket to make a whole scene
Useful tips
- Use different weights of paper - thick paper gives shape, thin paper gives curve
- Bulk apples can also be made from 6-8 circles - they turn out puffier
- If the basket is unstable, place a dense cardboard under the bottom
- Instead of a circle, you can use an oval - then the apples will be irregularly shaped
Conclusion
Autumn basket with apples is not just a craft, but a real mood. It teaches you to work with shape, color, composition and gives you a wide field for imagination. By adding details, changing sizes, you can create whole paper still lifes, bright, warm and pleasing to the eye. And all this - from simple, accessible materials.


