
When the fall evenings become longer and cooler, you want coziness, warmth and soft light. A paper lantern is a simple craft that will not only decorate the interior, but also create an atmosphere. Such work is suitable for lessons with children, decoration of classes, groups, showcases or even as an element of a photo zone. The main thing is to choose the right paper and spend a little time for careful assembly.
In our version, the lantern will not just be a cylinder with slots, but a full-fledged decorative light fixture with a handle, pattern and even an insert that mimics the light inside.
Read also: How to make a lantern out of paper?
What you'll need
- Colored paper (thick paper is better) - orange, red, yellow
- Scissors
- Glue stick or PVA
- Ruler
- A simple pencil
- White tracing paper (or thin translucent paper) - for the glow effect
- Scotch tape (optional for attaching parts)
- Artificial candle (optional, but enhances the effect)
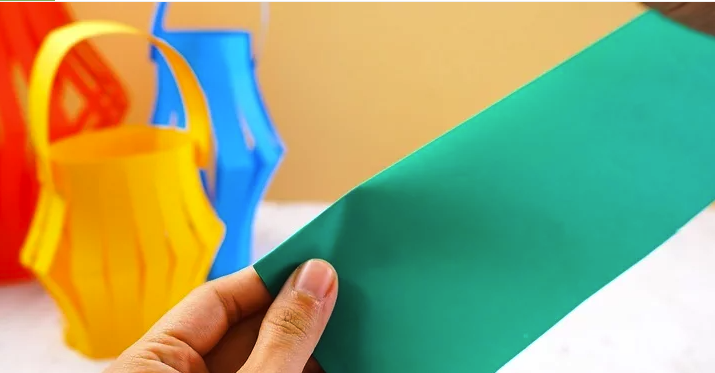
Step 1: Flashlight base 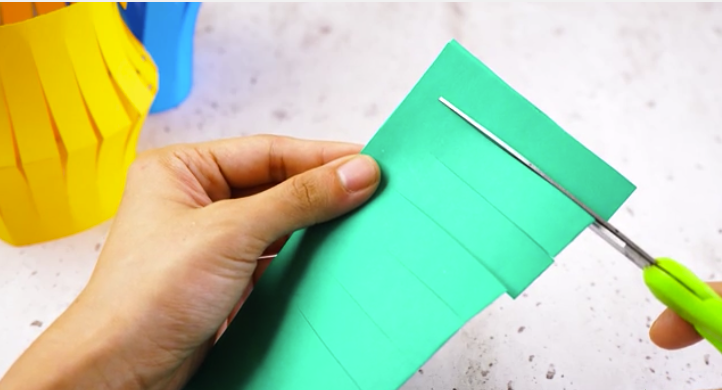
Take an A4 sheet of paper (e.g. green) and fold it in half along the long side. Without cutting through the edge of the fold, make parallel cuts towards it, not reaching 2 cm to the end. The width of the strips is about 1-1.5 cm. 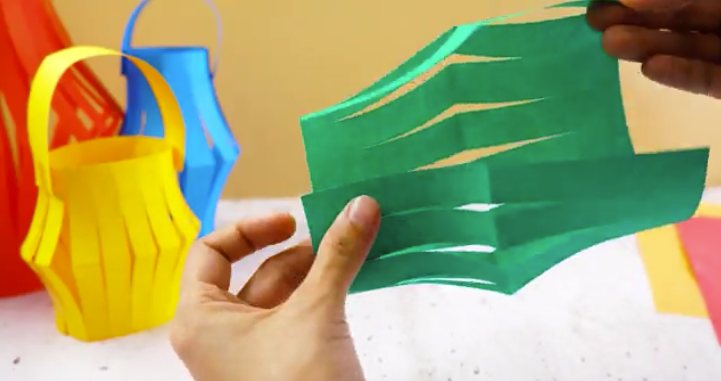
When the whole sheet is cut through, carefully unfold it and fold it into a cylinder - the strips will give the product a characteristic "lantern" volume. Glue or staple the edges together to create the outer shell.
Step 2: Internal insertion 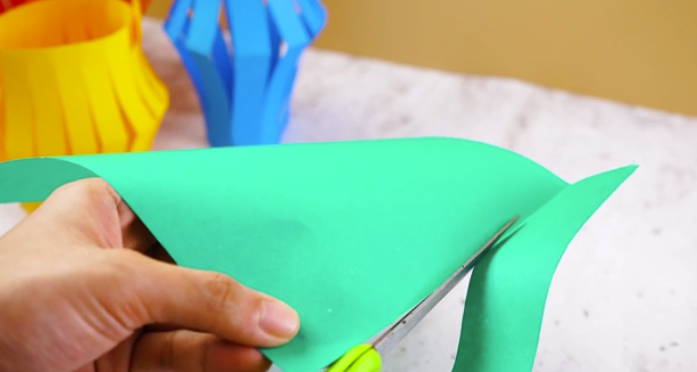
To make the lantern glow and look especially cozy, insert the tracing paper inside. Cut out a rectangle slightly smaller than the main one - for example, 20×14 cm. You can glue autumn leaves, silhouettes of mushrooms, squirrels or patterns cut out of colored paper onto it in advance - when glowing, they will be visible through the translucent layer.
Glue the tracing paper into a cylinder and insert inside the main body. Secure with glue or tape on the inside. You can insert a safe LED candle inside and the flashlight will shine.
Step 3: Handle 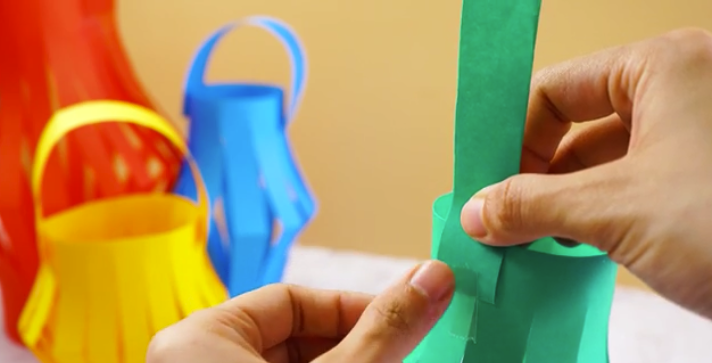
The last element left is the handle. Cut a strip about 2 cm wide and 18-20 cm long. Glue it to the upper edges of the lantern. If you plan to hang the item, fix it especially securely.
You can decorate the pen with inscriptions, patterns, hole punch or even string small paper leaves on it on threads - you will get a themed garland.
Read also: 3 atmospheric models of lamps for a cozy home
Step 4: Decor 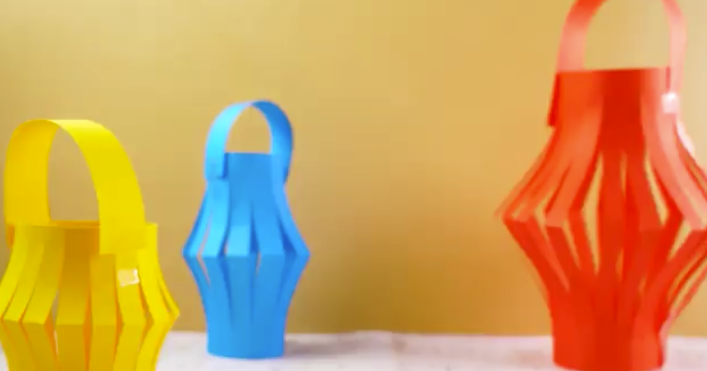
The flashlight can already be considered finished, but you can go further:
- Cover the bottom and top edges with strips of a contrasting color
- Add glitter, marker patterns, stickers or gold ribbon
- Attach a tag with a wish, name or title of the event
- You can use parchment with a print or cut-out pattern instead of tracing paper
Useful tips
- Use medium-weight paper: thin paper may not hold its shape, and too thick paper may not curve well
- If you don't have tracing paper, replace it with food paper or flower wrapping
- It is convenient to use a layout knife and a metal ruler to make even cuts
- A small battery-operated garland can be inserted inside for a night-light effect
Conclusion
A paper lantern is not only a beautiful craft, but also a way to make autumn a little cozier. It can be created in half an hour, but it will please your eyes for a long time. Such work gives room for imagination, and most importantly - brings real pleasure in the process. Collect a few - and your home or classroom will turn into a real autumn fairy tale.


