
Introduction
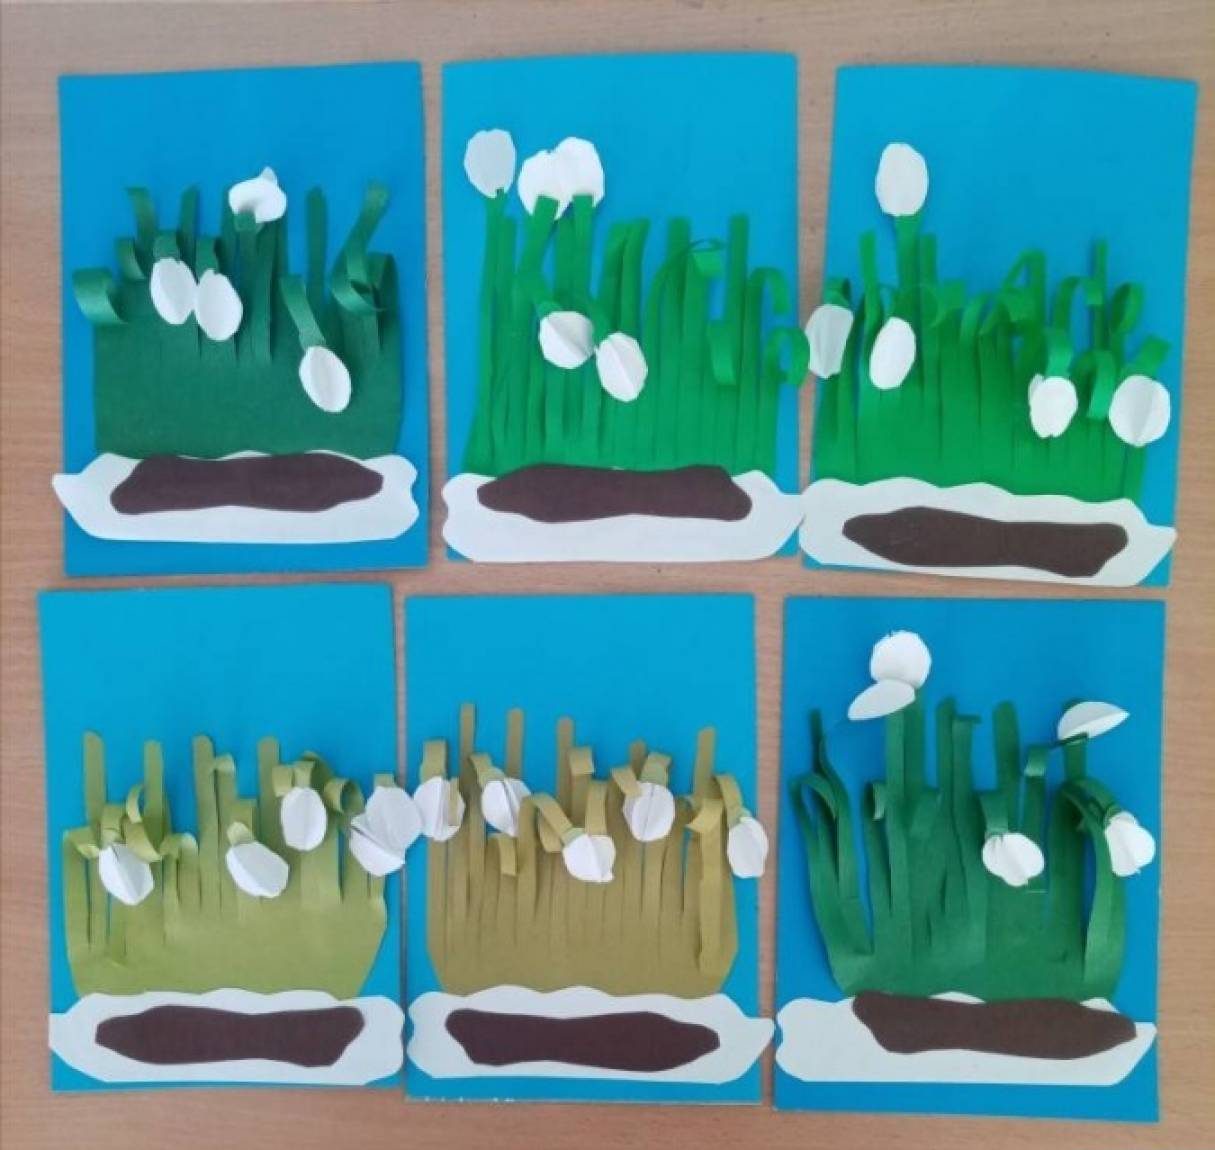
Spring is not only the awakening of nature, but also inspiration for creativity. When the snow is melting outside the window and the first sprouts are already reaching for the sun, it's time to create a spring craft that will fill your home with the mood of renewal. Volumetric applique with delicate snowdrops will be a great solution: it is easy to make, does not require expensive materials and is suitable for children and adults.
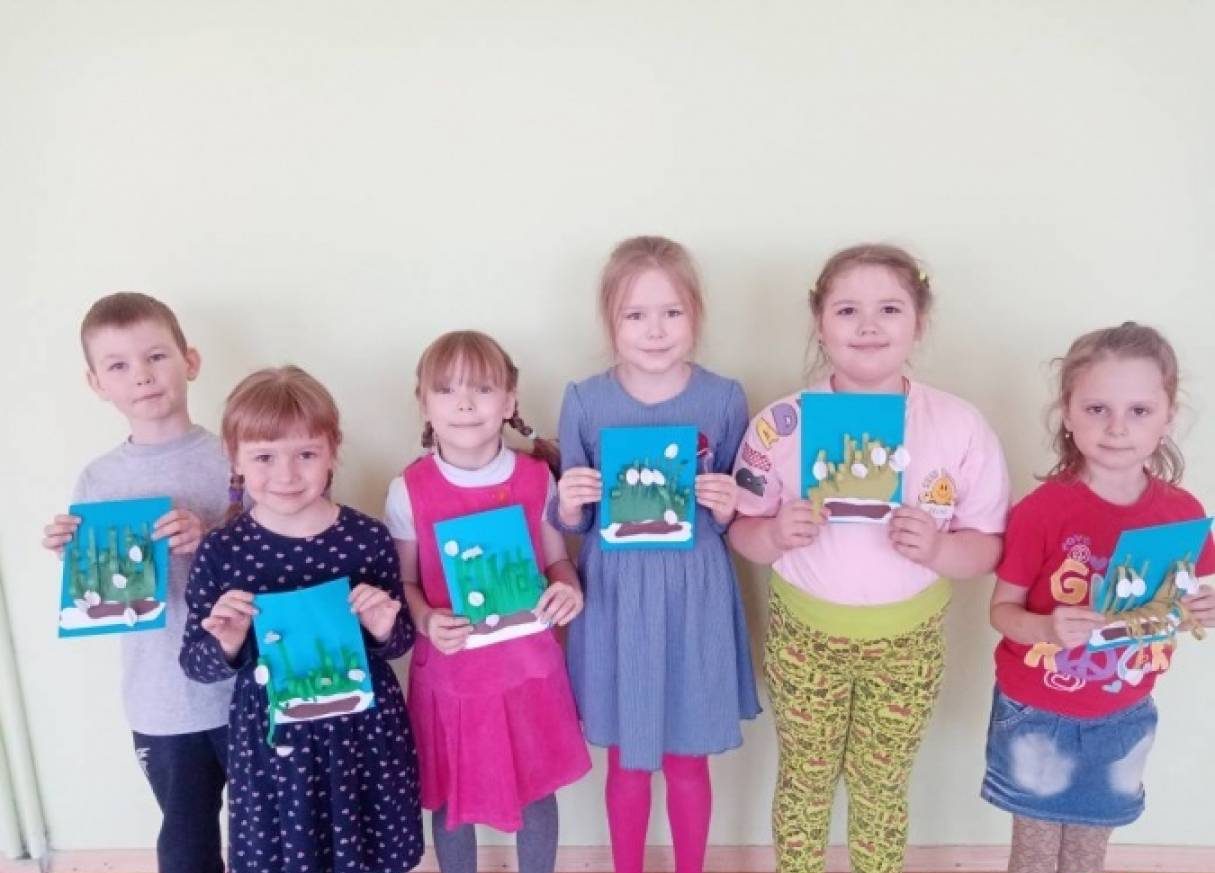
Such an application can be used as an interior decoration, a postcard, a gift for March 8 or a lesson in a school class. Flowers turn out bright, textured and "alive", especially if you approach the matter with heart and imagination.
Materials that will be needed:
- Colored paper (white for petals, green for stems and leaves, blue or background paper)
- A4 size cardboard
- Scissors (better with rounded ends if children are doing it)
- PVA glue or glue stick
- A simple pencil, a ruler
- Black felt-tip pen (for details, if needed)
- Glitter, stickers, corrugated paper - optional
Step 1: Preparing the background
Take a sheet of cardboard - it will be the base of the applique. You can use both white and blue backgrounds. If the background is white, add some sky using pencils or colored paper. If desired, you can cover the cardboard with fabric or wallpaper for a more artistic effect.
Step 2: Creating petals
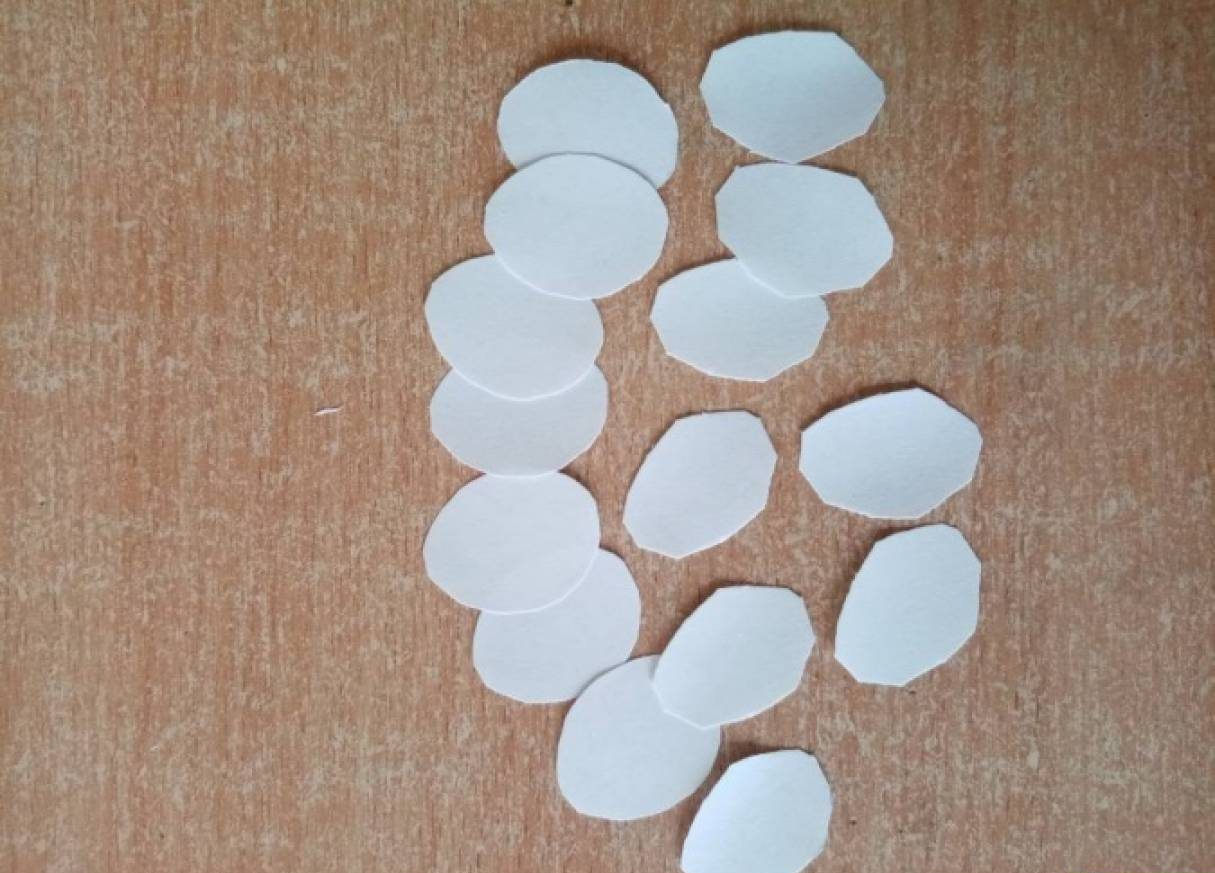
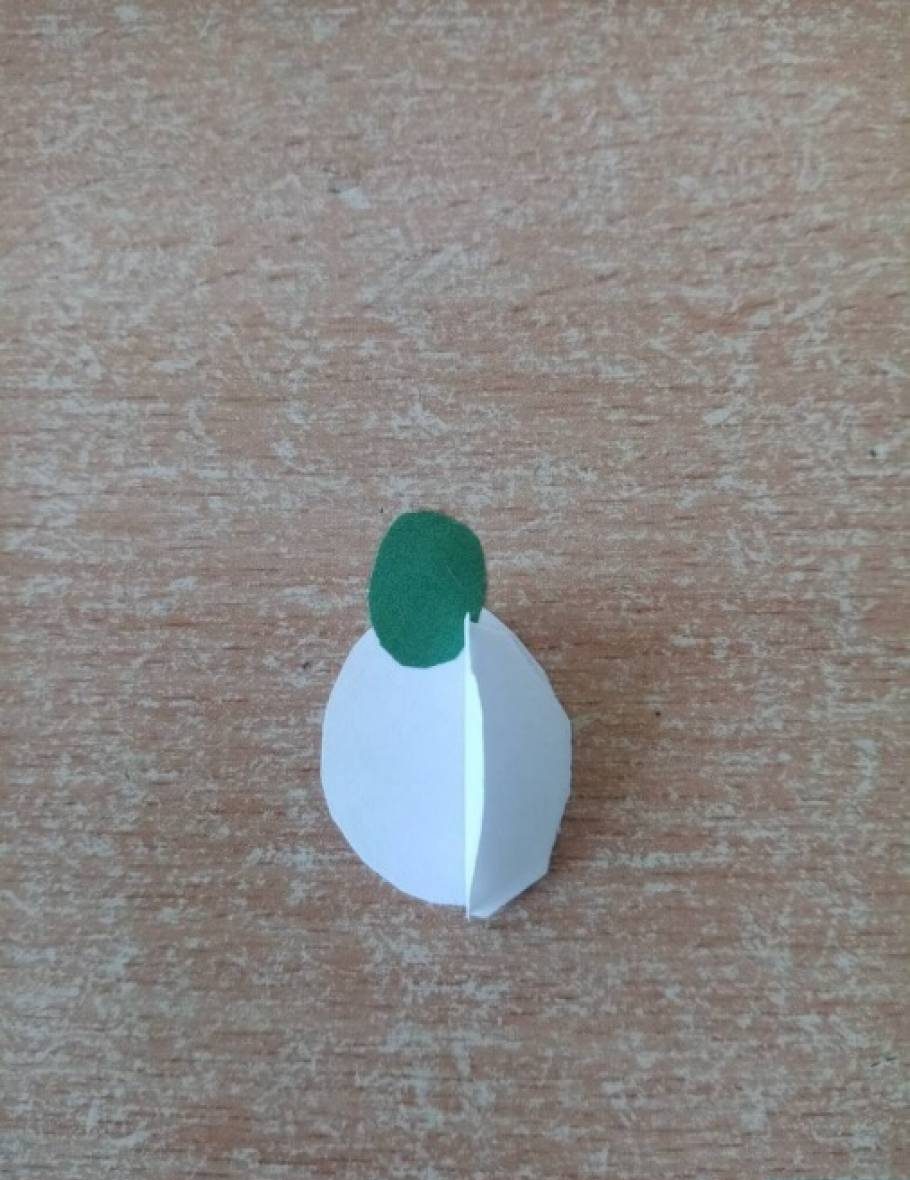
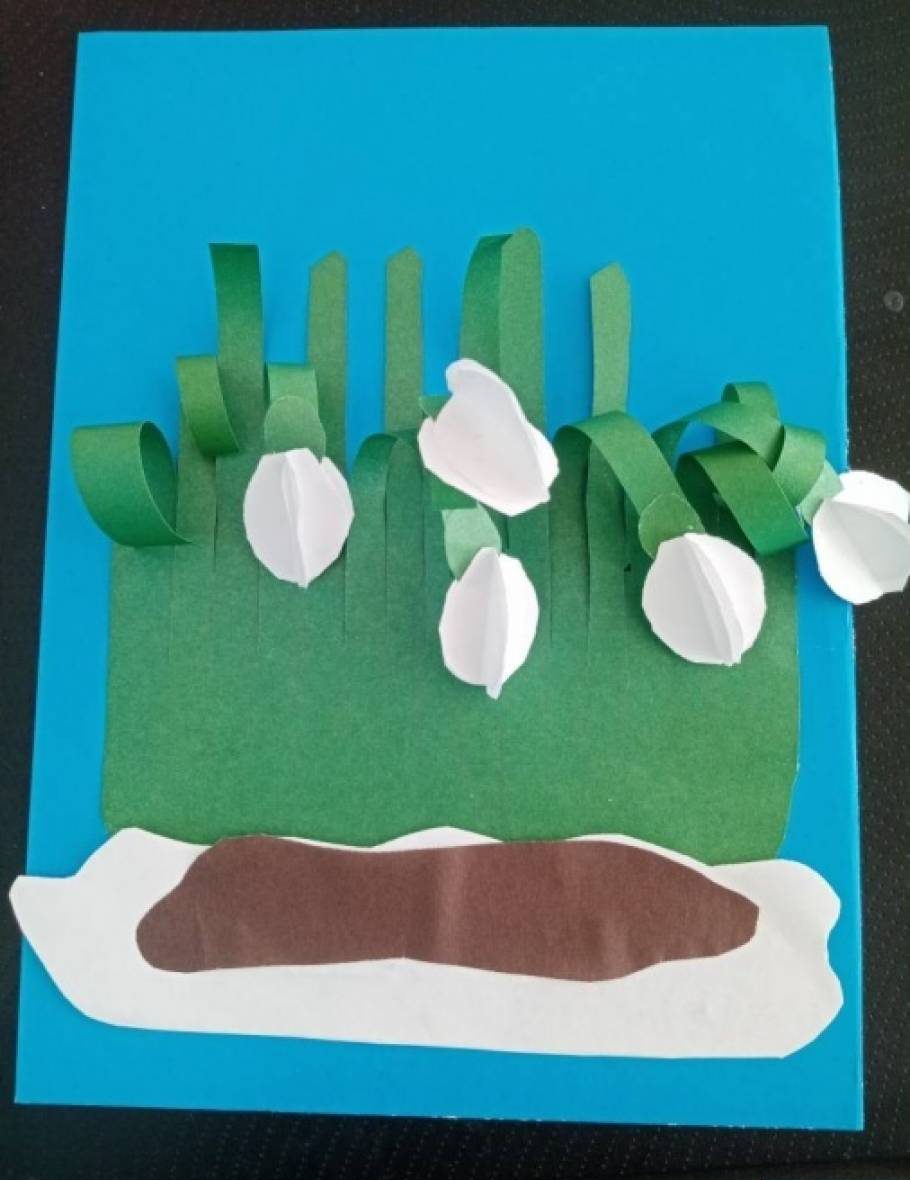
Cut out identical petals from white paper. One snowdrop usually requires three oblong petals with a rounded end. It is recommended to make a template out of heavy paper so that the petals are identical. Fold each petal lengthwise, giving it a slight bulk.
Step 3: Making stems and leaves
Cut strips of green paper 0.5-1 cm wide and about 10-12 cm long. These will be the stems. The leaves can be long, pointed and slightly wavy. For realism, it is better to bend the leaves a little in different directions. If the paper is double-sided, the effect will be especially beautiful.
Step 4: Assembling the flowers
First, glue the stems to the background. Then - on the top of the stem place the petals, slightly overlapping them to form a neat bud. The center of the flower can be emphasized with a drop of yellow paper or glitter. 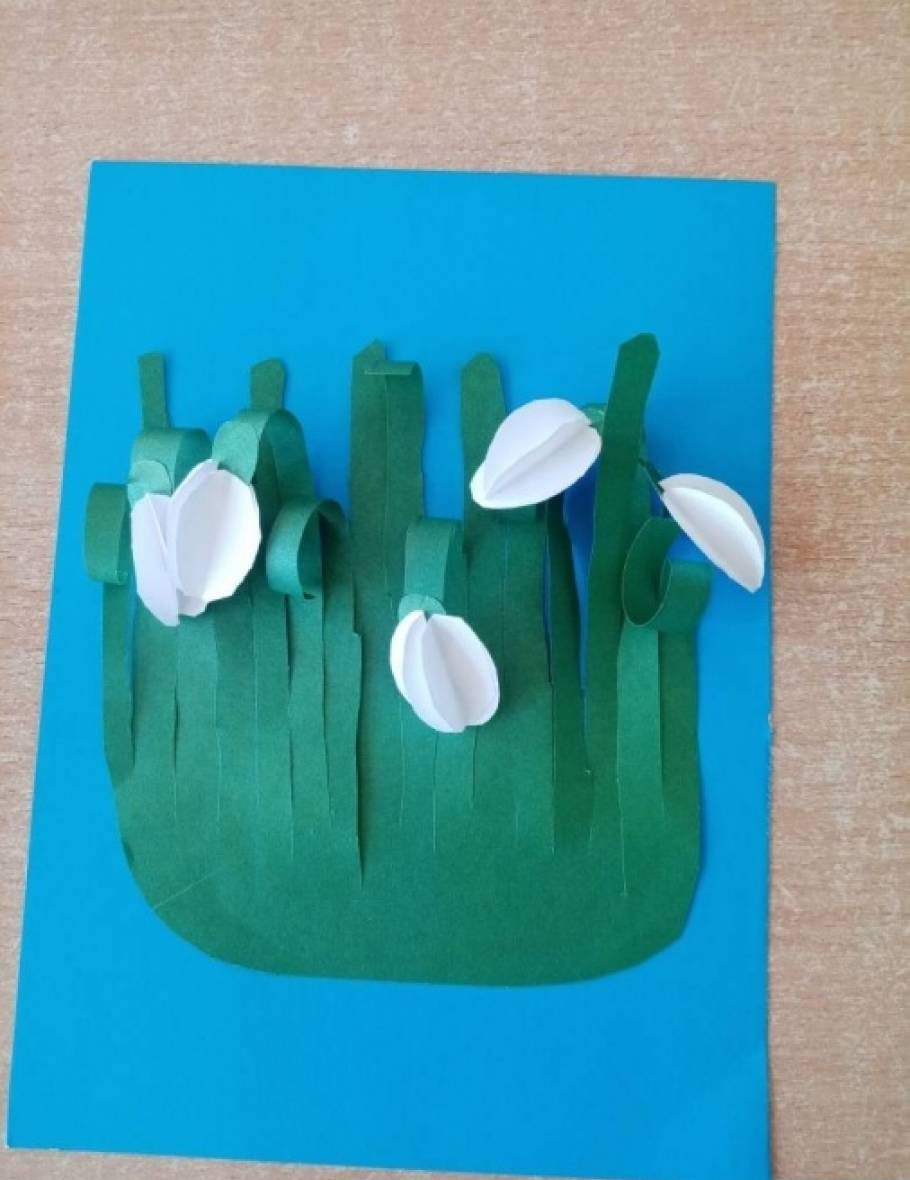
Step 5: Working with leaves
Glue two or three leaves to the base of each flower, placing them diagonally or sideways. It is better not to place them strictly symmetrically - this way the composition will be livelier. Leaves can be slightly raised, gluing only the base - you will get additional volume.
Step 6: Decorating the background
Now decorate the background. Add a sun from a yellow circle, clouds from white paper, draw butterflies or glue decorative ones. You can even make green "grass" at the foot of the stems. Don't be afraid to use applique elements of different shapes and colors.
Additional Ideas:
- Use corrugated paper - it does a great job of mimicking the texture of the petals.
- You can use cotton balls instead of petals if you want to try a different material.
- Add a caption or greeting, especially if the applique will be a gift.
- Make a frame from a strip of colored paper - the craft will immediately become complete.
- Create a whole field of snowdrops with different shades of white, adding light blue or cream petals.
Application:
- School project or contest for Spring Day.
- A gift to mom or grandma, made by the hands of the child.
- Decorating a group in a kindergarten or elementary classroom.
- A postcard for March 8th.
- Spring decor element on a window, wall or door.
- A family-friendly activity to develop children's motor skills and sense of beauty.
Conclusion
Creating a volumetric applique "Snowdrops" is not just a craft, but a real story about spring, which you tell with your own hands. Simple materials, a little patience and inspiration - and the first flowers of the year blossom on a sheet of paper. This process pleases the eye, develops creative skills and unites children and adults in joint creativity.


nice keep going