
Does the art of etching seem complicated and require special materials? Try the simplified version - linocut on cardboard! 🌟 This fun process combines creativity and simplicity to create spectacular prints without expensive tools.
📜 Where did this technique come from?
Traditional linocutting originated in the early 20th century as a more affordable alternative to wood engraving. Artists quickly appreciated the softness of linoleum, which was easier to cut. But the real breakthrough came when artists began experimenting with cardboard, a material that is found in every home 🏠.
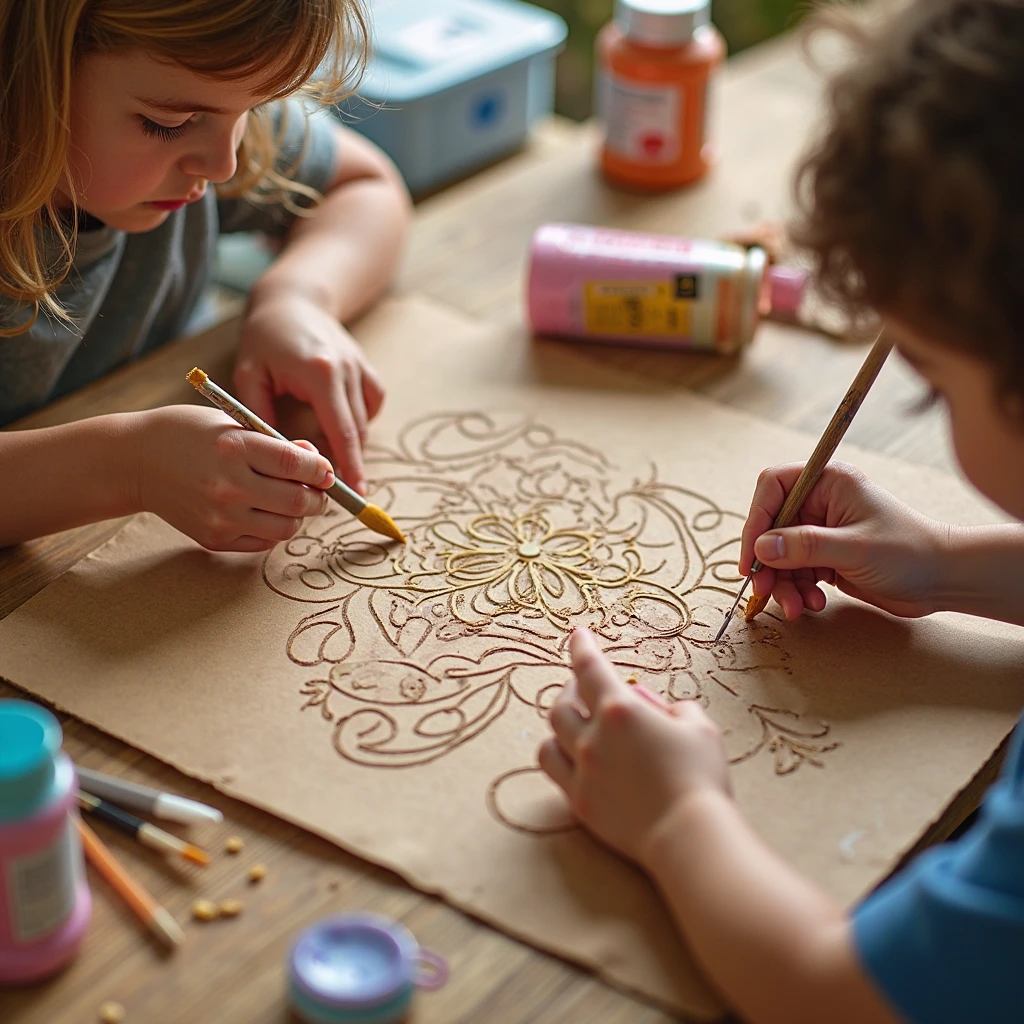
Cardboard etching retains the basic principles of printmaking, but requires less effort and specialized skills. It is ideal for first steps in the world of printmaking, children's art 🧒 or quick artistic experiments.
🛠️ What will you need for the job?
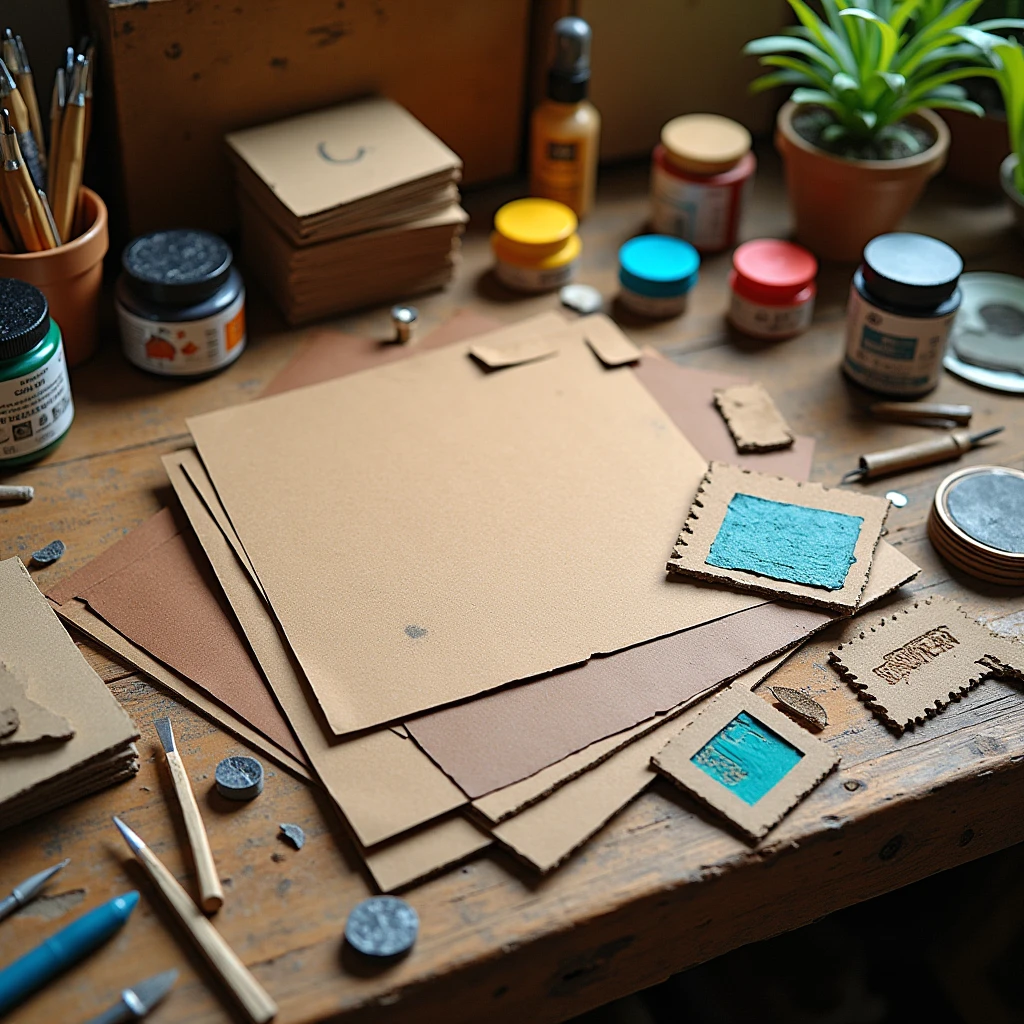
The main advantage of this technique is the minimal set of materials. Here's what you'll need:
- Dense cardboard (better corrugated from boxes 📦) - it holds its shape well, but is easily cut
- Stationery knife or stylus - to cut out the pattern
- Roller (brayer) - can be replaced with a regular sponge 🧽
- Gouache or acrylic paint - instead of specialty printing ink
- Impression paper - even a regular office supply
For decorative effects, you can use:
✨ Textured cardboards (e.g. embossed)
✨ Natural materials (leaves, lace) to create complex textures
✨ Colored paper for contrasting prints
✂️ Step-by-step process for creating an engraving
1. Preparing a sketch
Start with a simple pencil drawing ✏️. For the first trials it is better to choose laconic forms without small details. Transfer the sketch onto cardboard - you can simply copy it or trace around it.
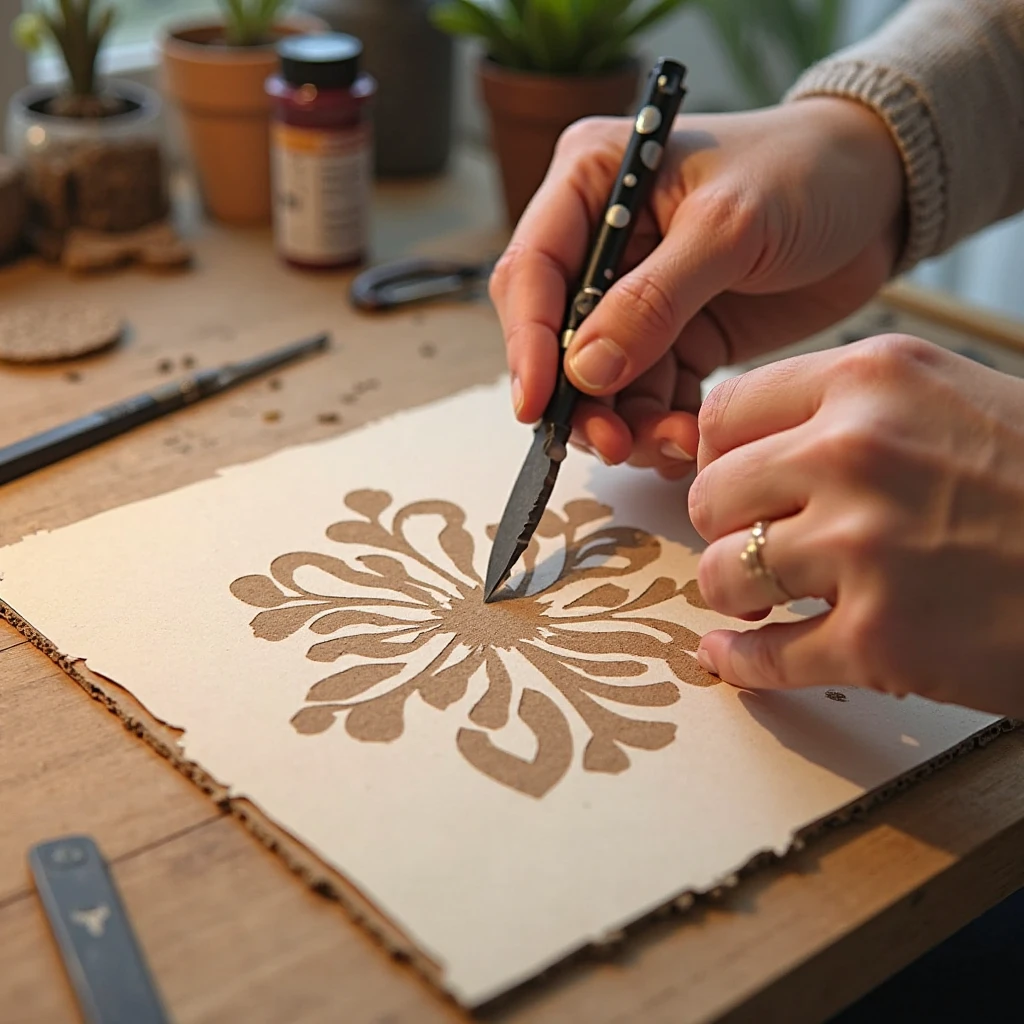
2. Cutting out the image
This is where the fun begins! Using a sharp knife, carefully cut through the outlines.
Remember:
- Deeper areas will be white on the impression
- The uncut parts will give a color image
3. paint application
Apply the paint with a roller or sponge. It is better to use a small amount for the first coat - cardboard absorbs paint faster than linoleum. Try a gradient effect - apply two colors side by side and mix them directly on the form.
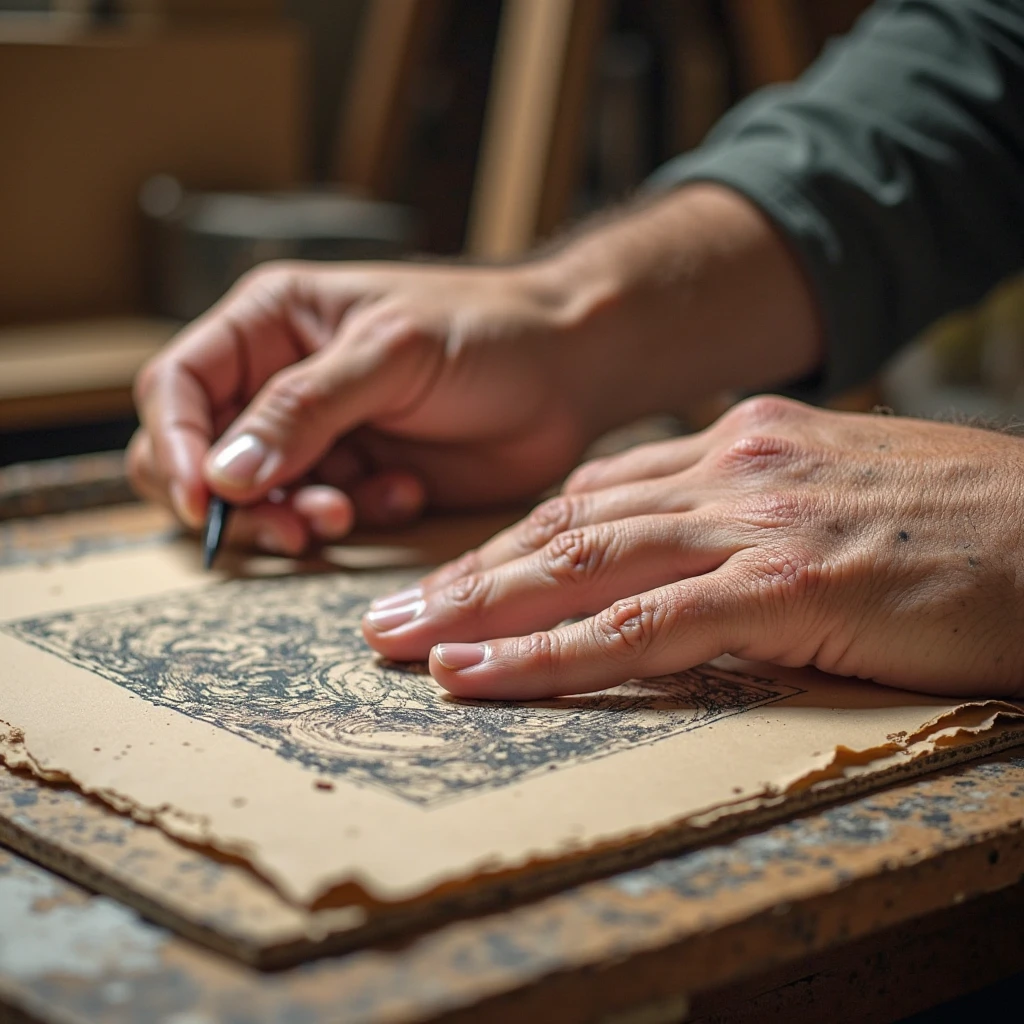
4. Print impression
Gently press the paper onto the cardboard mold. You can use a spoon 🥄 to apply even pressure. Carefully remove the sheet - your first print is ready!
🎨 Artistic possibilities of the technique
Cardboard engraving opens up a huge scope for experimentation:
- Multilayer printing - Create complex images by overlaying multiple colors
- Texture effects - Use different types of cardboard (smooth, corrugated)
- Collages - Combine the cut elements with other materials
- Monotype - Leave unique prints by adding paint with a brush
Abstract compositions and stylized landscapes look especially effective. Try creating a series of postcards or exlibris - small graphic signs for books 📚.
👩🏫 Tips for beginners
- Start with simple shapes - Geometric patterns or animal silhouettes are great for your first try 🐱
- Use different types of cardboard - packaging, binding, corrugated have different effects.
- Experiment with colors - acrylics give bright prints, gouache gives softer prints
- Don't be afraid to make mistakes - cardboard is cheap, you can always start over 💪
💡 Ideas for creativity
- Handmade cards 💌 - a unique gift for loved ones
- Illustrations for books - create your own zine or comic book
- Textile print - transfer the pattern to the fabric using special paints
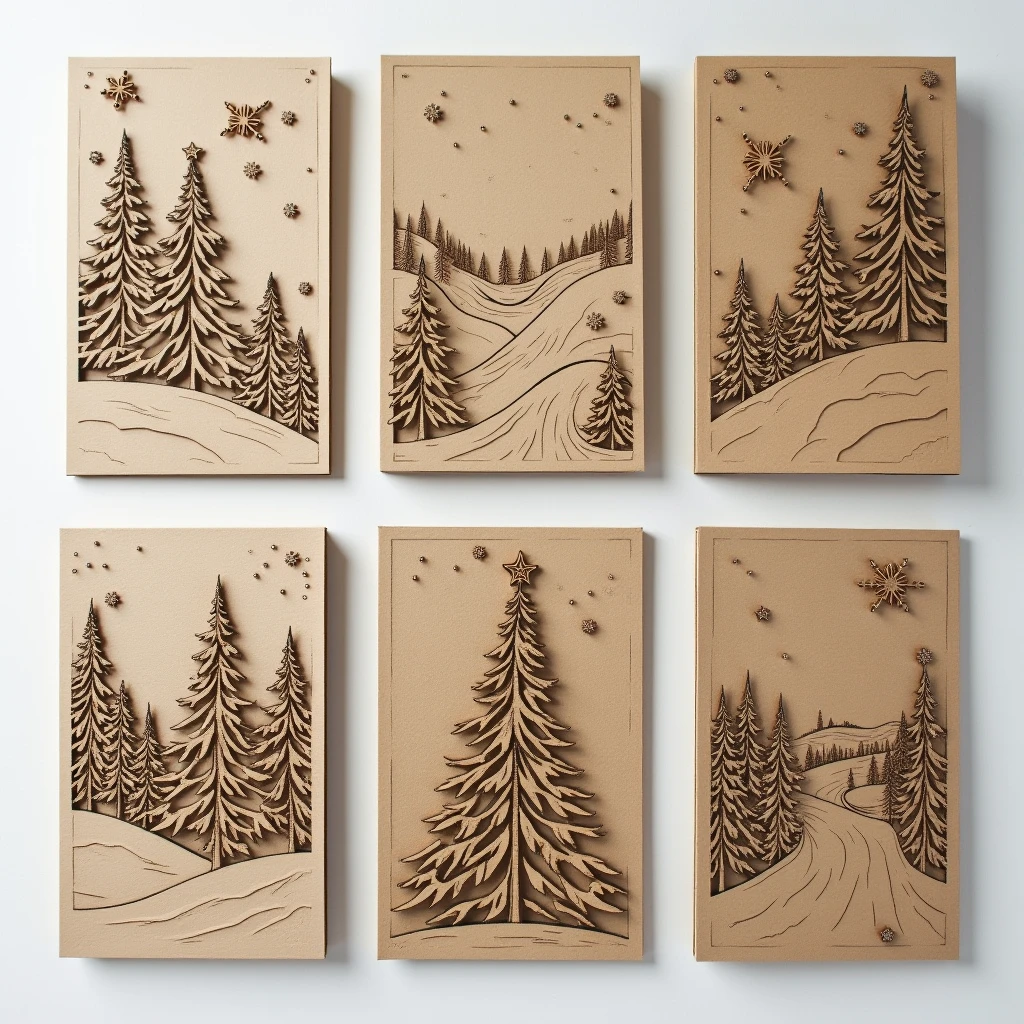
- New Year's decorations 🎄 - make a series of holiday prints
🌿 Why it's worth a try.
The cardboard engraving is:
✅ Affordable (materials are available in every home)
✅ Fast (from sketch to print in a couple of hours)
✅ Fascinating (each print is a little unique)
✅ Useful (develops fine motor skills and artistic vision)
It's the perfect way to get to know the world of printmaking without investing a lot of money. Best of all, the process is so addictive that it's hard to stop!
Have you tried the cardboard etching technique? Share your experience in the comments! And if you haven't already, it's time to start ✨


