
Ice painting technique - is an amazing way to combine creativity, science and play. It's perfect for children's experiments, art therapy and creating abstract masterpieces. In this detailed guide, we'll cover all aspects of working with frozen paint, from basic recipes to professional art techniques.
Why should you try ice painting?
This unusual method offers many benefits:
-
Develops children's fine motor skills
-
Stimulates cognitive interest (study of the aggregate states of matter)
-
Allows you to create unique textures unattainable by other techniques
-
Great for hot weather as a way to cool down creatively
-
It is an environmentally friendly painting option (natural colors can be used)
Preparation of materials
To get started you will need:
1. basic ingredients for freezing:
-
Watercolor paints or food coloring
-
Water (it is better to use distilled water for ice transparency)
-
Ice molds (standard cubes, shaped molds, cups)
2. Additional ingredients for different effects:
| Ingredient | Effect |
|---|---|
| Salt | Creates interesting veins and cracks in the ice |
| Glycerin | Slows melting, prolonging the painting process |
| PVA glue | Adds viscosity, improves adhesion to paper |
| Glitter | Gives a shimmering effect |
3. A base for painting:
-
Watercolor paper (at least 200 g/m²)
-
Canvas on cardboard (for layered works)
-
Smooth stones or wooden planks (for irregular surfaces)
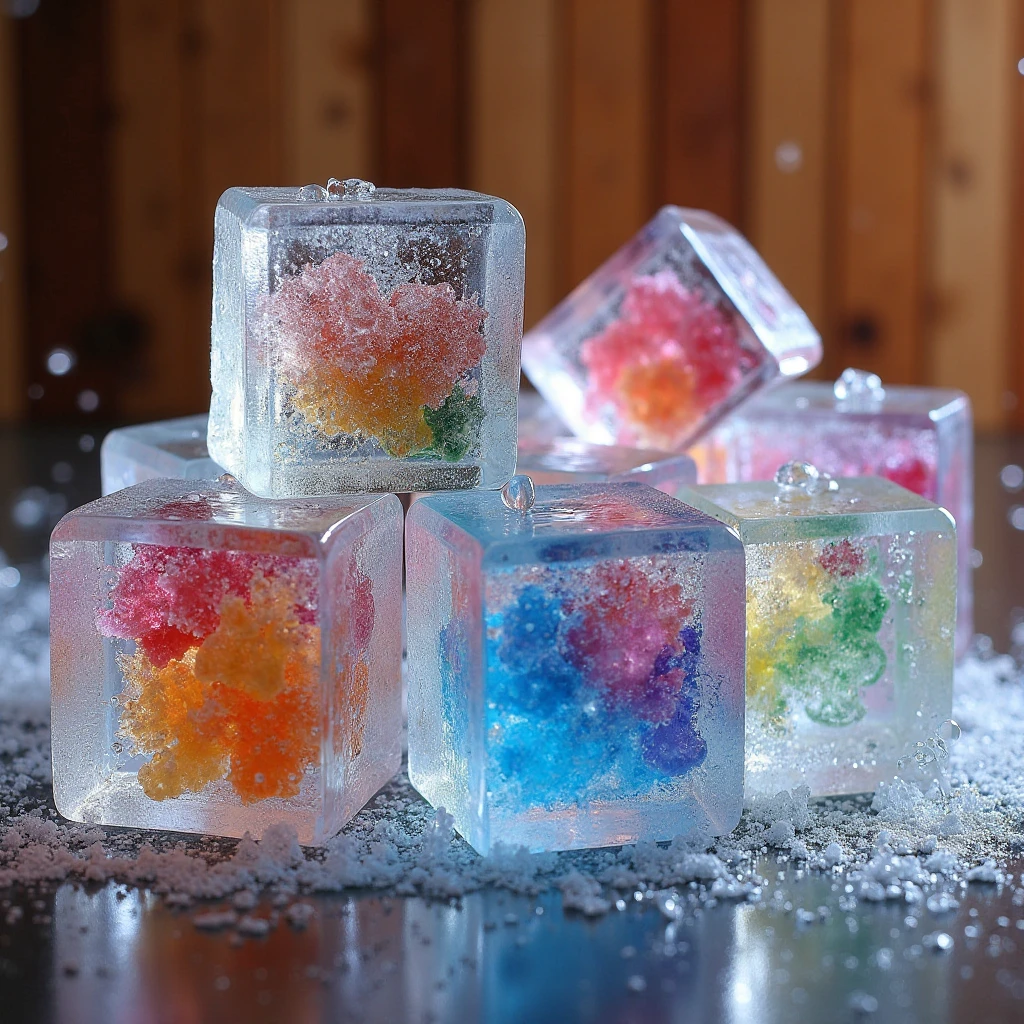
Step-by-step process for creating colored ice
1- Basic recipe
-
Mix water and paint in a 3:1 ratio (3 parts water to 1 part paint)
-
Pour into molds, leaving 5 mm to the edge (ice expands when frozen)
-
Add popsicle sticks or toothpicks as handles
-
Freeze for 4-6 hours (overnight is best)
2. Enhanced versions
For a marbled effect:
-
Do not stir the paint completely, leave streaks
For layered cubes:
-
Freeze layers of different colors one at a time
For aromatherapy painting:
-
Add 2-3 drops of essential oil (lavender, orange)
5 techniques for painting with ice colors
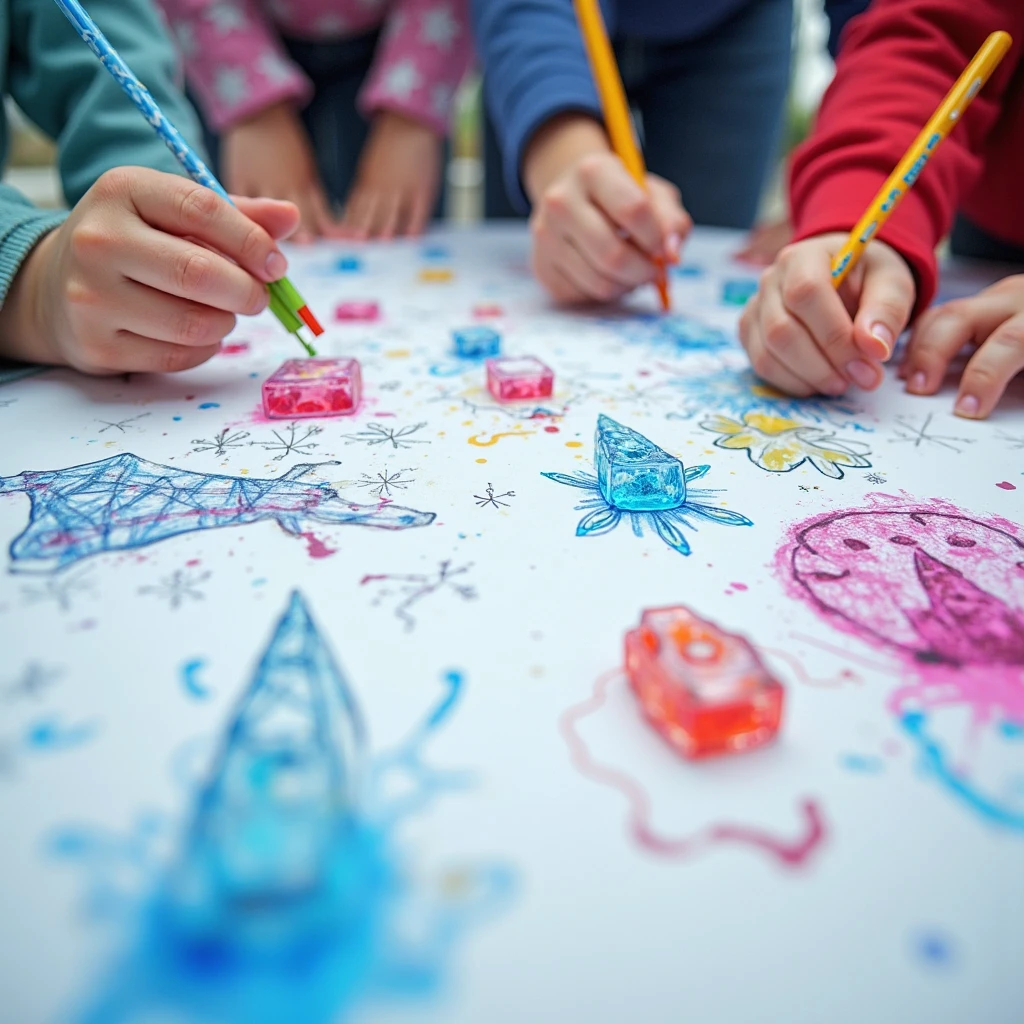
1. Classic gliding
-
Place the paper on a flat surface
-
Grab the ice cube by the stick
-
Drag it across the paper while the ice melts.
-
Experiment with the pressure force
Effect: Smooth color transitions reminiscent of watercolors
2. Ice Stamp
-
Use shaped molds (stars, hearts)
-
Press down on the paper like a stamp
-
Rotate for multi-color impressions
Effect: Clear repeating patterns
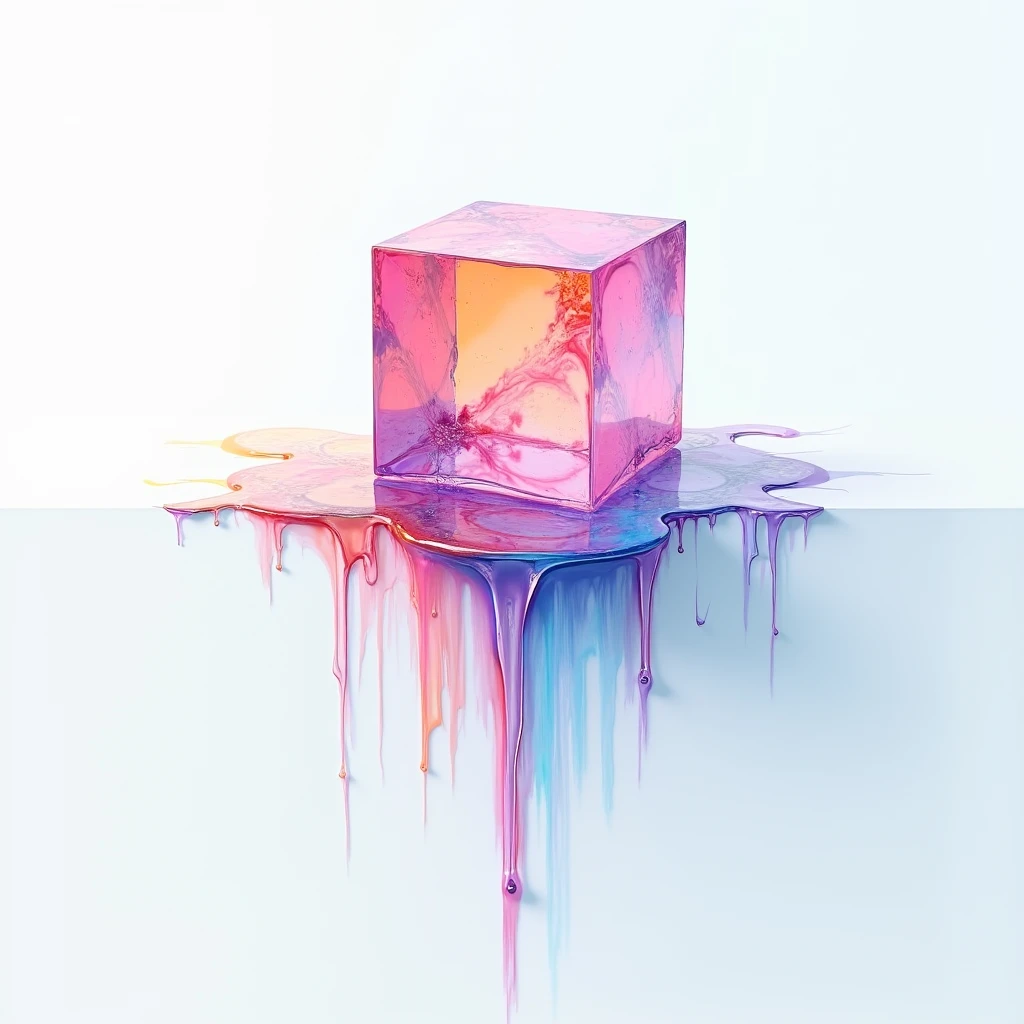
3. Melting graffiti
-
Hang the paper vertically
-
Attach a few cubes on top
-
Watch the paint flow downward
-
Change the angle of inclination for different trajectories
Effect: Dynamic undertones, abstract compositions
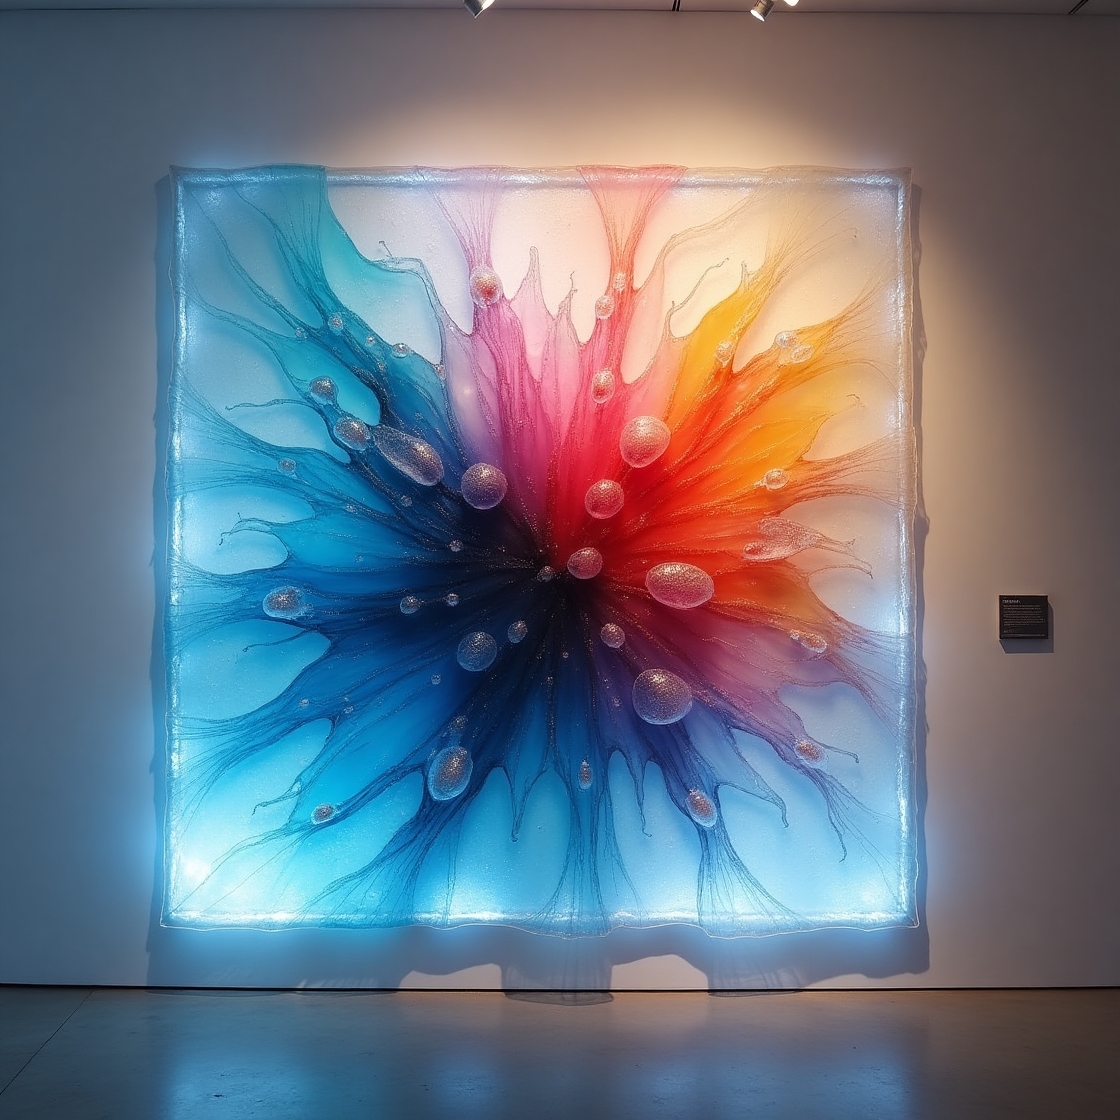
4. Ice monotype
-
Completely melt the cube on the glass
-
Cover with paper, press down
-
Take it off, it's a unique print
Effect: Fantasy patterns reminiscent of natural forms
5. Dimensional ice sculptures
-
Freeze large molds in containers
-
Draw outside while the sculpture melts away
-
Take pictures of the transformation process
Effect: Ephemeral art, changing with the times
The scientific aspect: what children learn
This technique is a great way to learn important scientific concepts in a playful way:
-
Change of aggregate states (solid-liquid)
-
Properties of water (freezing expansion)
-
Color mixing (how new shades are formed)
-
Temperature phenomena (melting rate under different conditions)

Tips for professional artists
-
Control the melting:
-
Use salt to speed up the process
-
Use glycerin to slow down
-
-
Create challenging work:
-
Combine with other techniques (splatter, stamps)
-
Use masking fluid to preserve the areas
-
-
Consolidate the result:
-
Fix with varnish in several coats
-
Scan the artwork for the digital archive
-
Ideas for themed classes
-
Winter landscapes (blue and white cubes)
-
Space fantasies (dark background + neon colors)
-
Sea waves (slant-stack technique)
-
Botanical sketches (green drips like stems)

Problems and solutions
Problem: The paint is too pale
Solution: Increase pigment concentration or use acrylics
Problem: The ice is melting too fast
Solution: Add 1/2 tsp. glycerin per mold
Problem: The paper is crumbling
Solution: Use a thicker base or paint on canvas
Environmentally friendly alternatives
For an all-natural option:
-
Use vegetable juices (beets, spinach, turmeric)
-
Replace plastic molds with silicone molds
-
Use wooden sticks instead of plastic sticks
Conclusion
Drawing with ice is more than just a child's pastime. It's:
-
A way to create unique artistic effects
-
A tool for learning about the world around us
-
An unusual variant of art therapy
-
Opportunity to experiment with materials
Try this technique in different variants - from simple children's drawings to complex abstract compositions. Each result will be as unique as the patterns on a winter window!
Ready for some new experiments? In the next workshop, we will be painting "Shaving foam paintings: volumetric effects« - don't miss it! 🎨


