
 Before the New Year, you should definitely learn how to create snowflakes with your own hands. It is possible to do without carved beauties in the process of decorating the interior of halls, halls of schools, kindergartens, hospital lobbies, classrooms and children's rooms. At labor lessons, at creative classes in December everyone is sure to make beautiful frosty patterns to decorate the windows with them. For example, it can be wonderful otynanki, You will have to work hard, of course, to do the work in time and accurately. But in this way you can create whole thematic patterns, open your own fairy tale or remake known stories in your own way. Patterns on the windows look beautiful from the street. Passersby's mood is immediately lifted when they see that everything around is filled with sparkling garlands and New Year's designs. And without snowflakes, naturally, too, you can not do without snowflakes. We offer in this lesson to consider a simple, but very interesting variant of creating a carved New Year snowflake from colored paper.
[H3]What you'll need for winter creative work:[/H3]
- A square piece of paper (orange was used here);
- a decorative snowflake and a half bead;
- scissors;
- pencil (well sharpened) or pen.
[H3]How to make a snowflake with your hands[/H3]
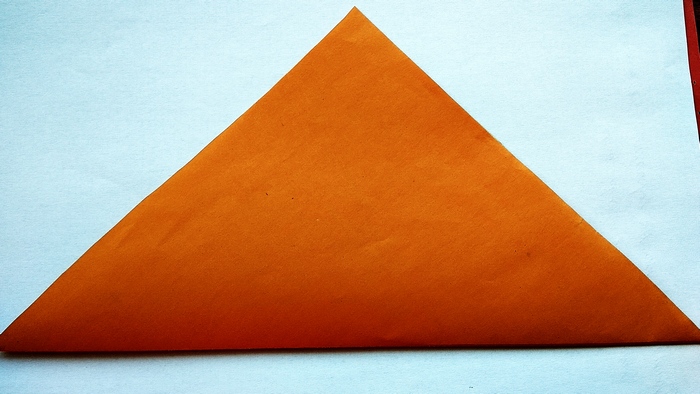
1. To find your snowflake beauty, just fantasize it, create it with your own hands. Orient yourself on the hints given in this lesson. Choose a sheet of paper interesting to you by color. Cut out a square from it. For example, use the full size of A4, only cutting off one side of the extra part. Fold the square diagonally.

2. Fold the two sides of the right angle to make a 60-degree angle. This is the perfect size for a snowflake blank. Once cut out, you will usually end up with a shape with 6 rays.

3. Now you can bend the resulting triangular tulip blank again in height.

4. Cut off the top uneven part. You will immediately see a clear cut line after folding the paper.
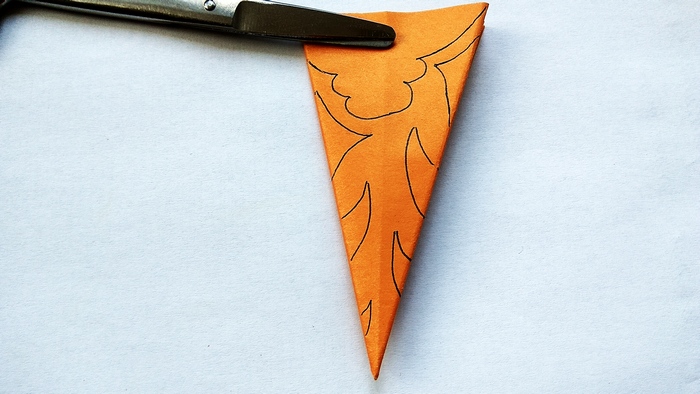
5. Once the cut-out blank is ready, think about what pattern you would like to see in your product. Use a pen to draw a clear line of the frosty pattern that you will need to cut out the snowflake from. You will never be able to replicate the same snowflake that you have just drawn and cut out. Therefore, here is shown only an interesting example, which should be guided to learn how to cut out winter beauties.
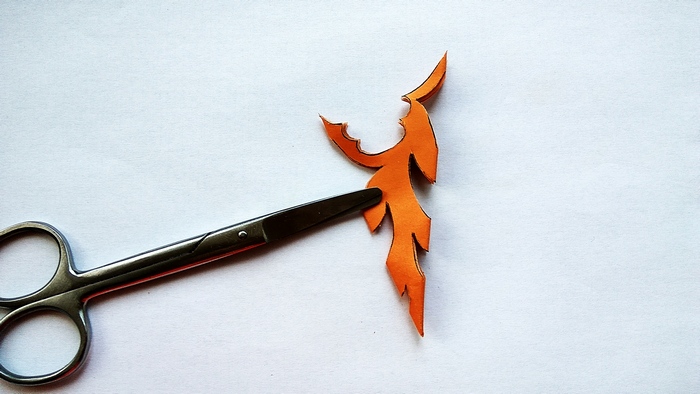
6. Very carefully cut out the carved workpiece along the lines with scissors. Hold the paper tightly with your fingers so that it does not move during the cutting process, otherwise all your efforts will go to waste.
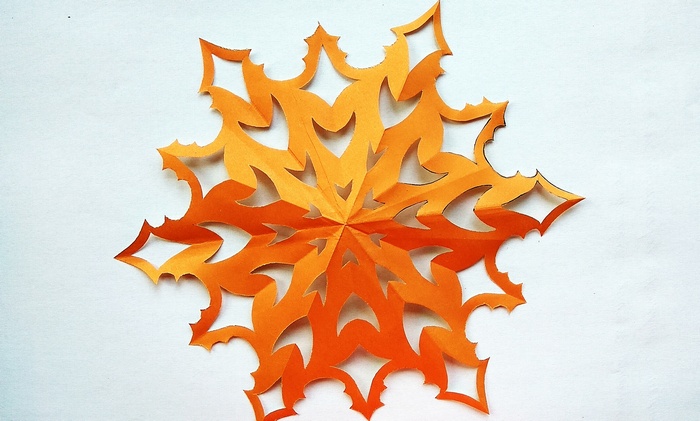
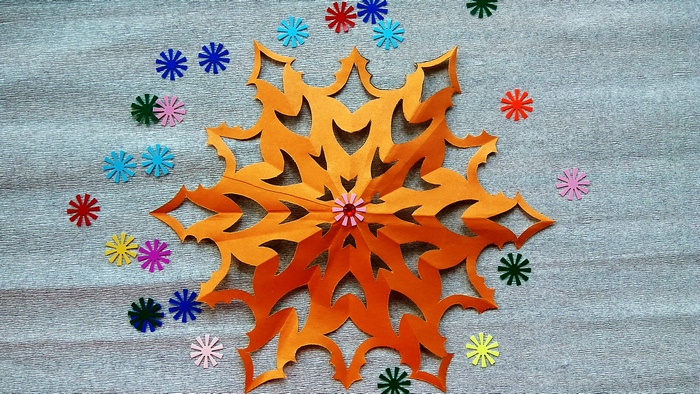
7. Now the long-awaited moment has come - unfold the paper. Since the lines are very thin, you must be careful not to tear the webbing. In front of you is a beautiful winter snowflake, cut out by your own hand.
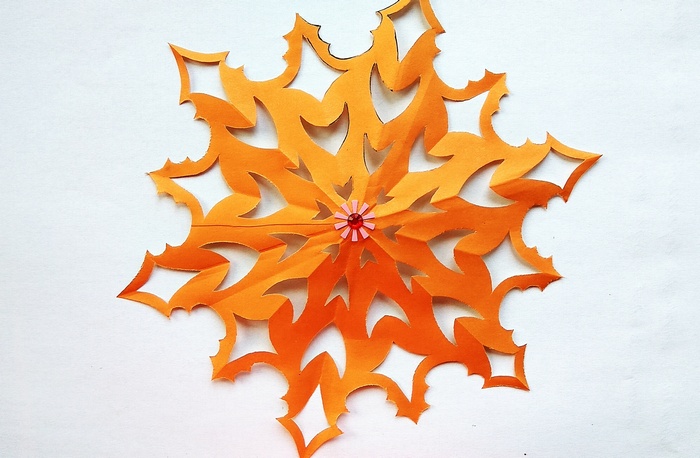
8. One more small touch - glue a plastic snowflake with a half bead or any other middle in the very center.
The craft is ready.


