
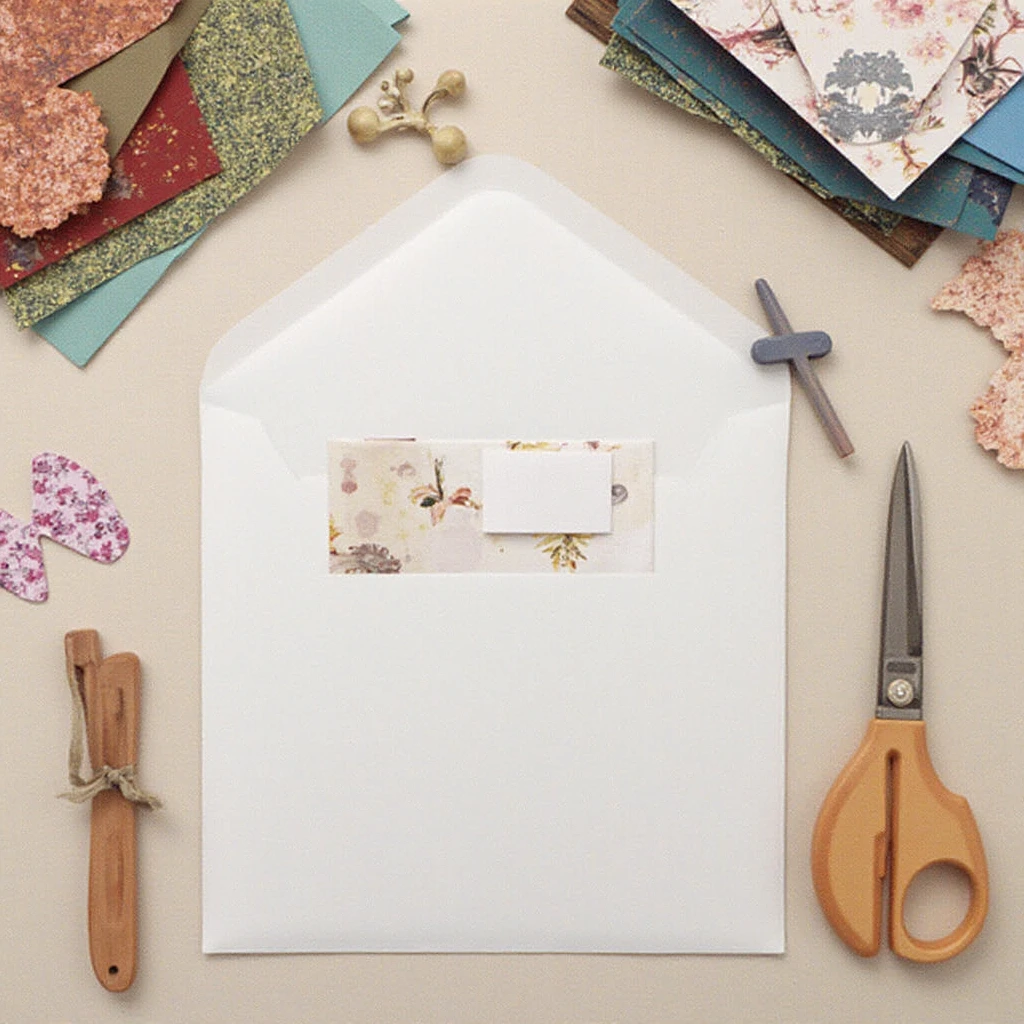
When there is a need to present money, a gift card or an important document, you always want to do it in a stylish and original way. An ordinary envelope seems too impersonal, and purchased options rarely match the significance of the moment. That's where the shirt envelope comes in - an elegant solution that turns an ordinary gift giving into a memorable gesture.
🎩 Why a shirt envelope?
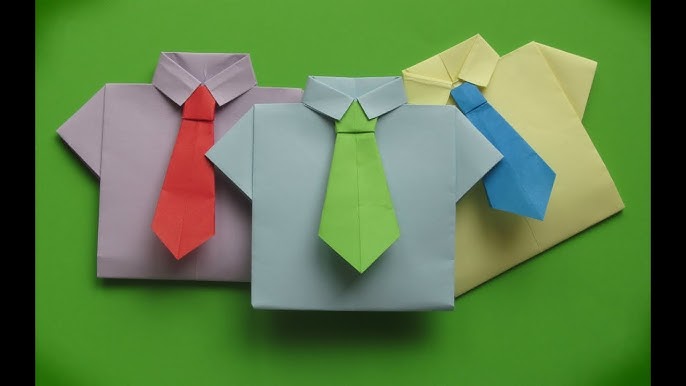
This type of origami packaging has several undeniable advantages. Firstly, it is incredibly spectacular - the recipient usually freezes in admiration before opening such an envelope. Secondly, it is universal: it is suitable for business documents, money gifts for wedding, graduation or birthday. Thirdly, it conveys a certain message - you demonstrate that you have chosen the packaging as carefully as you have chosen the gift itself.
The specialty of the envelope-shirt is its masculine character. While floral and openwork motifs are more often associated with femininity, a shirt with a tie or bowtie carries solidity and business style. This makes this envelope an ideal choice for gifts for men - father, husband, brother, colleague or boss.
Read also: Why does paper tear when folding origami and how to fix it?
📐 Preparing materials: the basis for success
You won't need many materials to create the perfect shirt envelope, but their choice is fundamentally important to the outcome.
Paper - the protagonist of our project. The ideal option is heavy design paper with a density of 120-160 g/m². It is strong enough to hold its shape, but also folds well. An excellent choice:
- Kraft paper in rich brown color for vintage style
- Linen or canvas textured paper for solidity
- Classic white paper for formal occasions
- Paper with a slight metallic glow for holiday events
Toolsthat will make the process accurate and enjoyable:
- Bone knife for perfect bends
- Metal ruler
- Sharp pencil for marking
- Self-repairing cutting mat
🎯 Step-by-step envelope creation: from simple to complex
Step 1: Preparing the basic envelope
Let's start by creating a plain envelope, which will be the base for our shirt. Take a 21×21 cm square piece of paper - this size is perfect for a standard card or money gift.
Fold the sheet in half diagonally to make a triangle. Then fold the bottom corner of the triangle to the center - this will be the flap of our envelope. Bend the sides to the center as well, creating the familiar envelope shape. Don't pin the folds too tightly yet - we'll have to adjust them.
Step 2: Shaping the collar
The most important part is creating the shirt collar. Unfold the side flaps and carefully fold the top layer of paper down by about 1.5-2 cm. This fold must be perfectly even - the whole appearance of the shirt depends on it.
Now take the corners of the newly created lapel and fold them diagonally to the center. You will have the characteristic triangles that form the classic bow collar. Make sure that both triangles are symmetrical - this is the key to a neat look.
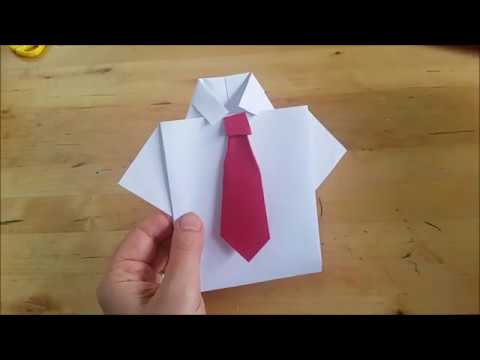
Step 3: Creating a tie or bowtie
For the tie, you will need a small rectangle of paper in a contrasting color. The size of about 8×4 cm will be enough. Fold it in half lengthwise, then unfold it and fold the edges to the center line to create the base of the tie.
Taper the top part to create the characteristic triangular shape. The lower part can be left straight or rounded, depending on the style of tie you want. Glue the finished tie under the collar, leaving only the decorative part visible.
✨ Secrets of perfect execution
Bending accuracy - the basis of the basics. Each fold should be carefully ironed with a bone knife. Do not press too hard - you may damage the structure of the paper. It is better to make several light passes than one strong one.
Symmetry - what distinguishes amateur work from professional work. Constantly check whether the elements of the collar are symmetrical, whether the tie is evenly positioned. If something has gone wrong, it is better to carefully disassemble and start this stage again.
Color selection is of the utmost importance. The classic combination is a white shirt and a dark tie. But for special occasions you can experiment:
- Pastel colors for spring events
- Dark blue or burgundy for business gifts
- Patterned tie paper to create a playful mood
🎁 Ideas for personalization
Make your envelope shirt truly unique with simple but impactful details.
Mini-gourds - Glue two small rhinestones or beads at the base of the collar. This will give the envelope a special charm.
Name tag - Cut a small label out of contrasting paper and write the recipient's name on it. Attach it to the "pocket" of the shirt.
Thematic design - For a wedding add small paper rings, for a graduation add a mini diploma, for a birthday add a foil number.
📦 What can you put in an envelope like this?
The shirt envelope is not just a beautiful package, but a fully functional envelope. In it you can put:
- Cash gift - banknotes of any denomination
- gift card - true to size
- Tickets for the event - sets the mood before the event
- Certificate - especially appropriate for awards and certificates
- A love letter - an unusual way to confess your feelings
💡 Tips for first attempts
If you've never made a shirt envelope before, start by practicing on regular office paper. The first envelope will be far from perfect - this is normal. By the second or third time, you will understand the logic of the folds and will be able to create neat work.
Don't be afraid to experiment with sizes. If you enlarge the initial square to 30×30 cm, you will get an envelope for larger gifts. If you reduce it to 15×15 cm, you will create an elegant envelope for a small card.
And remember: a little non-ideality only emphasizes handmade work. The recipient will definitely appreciate the time and effort invested in creating such a package.
A shirt envelope is more than just a package. It is a small work of art that shows your special attitude to a person and an event. Once you take the time to master this technique, you'll have a versatile tool for creating unforgettable moments in a variety of situations, from business to personal. Start with a simple white envelope, and who knows - maybe your creation will become the gift that will be remembered forever.


