
The shaving foam painting technique-- is an amazing way to create three-dimensional, textural and unusual paintings without special artistic skills. This method is ideal for creative experimentation, child development and even professional art. In this article, we will go through it in detail:
✔ How to prepare foam for painting (3 best recipes).
✔ What materials to use for different effects.
✔ 5 application techniques (from marmoring to 3D textures).
✔ How to consolidate the resultso the paintings will last a long time.
✔ Ideas for creativity - from abstracts to realistic landscapes.
🧼 Why shaving foam?
Shaving foam has unique properties that make it the perfect material for creativity:
✅ voluminosity - creates 3D effects without additional materials.
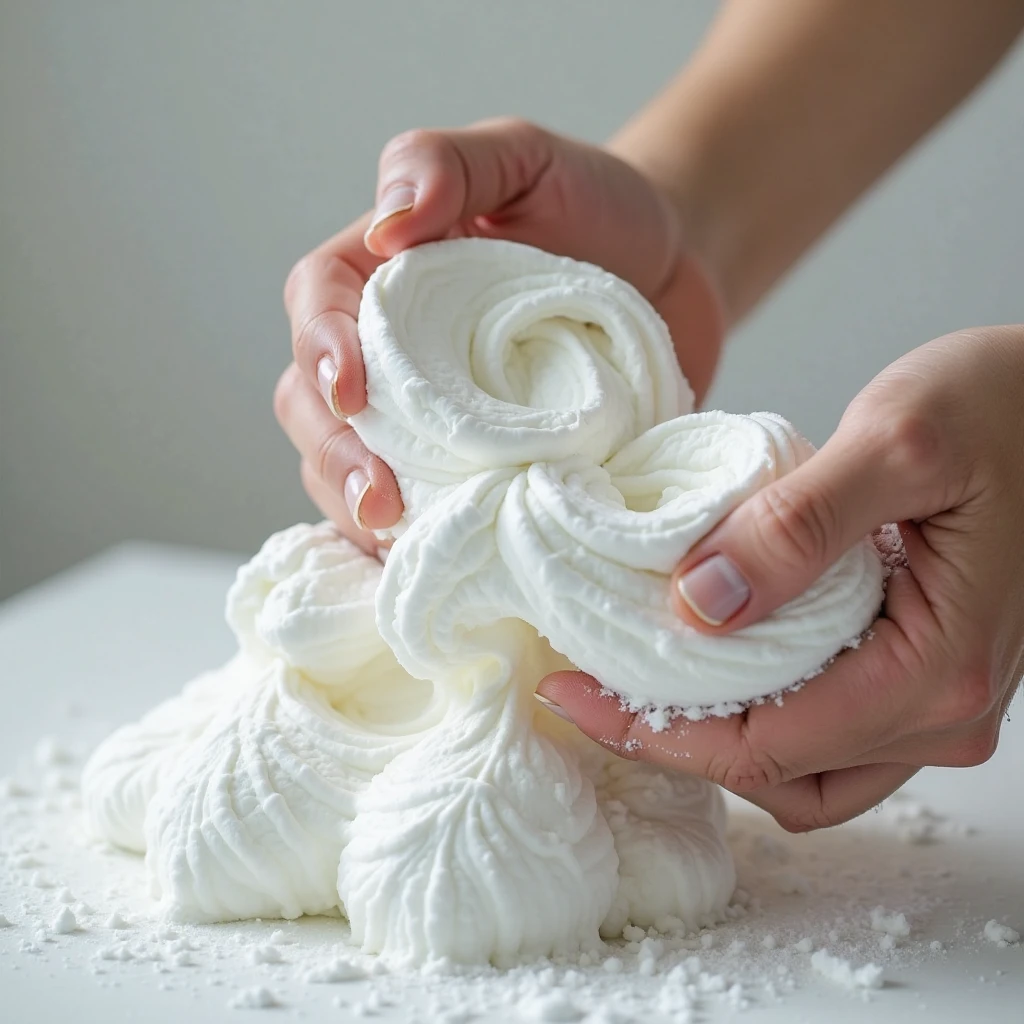
✅ plasticity - Easy to form with brushes, spatulas or hands.
✅ miscibility - goes well with paints, inks and glitter.
✅ Accessibility - cheap material that every home has.
✅ Safety - suitable for children's creativity (when using hypoallergenic foam).
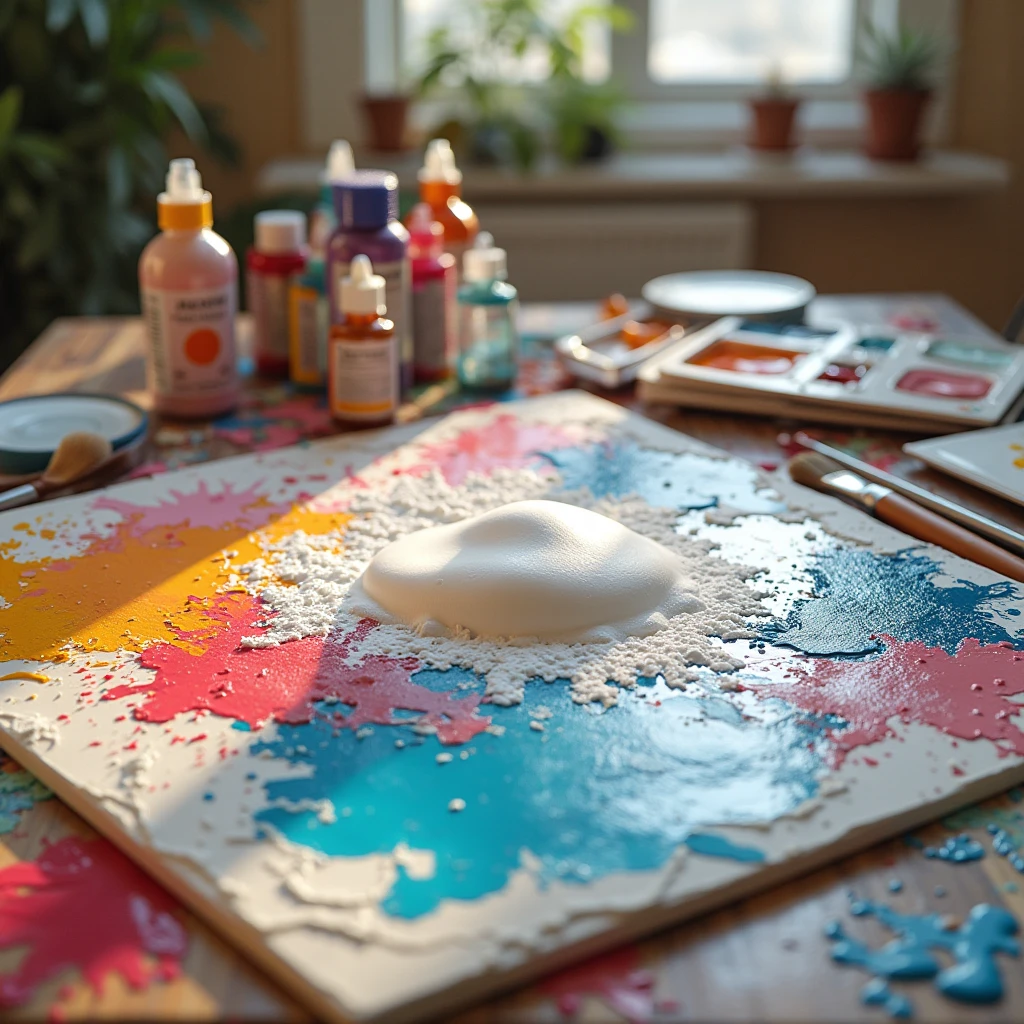
📌 Preparation of materials
1. major components:
- Shaving foam (preferably without menthol or strong fragrances).
- Acrylic paints or food coloring (gouache may give a pale tint).
- Heavy paper, canvas or wooden board (regular paper gets soaked).
- Trowels, brushes, combs to create texture.
2. Additional materials for different effects:
| Material | Effect |
|---|---|
| PVA glue | Increases adhesion, makes the foam more stable |
| Gel-lacquer with UV lamp | Instant fixation of complex textures |
| Salt or sugar | Crystalline texture after drying |
| Glitter, foil | Shimmering effect |
🎨 3 best recipes for the working mixture
1- Basic recipe (for beginners)
- 1 can of shaving foam
- 5-10 ml of acrylic paint (per 200 ml of foam)
- 1 tsp. PVA glue (optional)
How to mix:
- Squeeze the foam into a bowl.
- Add the paint and mix gently with a spoon (don't whip it!).
- Apply immediately - the foam settles after 15-20 minutes.
2. Resistant foam (for 3D paintings)
- Shaving foam + acrylic paste in a 2:1 ratio.
- Add ½ tsp. cornstarch.
Effect: Retains volume after drying.
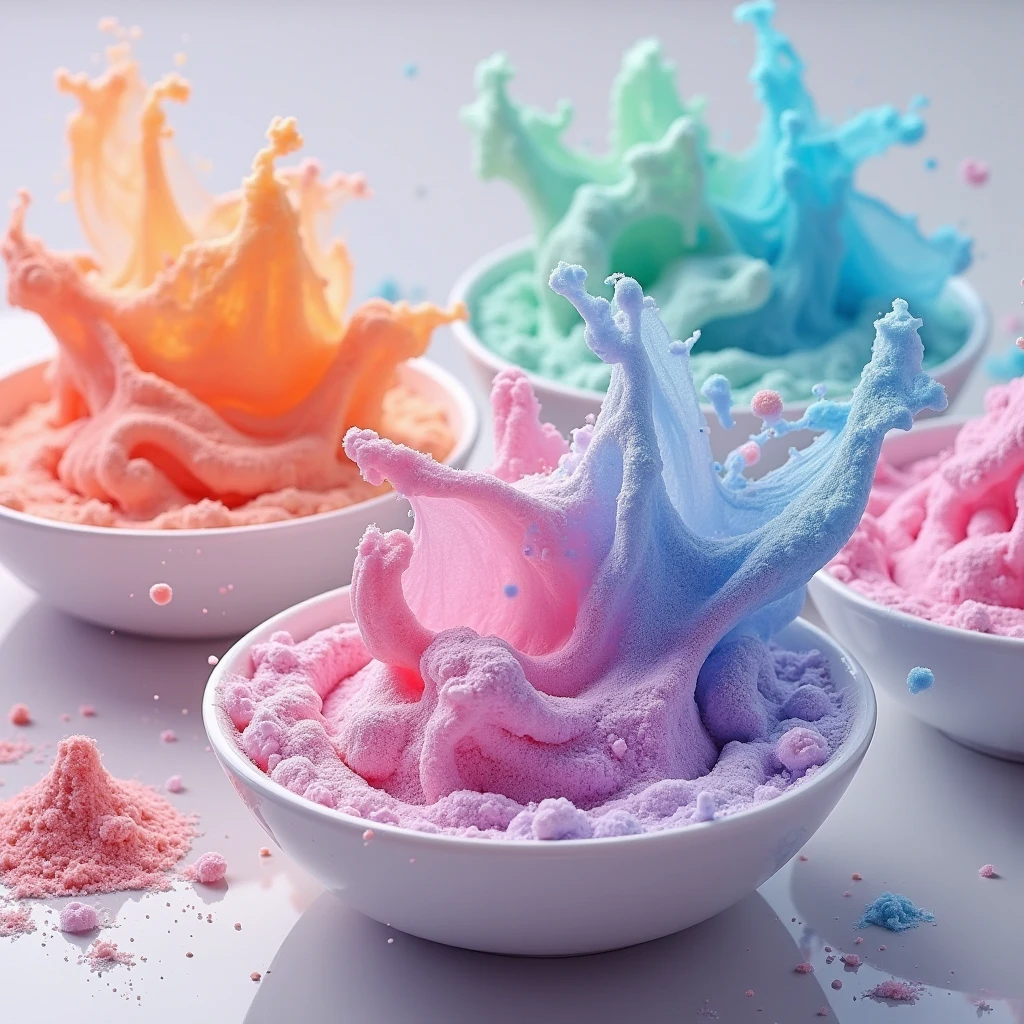
3. Aroma art
- Foam + natural colors (turmeric, beets).
- 2-3 drops of essential oil (lavender, orange).
Application: Art therapy and sensory play for children.
🖌️ 5 techniques for creating textures
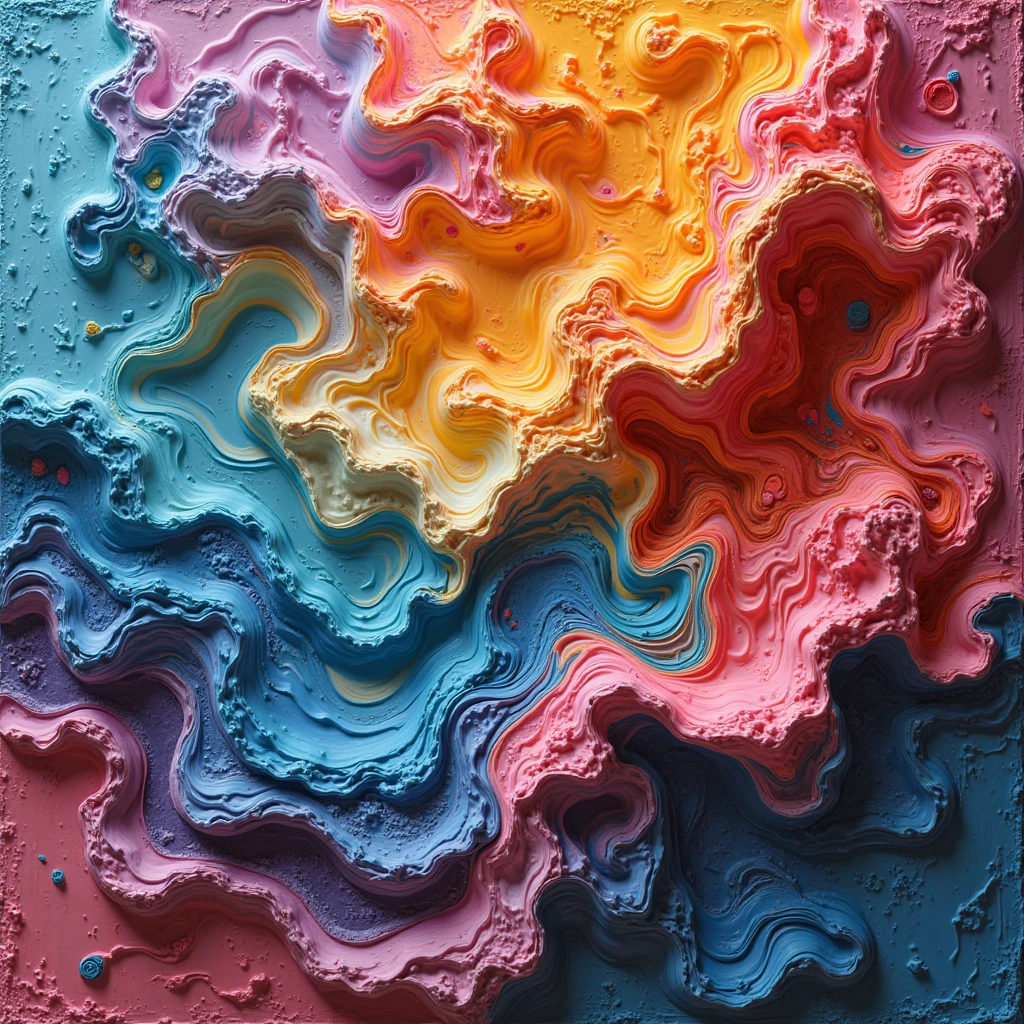
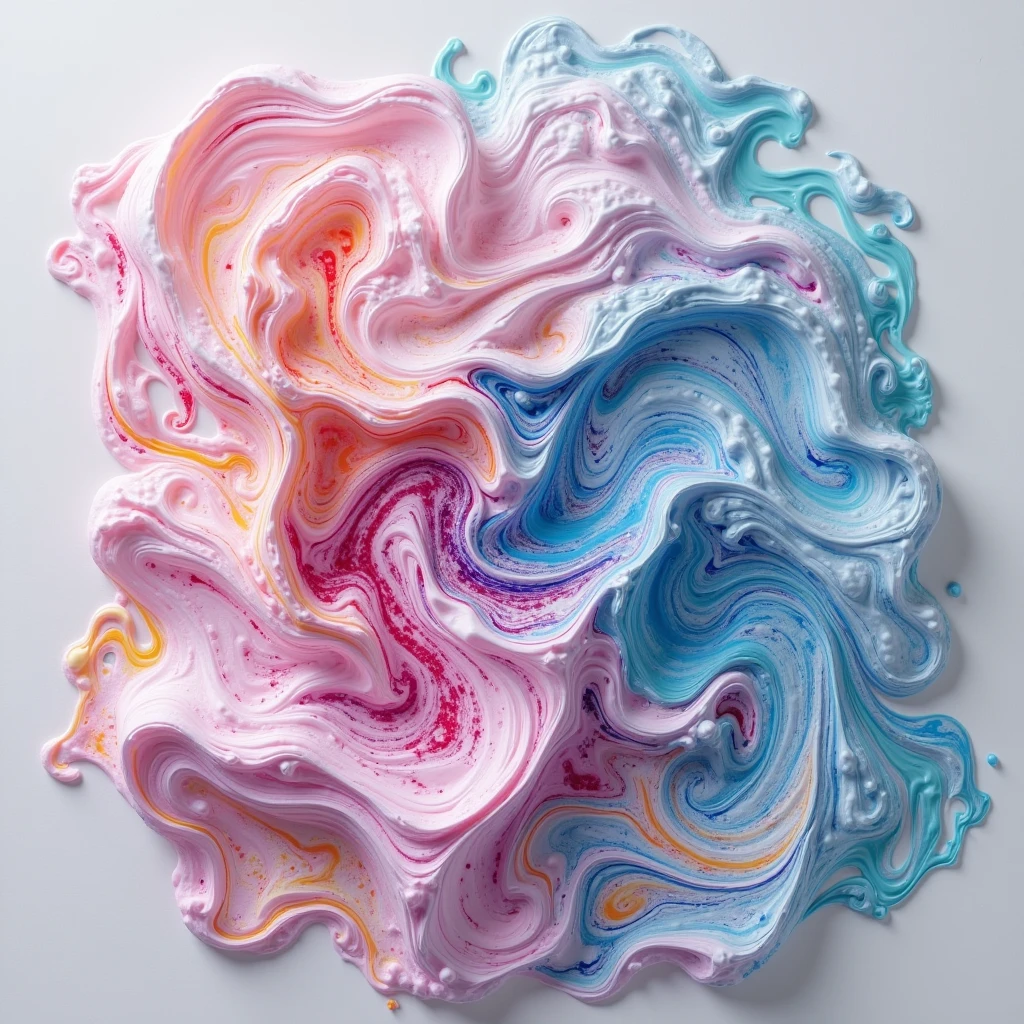
1. Marbleization
- Spread the foam over the surface in a 1-2 cm layer.
- Drop paints in different colors.
- Run a toothpick through the patterns.
- Attach the paper, pressing gently.
- Remove and discard excess with a trowel.
Result: The effect of marble or malachite.
2. volumetric strokes (impasto)
- Apply the foam with a trowel.
- Add the paint on top and mix directly onto the canvas.
- Create relief strokes as in oil painting.
Tip: Use a mastichin for crisp lines.
3. screen printing
- Place the stencil on the base.
- Fill the holes with foam.
- Carefully remove the stencil before it dries.
Idea: Geometric patterns or animal silhouettes.
4. Pointillism
- Fill a pastry bag with colored foam.
- Press out dots of different sizes.
- Combine shades.
Effect: Paintings in the style of Seurat.
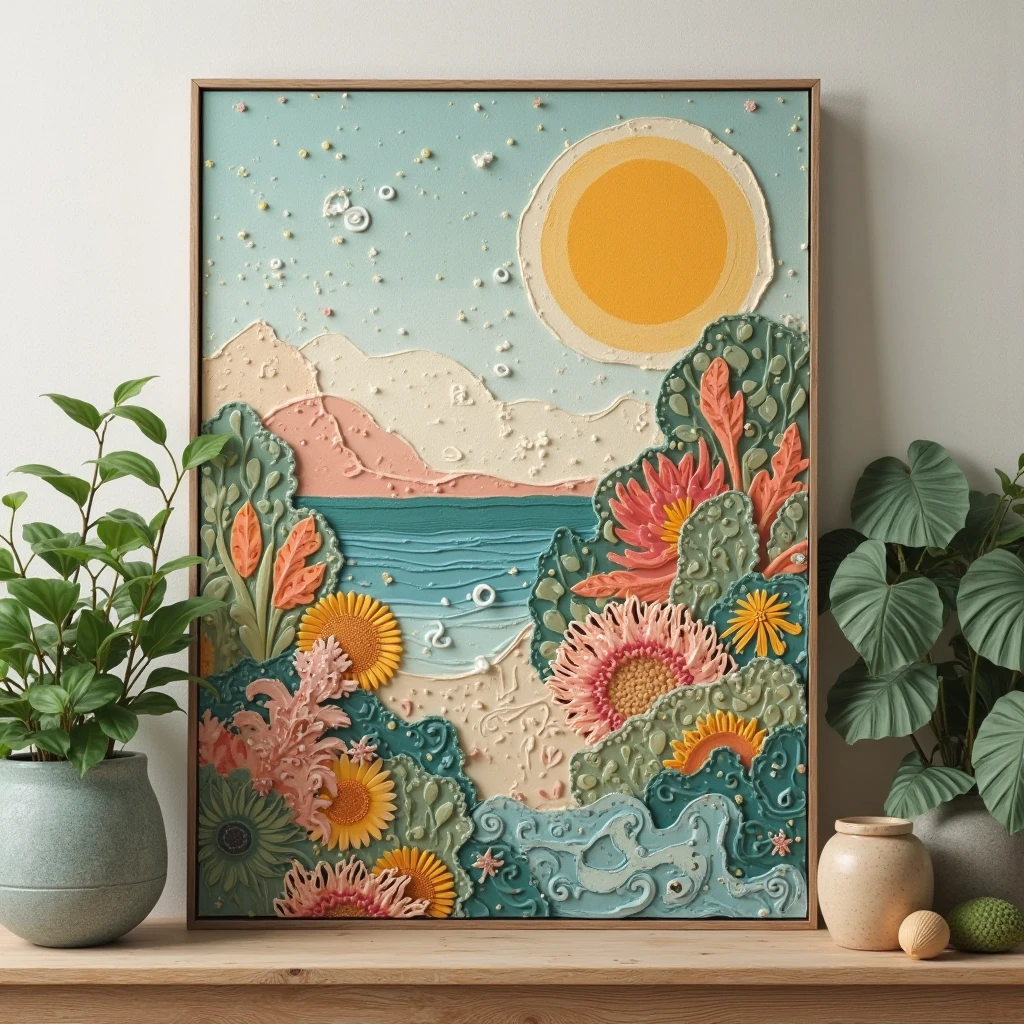
5. Multilayer texture
- The first layer is the foam background.
- After drying (30-60 min), apply a second coat.
- Scratch the patterns with a needle.
Application: Landscapes with clouds or sea waves.
🔍 How to fix the result?
- Natural drying (2-4 hours) - retains volume, but cracking may occur.
- Lacquer fixation - spray from a distance of 30 cm.
- UV gel - cures in two minutes under the lamp.
- Self-adhesive film - protects against dust for long-lasting performance.

💡 7 ideas for inspiration
- Spacescapes - dark background + neon foam.
- Winter pictures - white foam + glitter like snow.
- Abstract portraits - volumetric strokes instead of facial features.
- Sea waves - blue shades + foam like foam.
- Fruit still lifes - The texture of an orange or lemon peel.
- Fantasy cards - relief mountains and rivers.
- Children's tactile paintings - for sensory development.
⚠️ Problem Solving
Problem: The foam is settling.
Solution: Add glue or starch, do not whisk vigorously.
Problem: The colors are fading.
Solution: Use acrylic, and after drying, cover with varnish.
Problem: Drying cracks.
Solution: Dry in a cool place, layers no thicker than 1.5 cm.
🌿 Environmental alternative
For an all-natural option:
- Replace the foam with chickpea or egg whites (whip into a stiff foam).
- Use natural pigments (spices, clay).

🎭 Application in art therapy
- Stress relief - working with a soft texture is relaxing.
- Motor skill development - forming patterns with your fingers.
- Color therapy - mixing colors improves your mood.
Shaving foam paintings offer limitless possibilities - From children's crafts to professional art. Experiment with techniques and share your results!
Ready for a new experiment? In the next master class we will learn: "Paper + fire: burning patterns (safe methods)"! 🎨


