
 Children and adults love to draw with pencils, especially those who have artistic taste, who can transfer brightly colored drawings, landscapes and even portraits of people to paper. And everyone who can not draw, can make an interesting handicraft - origami from a money bill. This is a gift to a beginner or an experienced artist who constantly draws something, does not imagine his life without a canvas and a pencil. And origami creativity is an interesting way of pastime. Why exactly the bill? First, it is interesting and unusual, and secondly, it is an expensive blank of perfect shape. But do not spare it, because the money will not spoil in the process of folding. Let's consider a detailed master class.
The materials for the work are few:
- money bill;
- a rectangular practice sheet.
Origami pencil assembly diagram from a bill of sale
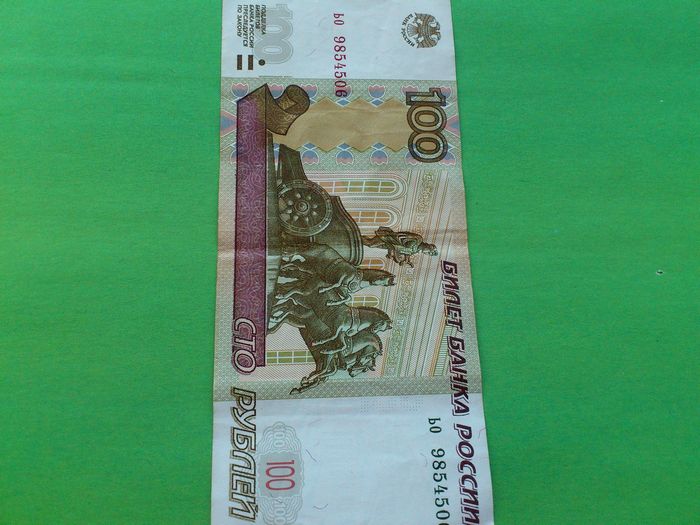
1. A rectangular piece of any paper will help create a craft to practice before using a real money bill. Position the piece in front of you. You can turn the piece face or reverse side, you can experiment, modeling crafts of different kinds if you wish.
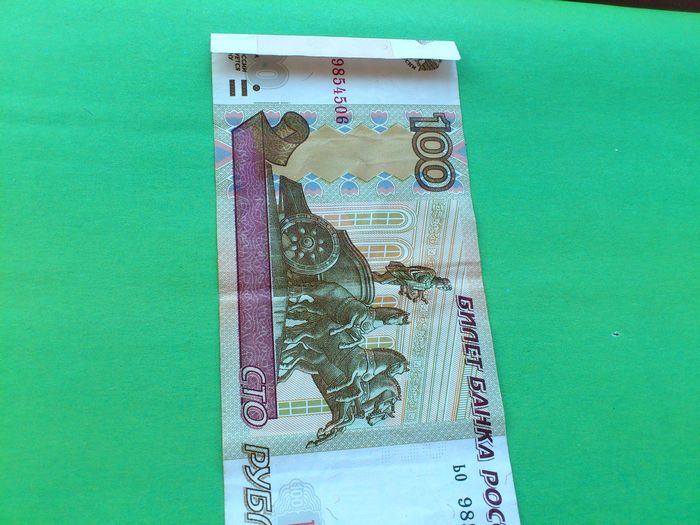
2. Fold the top of the rectangle horizontally towards you along the short side. Leave about 1 cm or so from the edge. Do not use a ruler in this case, but roughly by eye.
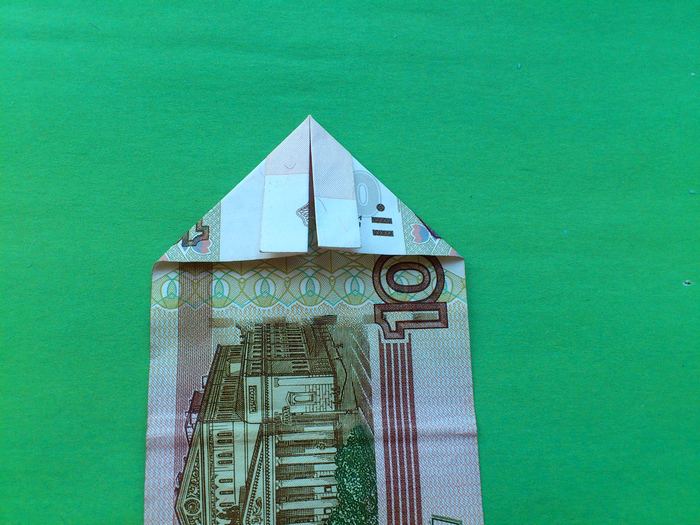
3. Turn the other side of the bill toward you. The folded tip should remain at the back. Turn the top 2 corners toward you so that the sharp corner shows at the top. In this way, the 2 halves of the top short side will be interlocked in the center.
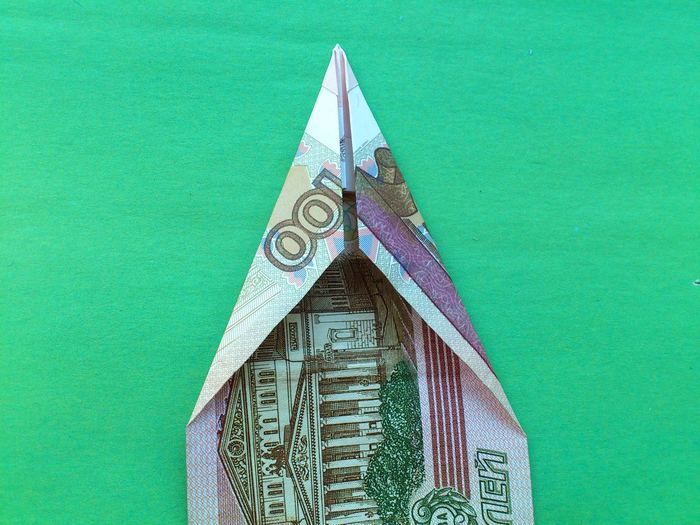
4. Next, continue folding the same corner, making it even sharper. Take the two beveled sides and with your fingers fold them again, closing them in the center of the line. Thus, you will get a layered corner, which will be sharp and will later become the tip of the pencil. This is a kind of airplane, but it is not intended to fly.
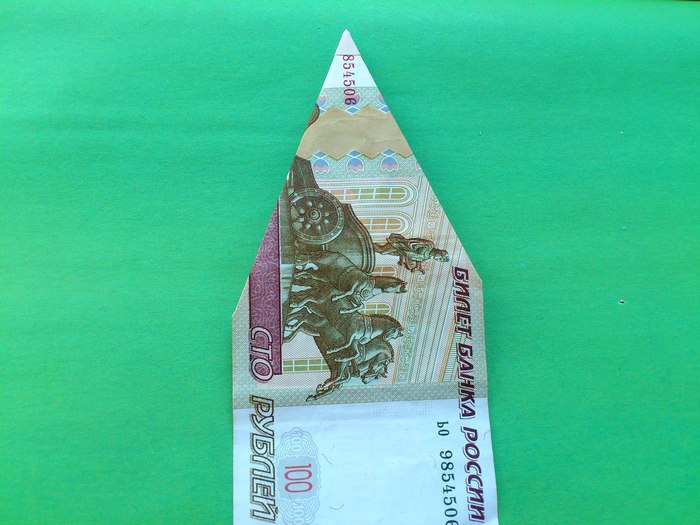
5. Turn again with the previous side facing you. You will see a sharp bent tip at the top. This will be the lead of a pencil. It will not stand out too much in the material used - the bill, because it will be the same color as the main part. But if we used paper that is different colored on both sides, the tip would be different in the process of such folding.
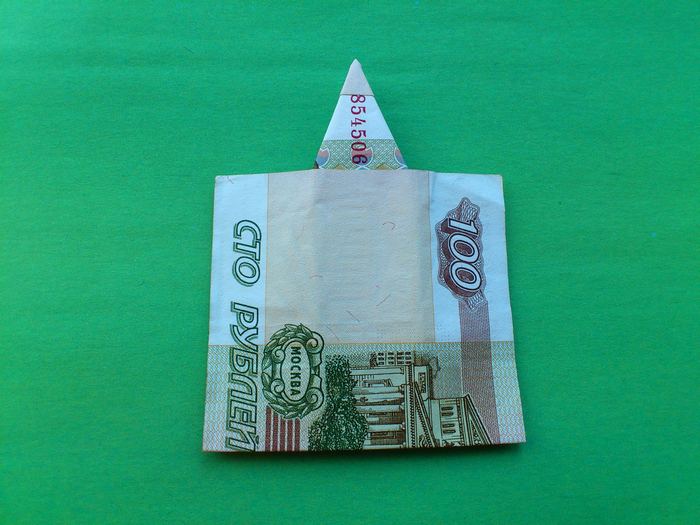
6. Now fold up the bottom side of the rectangle with one sharp corner to align it with the end of the beveled part of the pencil. Leave the top corner uncovered by about 1 cm.
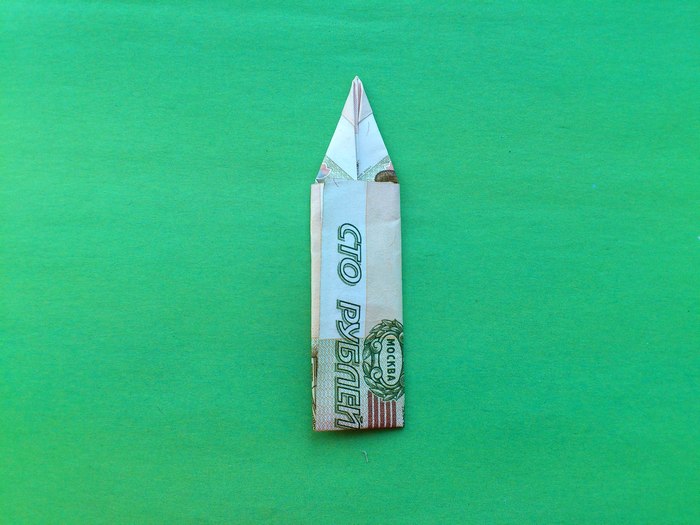
7. Turn the pattern over and fold the sides of the pencil vertically. Tuck in all the folds. You can even nest one part into the other, so that the pencil model holds well, you do not have to use glue, because the bill can be disassembled at any time.

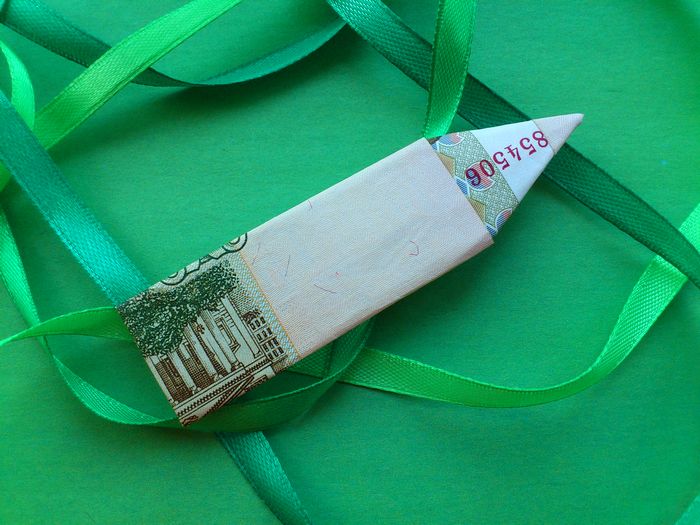
A pencil from a bill - an easy origami model - is ready. The assembly scheme is quite simple, everyone can make it. This is a gift for an artist or a teacher, and also the pencil will become a part of a wonderful card or a presentation to a teacher. Everything is simple and interesting.


