
Origami is not just a hobby now - it's a real mental health trend. According to World Origami Day and Pinterest, in 2026 paper folding is among the top 5 anti-stress practices: it reduces anxiety, improves concentration and gives the very meditation in motion that psychologists talk about. And the best place to start is with simple animals - they are folded in a couple of minutes, and the joy of the result makes you smile even on the busiest day. 🧘♀️✨
In this article - 10 step-by-step instructions for beginners. Take a square sheet of paper (you can use ordinary office paper cut to a square), have patience and... let's go!
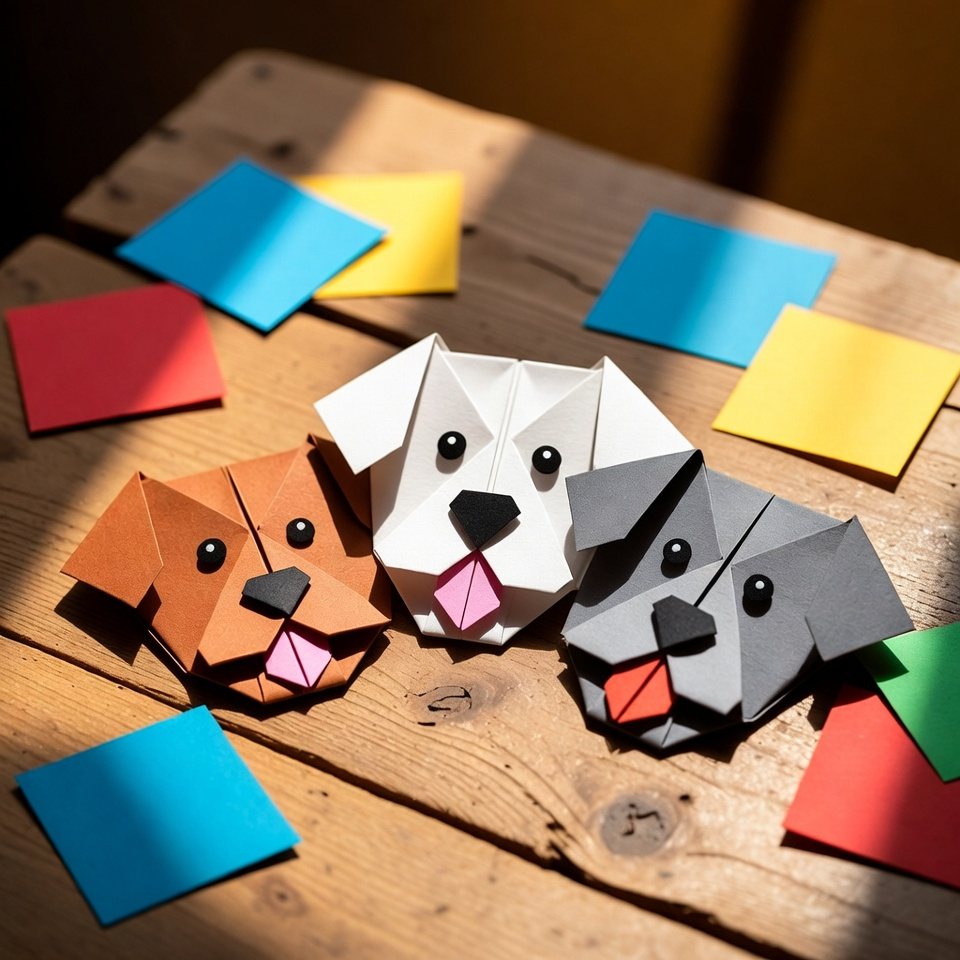
🐕 1. Doggie - face with tongue
The simplest variant, with which they start in kindergartens, but adults it also raises the mood.
- Fold the square diagonally to make a triangle.
- Bend the sharp corners of the triangle downward - these are the ears.
- Fold the bottom corner back to form the face.
- Turn it over - you can draw eyes, nose and tongue with a felt-tip pen.
Variation: Make two small incisions at the bottom of the face to bend the legs to make a sitting doggy.
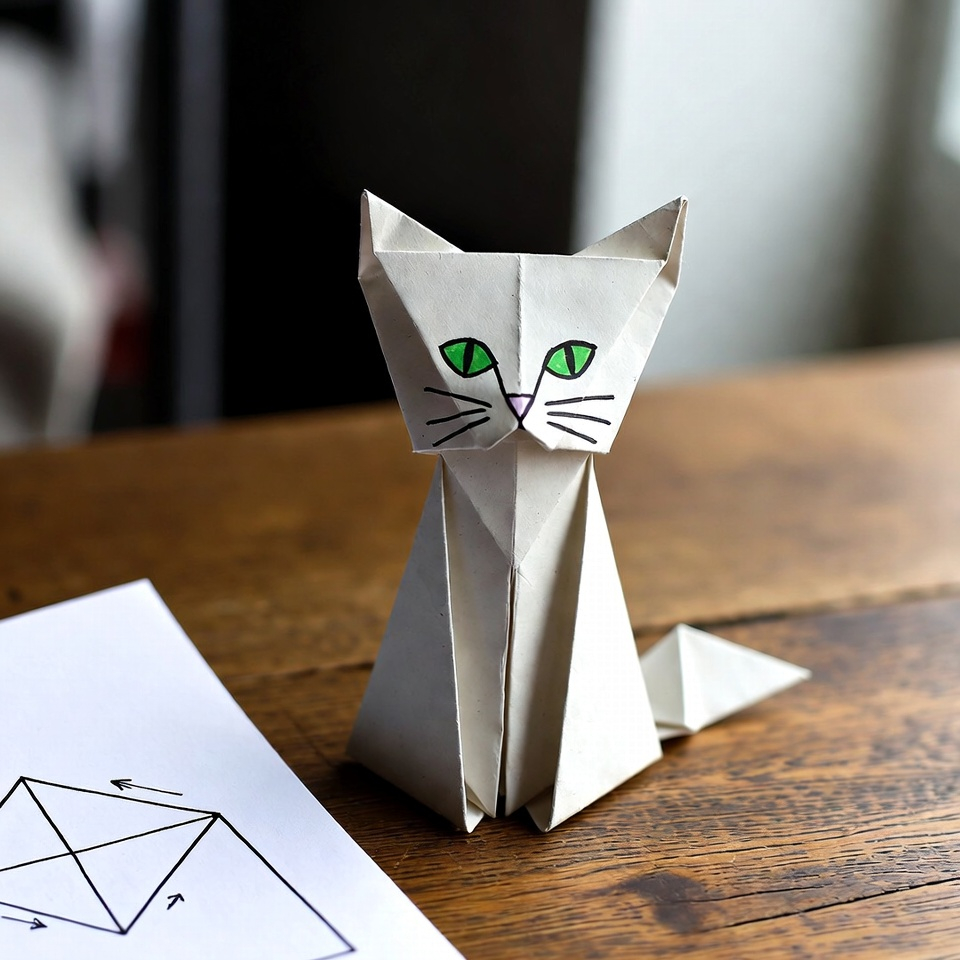
🐱 2. Cat - two ways in a minute
Method 1 (face): the same triangle, but we make the ears more pointed by bending the corners inward instead of outward.
Method 2 (sitting cat):
- Fold the square into a basic "pancake" shape (all corners to the center), then flip it over.
- Fold it in half.
- Pull one corner aside for the tail and the other for the head.
- Draw eyes and a mustache.
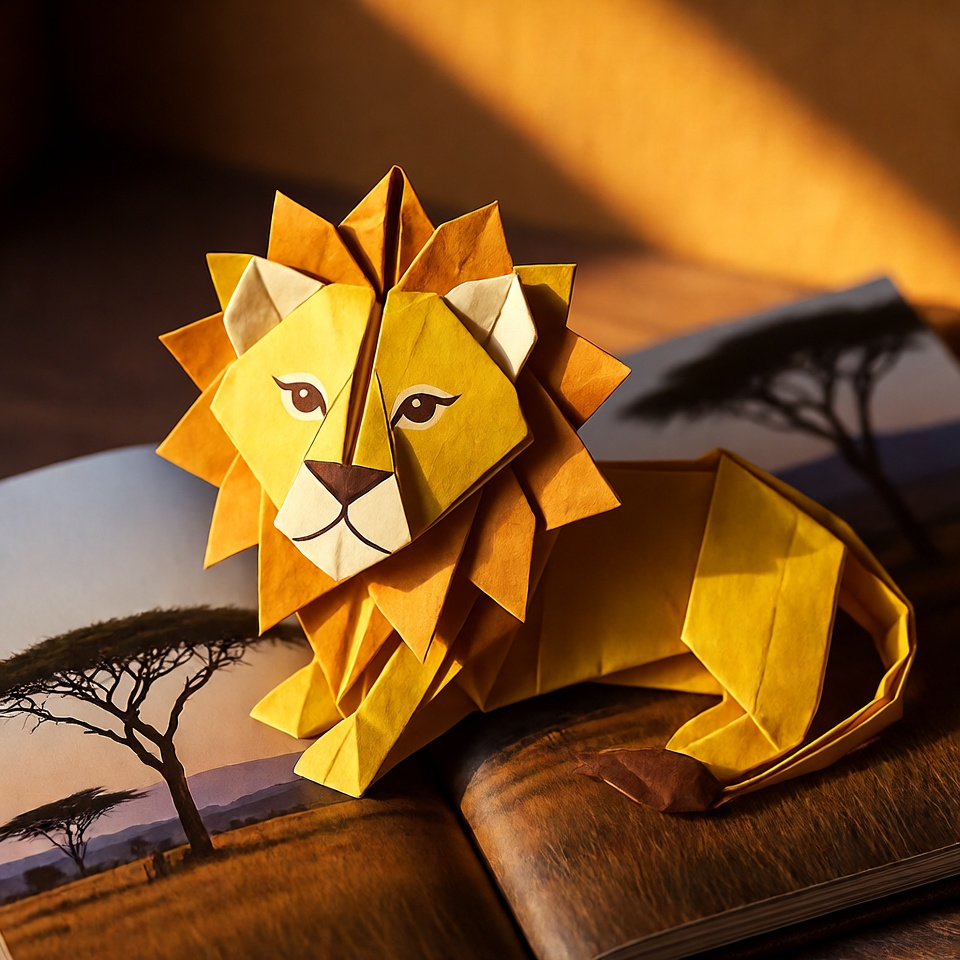
🦁 3. Lion is the king of beasts for beginners
This option will surprise you with its mane, although it folds up in just 5 steps.
- Start with a basic kite shape (fold the square diagonally, then fold the two side corners to the center line).
- Turn it over, with the top pointy corner bent down.
- Bend the side corners outward - these are the ears.
- Fold the bottom corner back to form the chin.
- Use scissors to make small incisions along the edge of the mane or just draw it with a felt-tip pen.
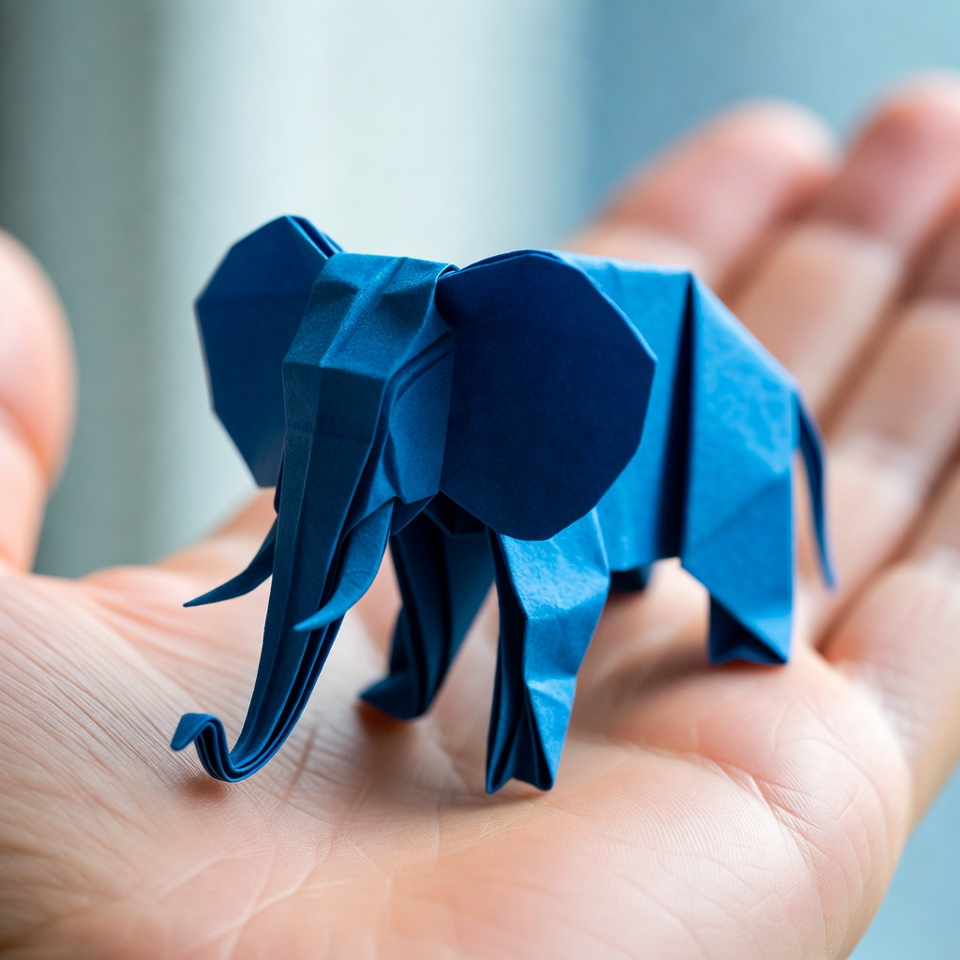
🐘 4. Elephant is the most recognizable silhouette
The elephant has an easy to make trunk and big ears. The model requires a little more attention, but anyone can do it.
- Fold the square into a basic double triangle shape.
- One of the lower triangles push upwards - that's the trunk.
- Push the side corners of the top layer outward - these are the ears.
- Make a zipper fold on the trunk to make it curved.
- Flip it over - add eyes.
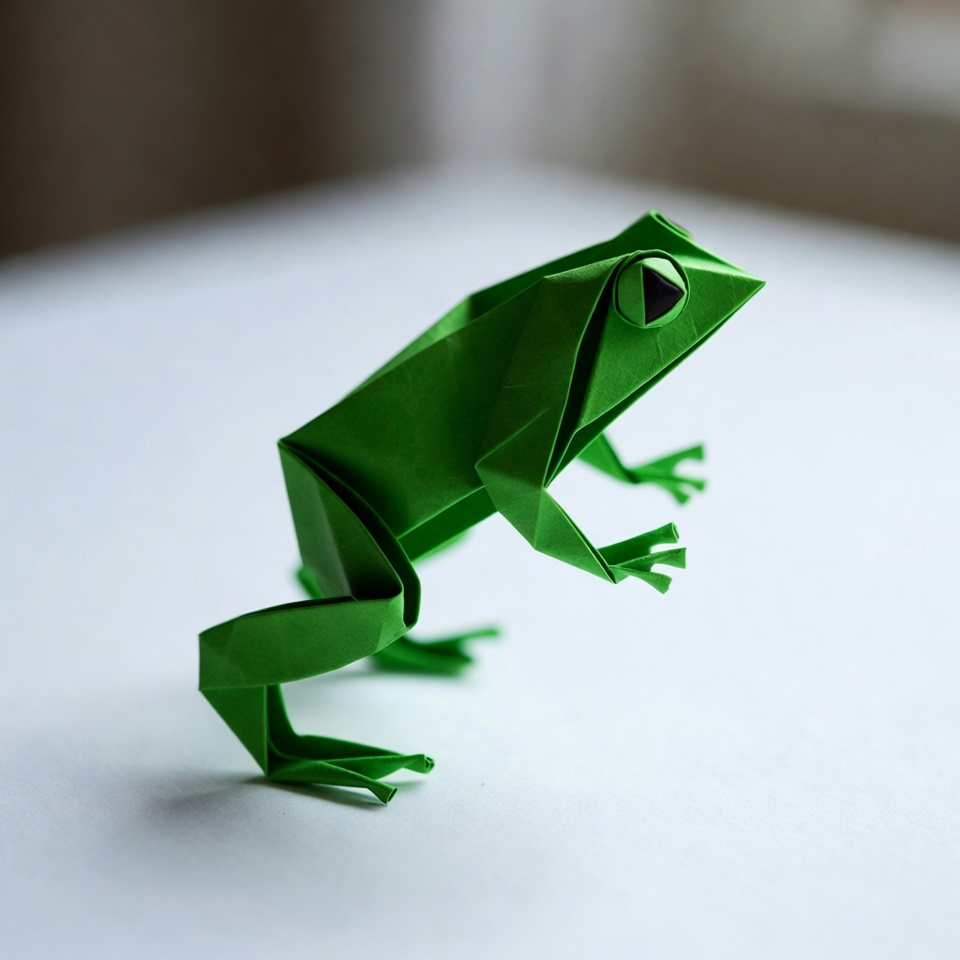
🐸 5. A frog that jumps
The classic origami frog is not just a toy, but a real anti-stress: click on the back and it will hop away!
- Fold the square into a basic double triangle shape.
- Fold all four corners up to make a star.
- Form the front and back legs with reverse folds.
- Flip it over and the frog is ready to jump.
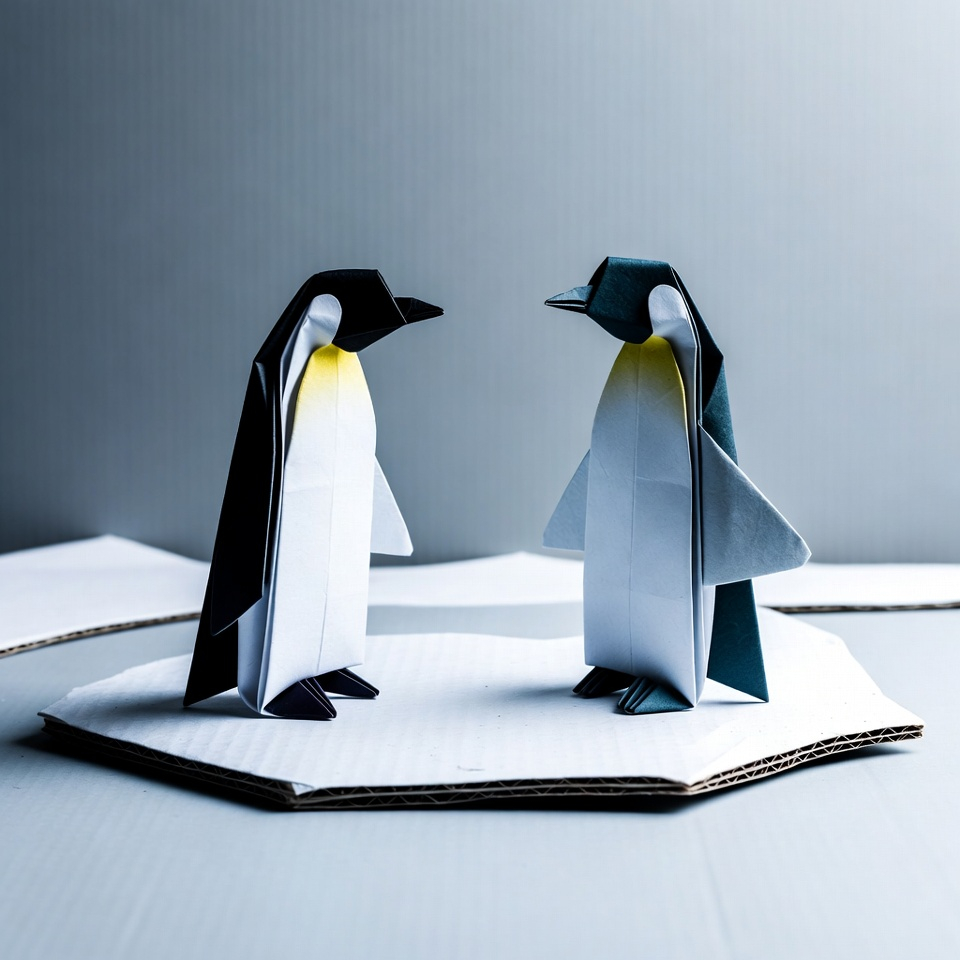
🐧 6. The penguin is simple and cute
For the penguin, you need a square with a white side and a black side (or you can color after).
- Fold the square diagonally with the white side facing out.
- Push the top corner of the triangle down, but not all the way down - leave a small white edge (this is the face).
- Bend the side corners backwards - that's the wings.
- Fold the bottom corner inward to make a stable stand.
Read also: Children's penguin paper applique
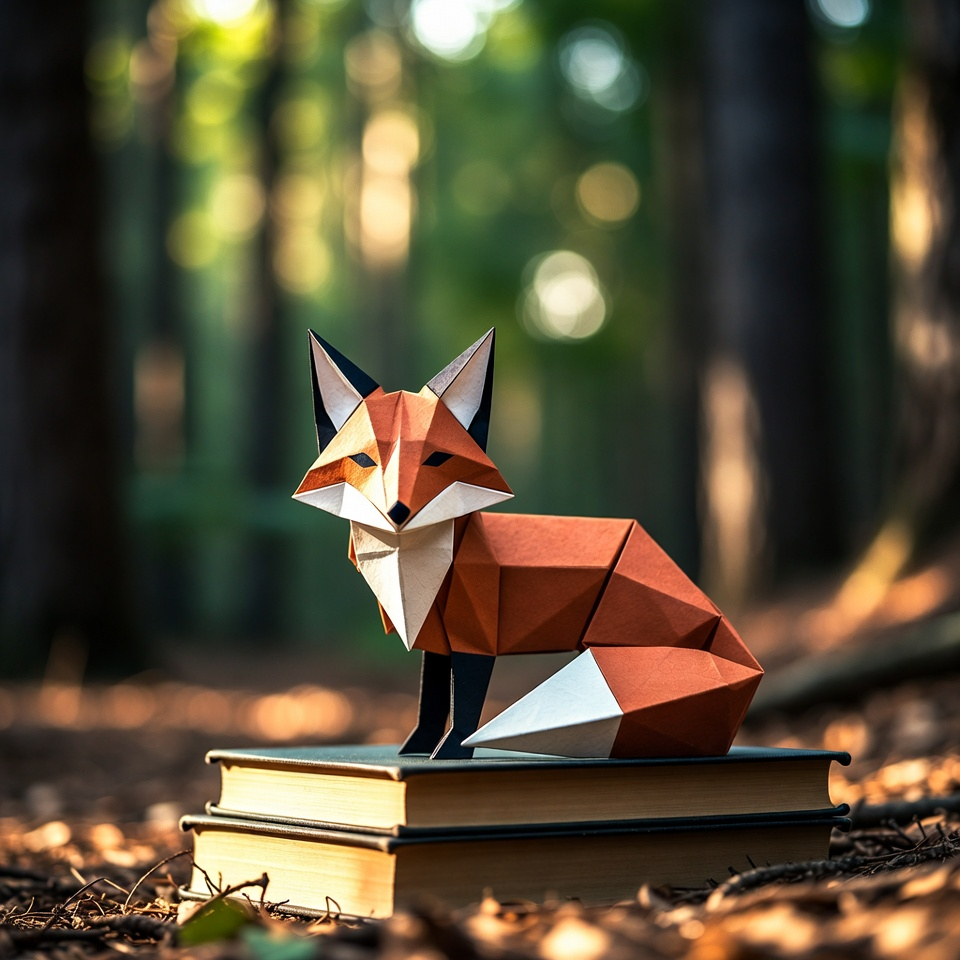
🦊 7. The fox is cunning and simple
The fox is formed from a basic kite shape, and the trick is in the snout.
- Make a kite (square diagonally, corners to center).
- Turn it over, bend the sharp corner upwards - that's the face.
- Make ears from two small triangles by bending them outward.
- Tail - just leave the back corner long.
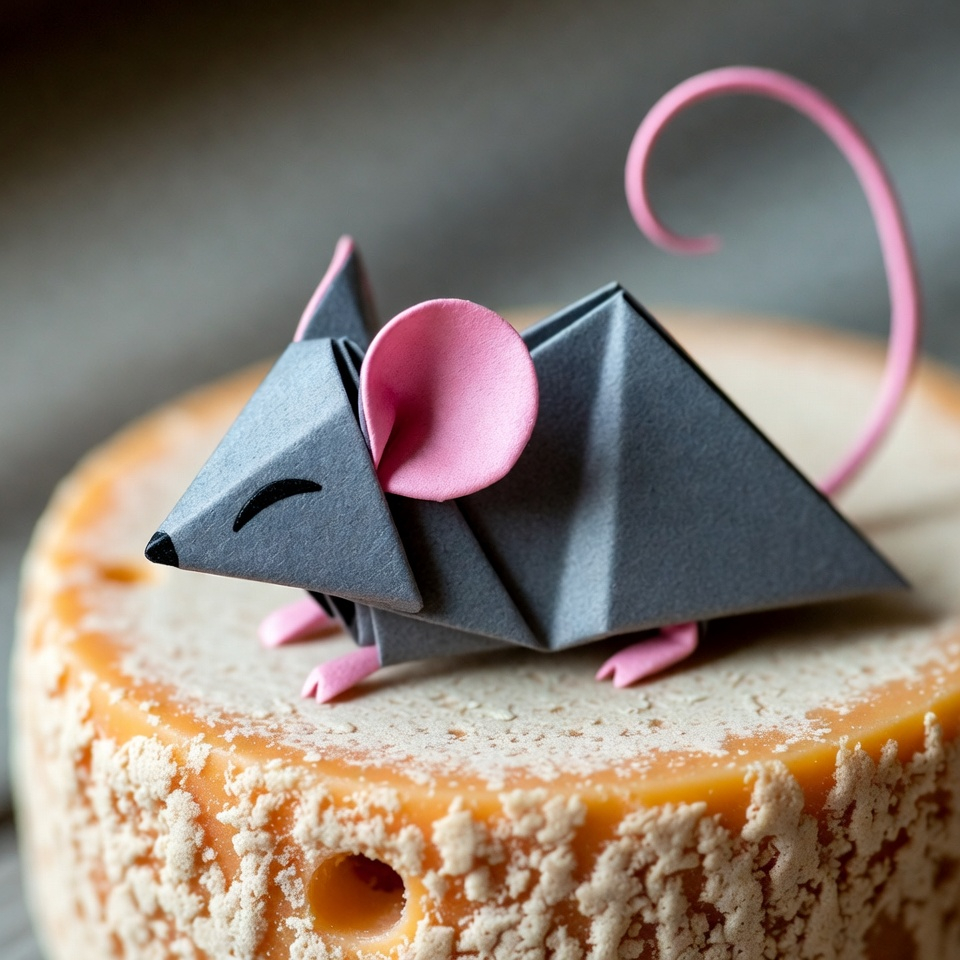
🐭 8. A little mouse with big ears
The mouse is made from a small square - great for leftover paper.
- Fold square into basic pancake shape (all corners to center), flip over.
- Fold in half to make a rectangle.
- Fold the side corners down to form ears.
- Pull the sharp tip upwards - the nose, draw eyes and mustache.
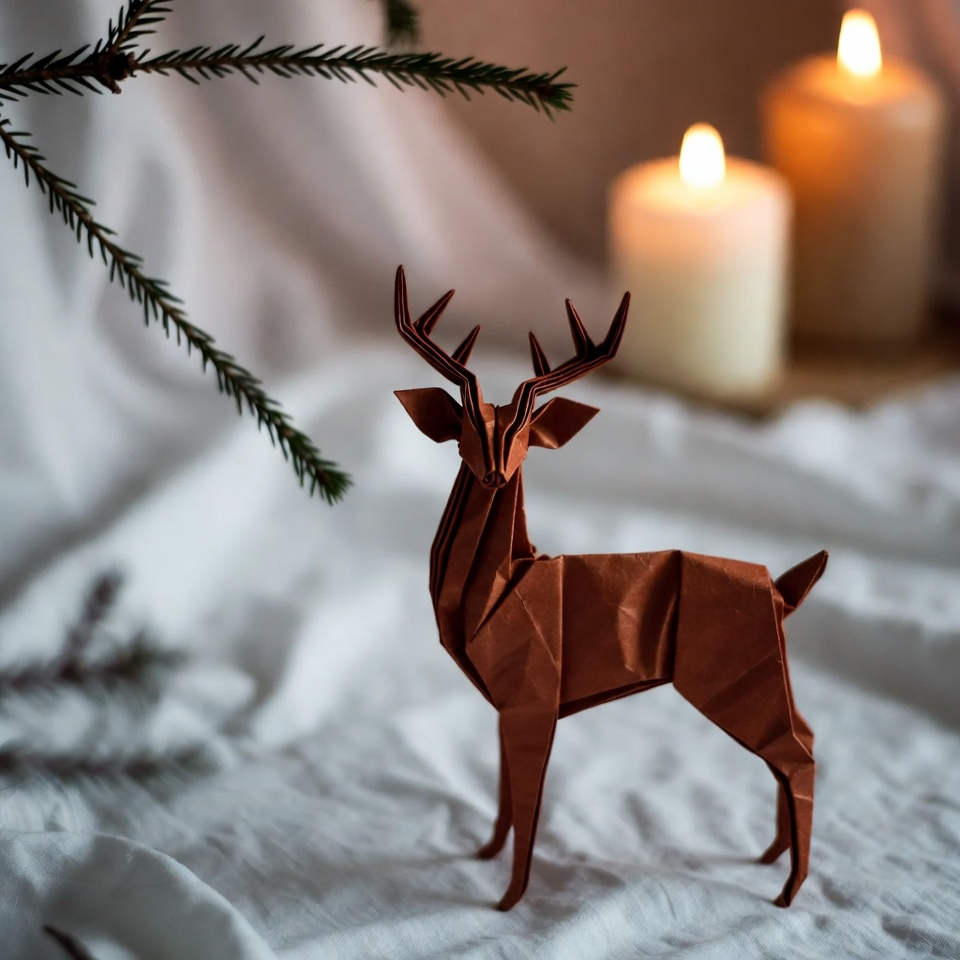
🦌 9. Reindeer - for winter mood
The reindeer is a little more complicated, but the effect is worth it. You can make antlers of different lengths.
- Fold the square into a basic double triangle shape.
- Fold the top layer into a kite, then cut and flatten to make a head.
- Form the horns by making two notches on the top and bending them outward.
- The torso is the remaining triangle, can be tucked in for stability.
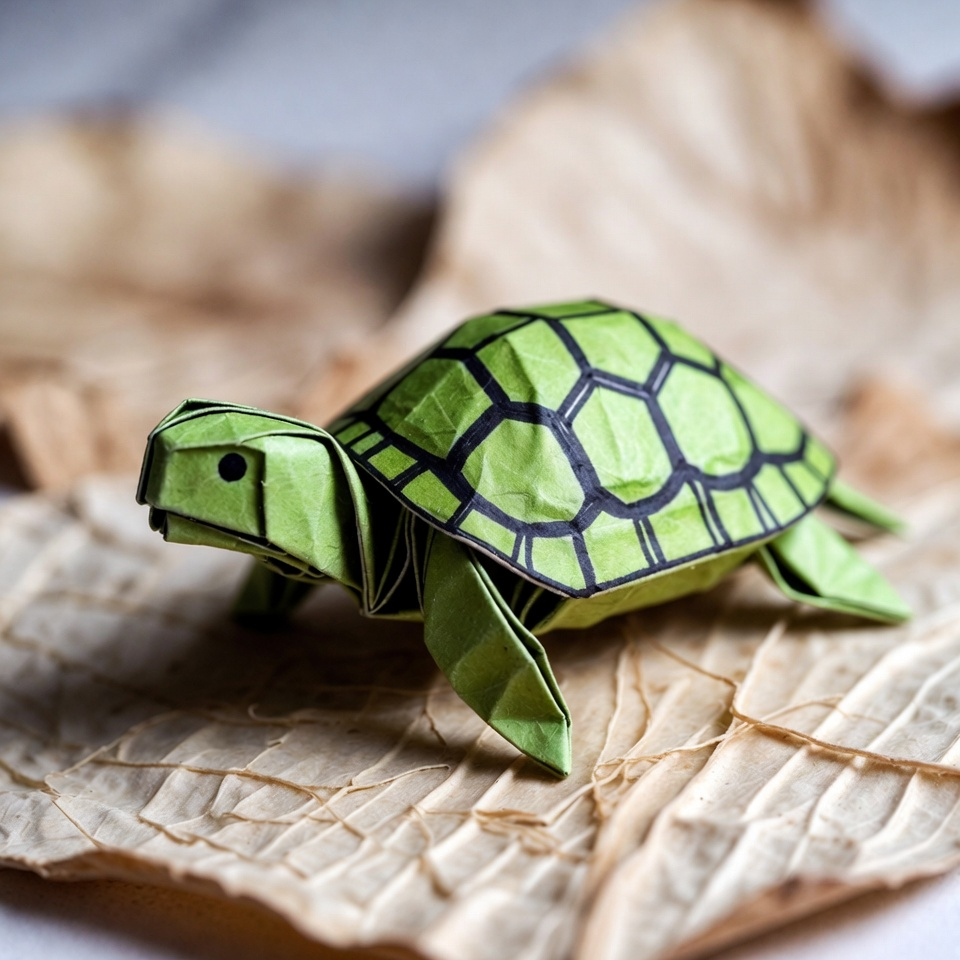
🐢 10. The turtle is a symbol of tranquility
The perfect model for meditative folding: it's simple but recognizable.
- Fold the square into a basic pancake shape (all corners to the center).
- Flip and again all corners to the center, but now not all the way through - leave small gaps.
- Turn it over again - you have a shell with four legs.
- Form the head by bending one of the corners outward.
Read also: Paper turtle - children's crafts
🧘♀️ Why it works as an anti-stressor
Paper folding engages both hemispheres: the left hemisphere is responsible for precise movements and following instructions, while the right hemisphere is responsible for imaginative perception and the joy of creativity. When you make simple origami animals, you temporarily switch off from the endless stream of thoughts. According to Pinterest, requests for origami for anxiety relief grew by 230% in 2025, and the practice is only gaining momentum in 2026.
🎨 Ideas for variations
- Size: use squares from 5 to 15 cm - small ones will make key chains, large ones will make a wall panel.
- Material: besides classic paper, try kraft, old book pages, notebooks - each texture has its own character.
- DécorPaint the animals' eyes with acrylic marker, add glitter on the butterfly's wings or make a mini collage: a fox on the background of autumn leaves.
💬 Conclusion
Making an origami animal is like having a little paper friend. It doesn't take up space, doesn't need feeding, but it's a great mood booster and helps you to switch off. And when you have a whole menagerie of animals, you can organize a photo shoot or give them to friends - handmade work is especially appreciated.
Try it, make mistakes, put it back together again. The main thing is to enjoy the process. Your fingers will memorize the movements, and after a few animals you will start to feel the paper, almost without looking at the scheme. And this is the main magic of origami. 🐾📄


