
Cardboard boxes are a versatile storage solution for thousands of little things, but how often do they tear, crumple and fall into disrepair after the first seasonal use! Sound familiar? We'll reveal the secrets to creating truly durable cardboard boxes that will last for years and keep your things in perfect order. Forget about flimsy factory packaging - it's time to create professional-grade storage!
🔍 Why do factory boxes not last?
Standard cardboard boxes are made for single use. Their main weaknesses:
- Thin walls (most often 2-3 layers corrugated cardboard)
- Weak joints, glued with minimal adhesive
- No protection against moisture and abrasion
- A flat bottom that sags under weight
But all these shortcomings are easy to fix with your own hands!
🛠️ Materials for creating "eternal" boxes
You'll need:
- Corrugated cardboard from large household appliances (5-7 mm thick)
- PVA construction or furniture glue (not clerical!)
- Moment Crystal adhesive for point reinforcement
- Kraft paper or fabric for pasting
- Acrylic varnish or wax for the finish coat
- Wooden laths 10×10 mm for corner reinforcement (optionally)
Pro Tip: Use cardboard with fine corrugations - it's more rigid and less likely to deform.
📐 Step-by-step instructions: from simple to complex
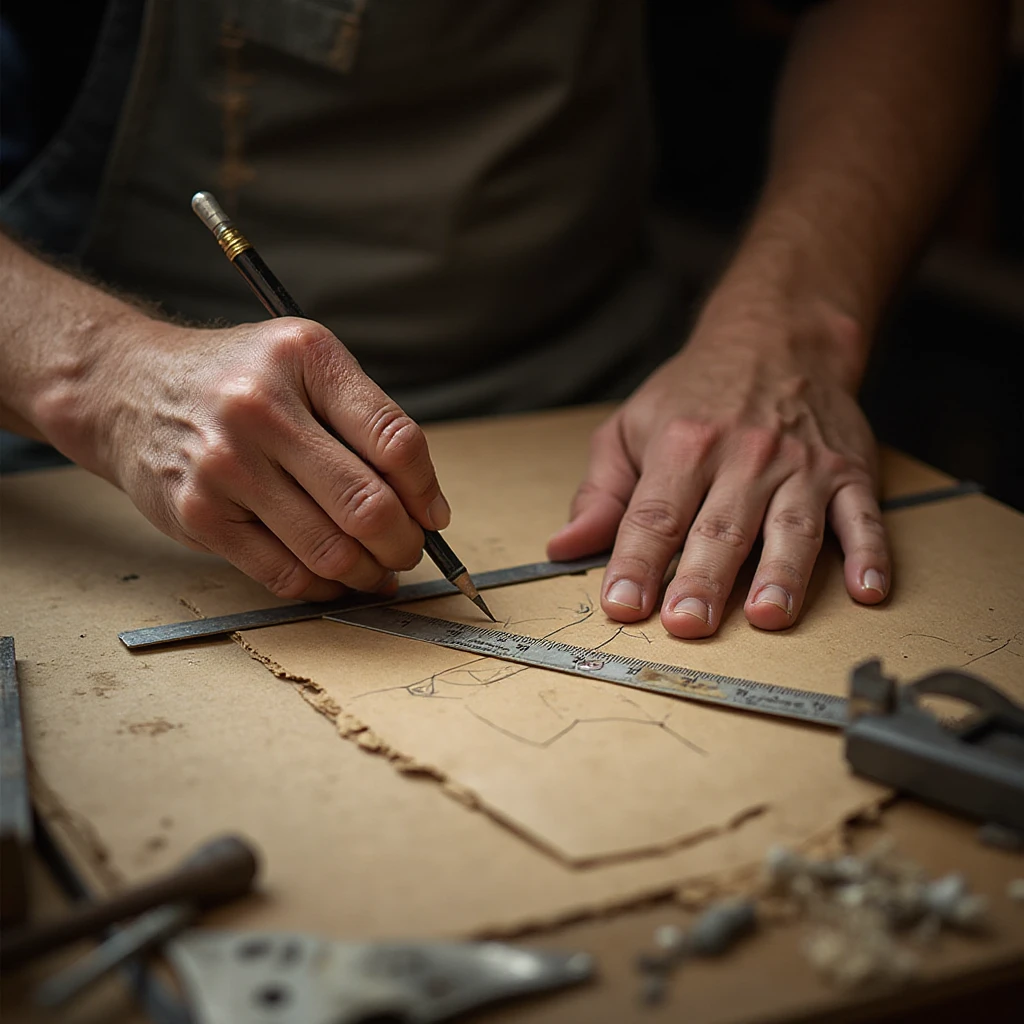
Step 1: Design and cutting
Calculate dimensions taking into account double walls. For example, for a 30×40×30 cm box, cut out:
- 2 parts of the bottom 30×40 cm
- 4 parts for long walls 30×30 cm
- 4 parts for short walls 40×30 cm
Lifehack: Draw the diagram on millimeter paper - this will save material.
Step 2: Assembling the sandwich
Glue the walls in pairs, shifting the corrugations perpendicular to each other. This creates cross reinforcement, just like in plywood!
Gluing Techniques:
- Apply PVA with a toothed trowel
- Press the parts under the press for 4-6 hours
- Reinforce the corners with paper tape
Step 3: Reinforcing the bottom and lid
The most vulnerable places require special attention:
- Cut additional stiffeners from the laths
- Create a double bottom with a crossed layer arrangement
- For large boxes (from 50 cm) make a cross-brace partition
Step 4: Protective finish
That's where the magic of durability comes into play:
Method 1: Fabric gluing
- Cover the box with cotton or linen on PVA glue
- Tape the corners with strips of fabric
- Impregnate with varnish to protect against dust
Method 2: Paper reinforcement
- Cover with kraft paper in 2-3 layers
- Soak each layer with PVA glue mixed with water.
- Sand between coats with #120 sandpaper
Method 3: Waxing
- Melt paraffin or beeswax
- Brush on interior and exterior surfaces
- Let soak for 24 hours
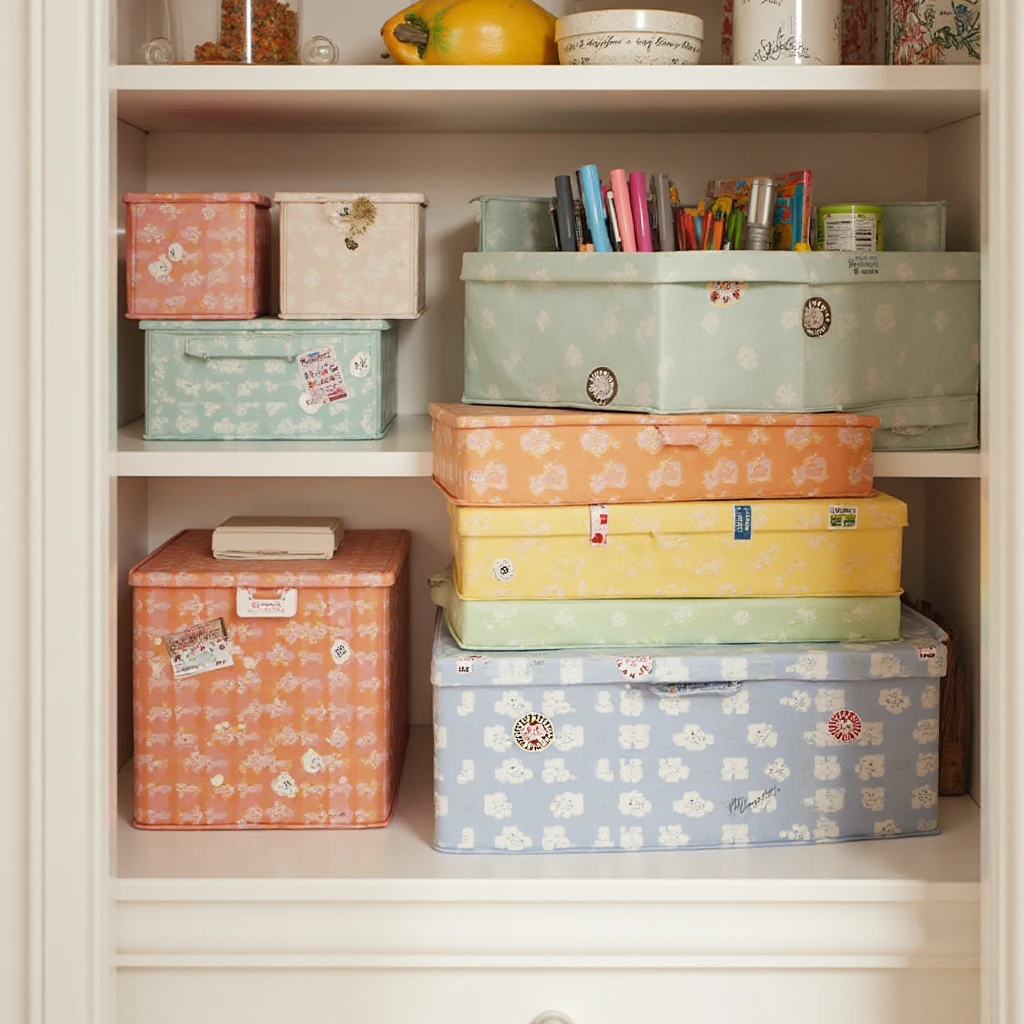
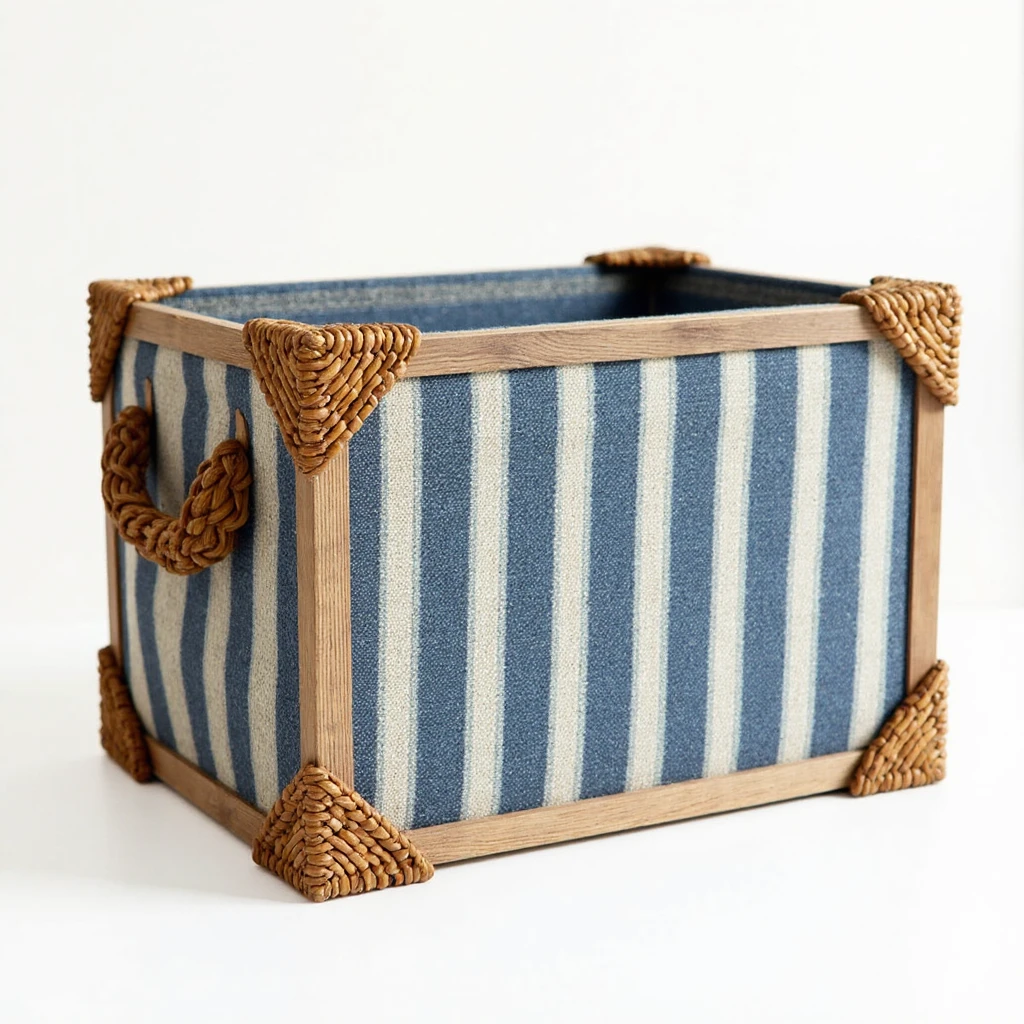
🎨 Decorative and functional improvements
Turn a utilitarian box into an interior design element:
- Magnetic covers - glue neodymium magnets into the beads
- inspection windows - insert the clear plastic from the packaging
- Ventilation openings - punch the patterned holes with a hole punch.
- Ergonomic handles - Use braided cords or wooden blocks
📦 Specialized boxes for different tasks
| Storage type | Reinforcement features | Protective treatment |
|---|---|---|
| Books | Tin corners, metal corners | Insect repellent |
| Textiles | Perforated walls | The lavender sachets inside |
| Tools | Polyethylene foam inserts | Moisture-resistant painting |
| Fragile | Internal partitions | Cushioning pads |
🔬 The scientific approach: why does it work?
The strength of homemade boxes is due to the physics of the materials:
- Cross reinforcement increases bending resistance by 300%
- Impregnation with PVA adhesive creates a polymer matrix that binds the fibers together
- The fabric cladding distributes the load over the entire surface
These boxes can support weights up to 25 kg without deformation!
💡 5 tips for perfect results
- Press dry - put it under a load of books for 24 hours
- Use cardboard of different thicknesses - For the bottom, use the thickest
- Strengthen from the inside out - glue strips of tarpaulin over the corners
- Sign right away - glue on the transparent pocket for the tag
- Protect against moisture - add a few drops of silicone to the lacquer
♻️ Green Bonus
Not only do you create durable items, but you also:
- Reduce your use of plastic
- Recycle packaging materials
- Create a stylish organizer without harmful fumes
Real life expectancy of such boxes - 7 to 12 years even with active use!
It takes 3-4 hours to create one box, but they will pay off with years of flawless service. Give it a try and your pantry will be transformed beyond recognition! 🏆


