
If you have ever made crafts from paper, you probably know that the simplicity of the material often hides a lot of interesting ideas. One of these options is daisy. It would seem, what could be simpler? But if you approach the matter with imagination, you can get a neat, three-dimensional flower that will not wilt, will not break and will not lose its shape. In this master class I will tell you how to make such a daisy with your own hands. It is not necessary to have experience, everything is accessible even to a child.
What to prepare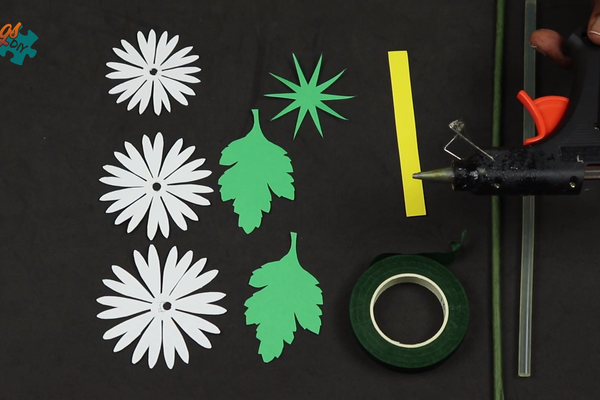
Here's what we'll need in materials:
- white paper (a slightly thicker paper is better, but a regular sheet of paper will do),
- yellow paper is the center of the flower,
- green - leaves and stem (optional),
- glue - either PVA or pencil glue will do,
- scissors,
- a simple pencil,
- a ruler (if you want everything to be even),
- A stick, pipe or skewer for the stem, but you can do it without.
Starting with the petals
The white paper is the petals. Take and cut strips about two centimeters wide and eight centimeters long. How many pieces? About 12, but you can do more. Some people prefer a lush flower, others prefer a smaller one.
Fold each strip, make a loop and glue the edges together. You get such white drops. The main thing is not to overstretch the glue, so that the paper does not get wet. Leave to dry.
Assembling the flower
Take a circle of yellow paper - it will serve as a base. You can cut it out by eye or trace the lid of a jar - it's easier that way. Glue the petals to it in a circle. One by one. It is better to lay them out first, to see how they lie down, and only then glue them on. 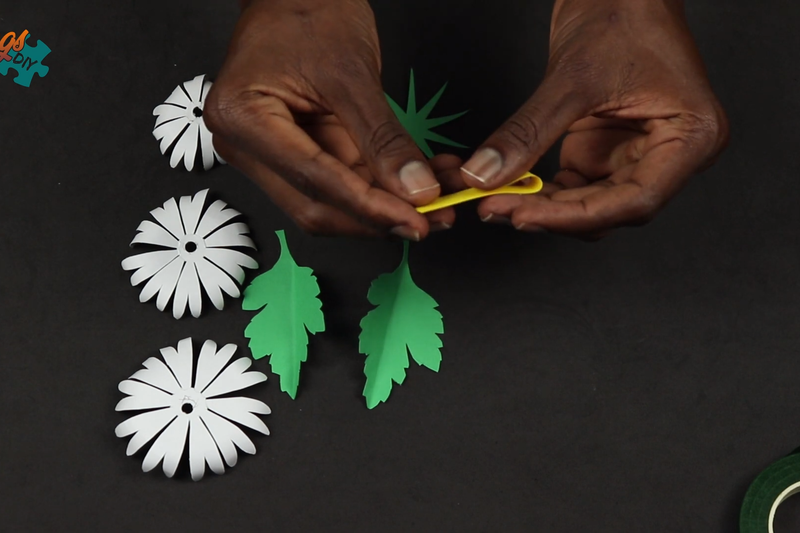
When the first layer is ready, you can leave it like that. Or you can add a second one - glue another one between the first row. This will add volume and the flower will look like a real daisy. Glue one more yellow circle on top - it will cover the gluing place and will play the role of the core.
Read also: How to make irises out of paper
What's with the stem 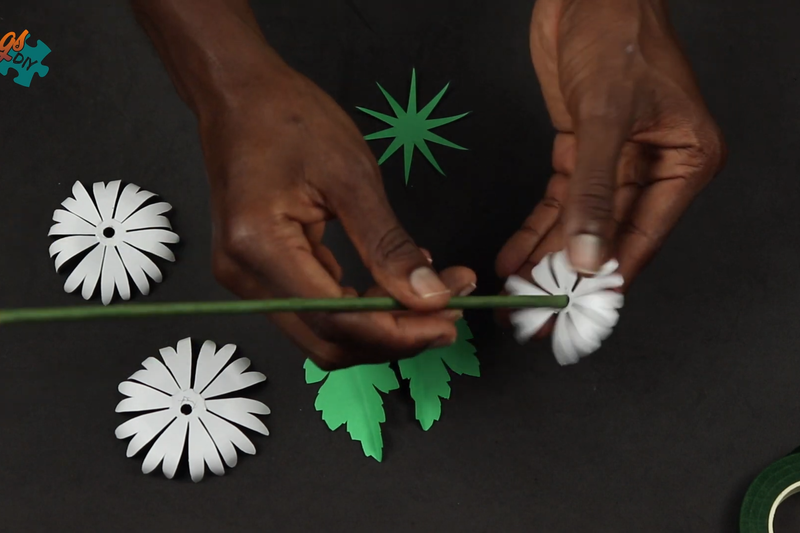
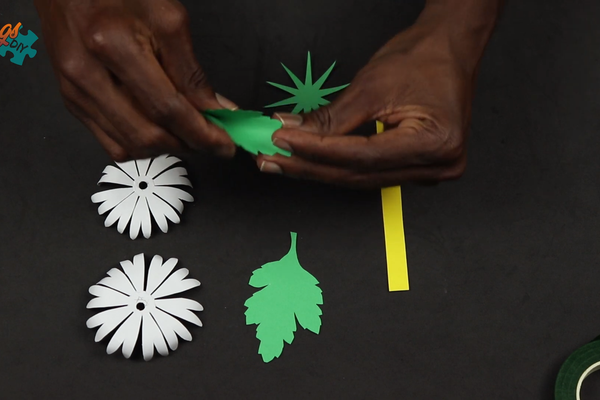
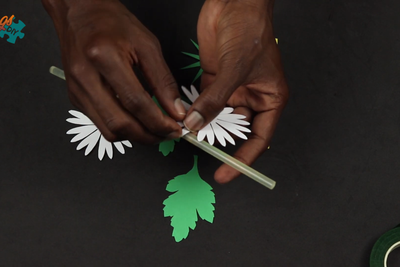
If you want the daisy to stand, you need a stem. There are a lot of options here. Someone uses a tube, someone uses a wooden stick, and someone simply makes a stem from twisted green paper.
Glue this "stick" to the bottom of the flower and a leaf or two to it. The shape is up to you. You can draw a leaf as you see it and cut it out. It does not have to be strictly symmetrical. In nature, too, it is rarely perfect.
Where to use 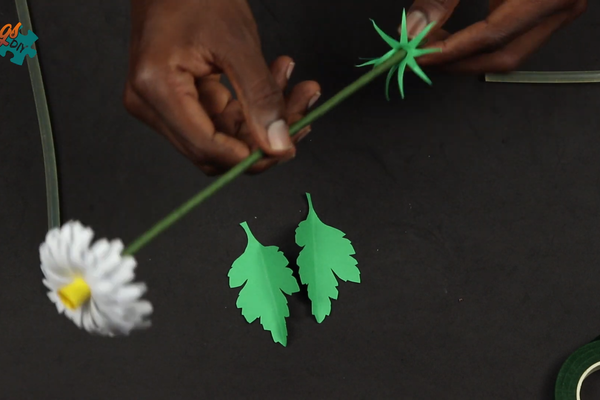
This daisy is not just a fun activity. It can be inserted into a homemade vase, glued on a postcard or even used as an element of a school wall newspaper. If you make several of them, you will get a composition. And if you turn on your imagination, you can make a whole spring bouquet: daisies, tulips, cornflowers.
Paper flowers can be used as props in a children's play, for a photo zone, decorating a gift, or just as a weekend activity.
Conclusion
A daisy from paper is not just a cut out circle with strips. It is a good mood, an opportunity to distract yourself and do something with your hands. Especially since such activities require neither special skills nor expensive materials. Just a little time, a desire to try - and everything will work out.


very creative crafts