
Engraving on cardboard is a unique printing technique that combines the affordability of materials with impressive artistic results. It is ideal for beginners, children and experienced artists who want to experiment with texture and form. In this article you will learn:
✔ Why is cardboard the perfect material for engraving.
✔ What tools are needed for the job.
✔ 5 techniques for creating spectacular prints.
✔ How to complicate engraving for professional results.
✔ Ideas for creativity - from postcards to large artwork.
📜 Why cardboard?
Cardboard as a material for engraving has a number of advantages:
✅ Accessibility - you can use packing boxes.
✅ Softness - easy to cut even with children's tools.
✅ Texture - the corrugated layer gives interesting effects.
✅ Environmental friendliness - recycled materials in creation.
Historical fact: The technique of printing from cardboard became popular in the 20th century as a democratic alternative to wood engraving.
🛠️ Materials needed
1. basic:
- Cardboard (preferably corrugated with a thickness of 2-3 mm).
- Printing ink (acrylic or oil).
- Roller (brayer) to apply the paint.
- Impression paper (watercolor or heavy drafting paper).
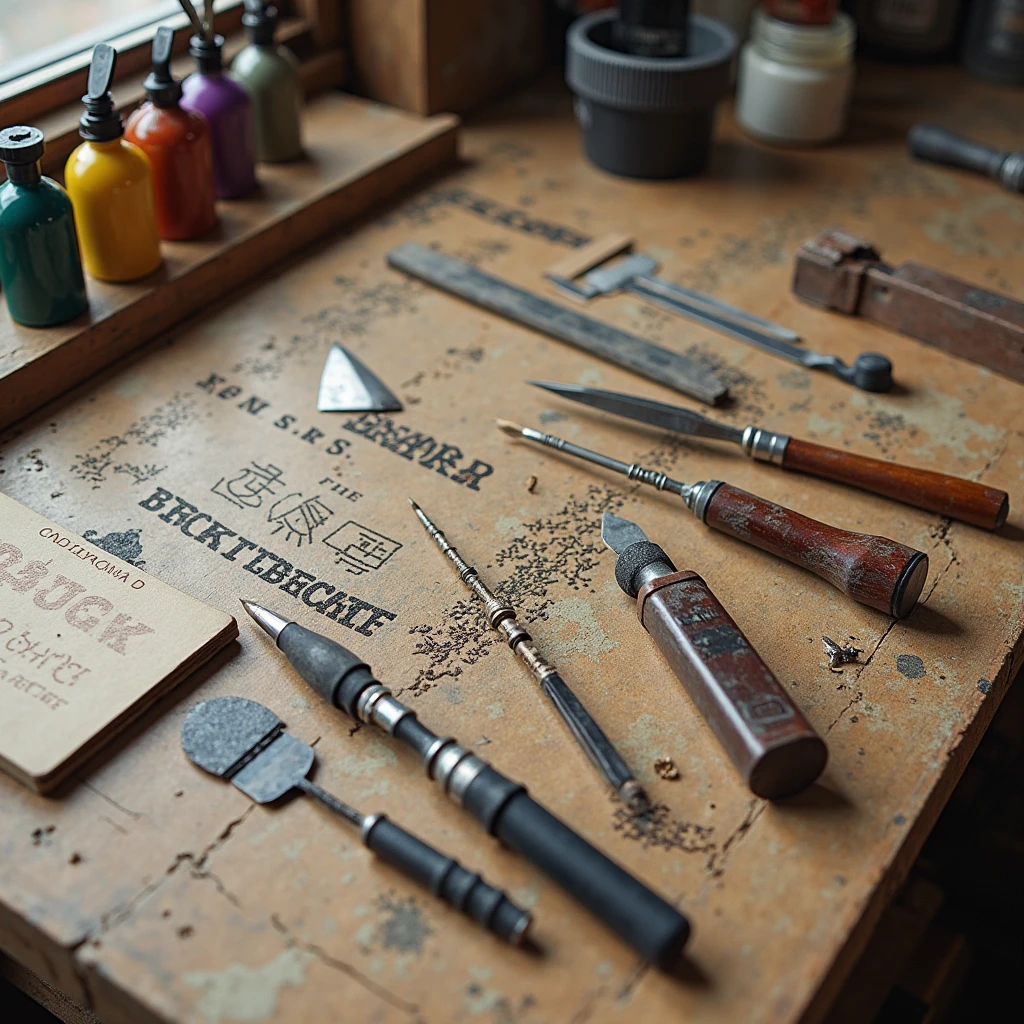
2. engraving tools:
| Tool | What it's good for |
|---|---|
| Stylus (wooden stick) | Simple lines, children's artwork |
| Stationery knife | clear contours |
| Engraving needle | Small details |
| Sandpaper | Creating halftones |
3. Extras:
- PVA glue (to strengthen the cardboard).
- Acrylic varnish (to fix the finished engraving).
🎨 5 techniques of engraving on cardboard
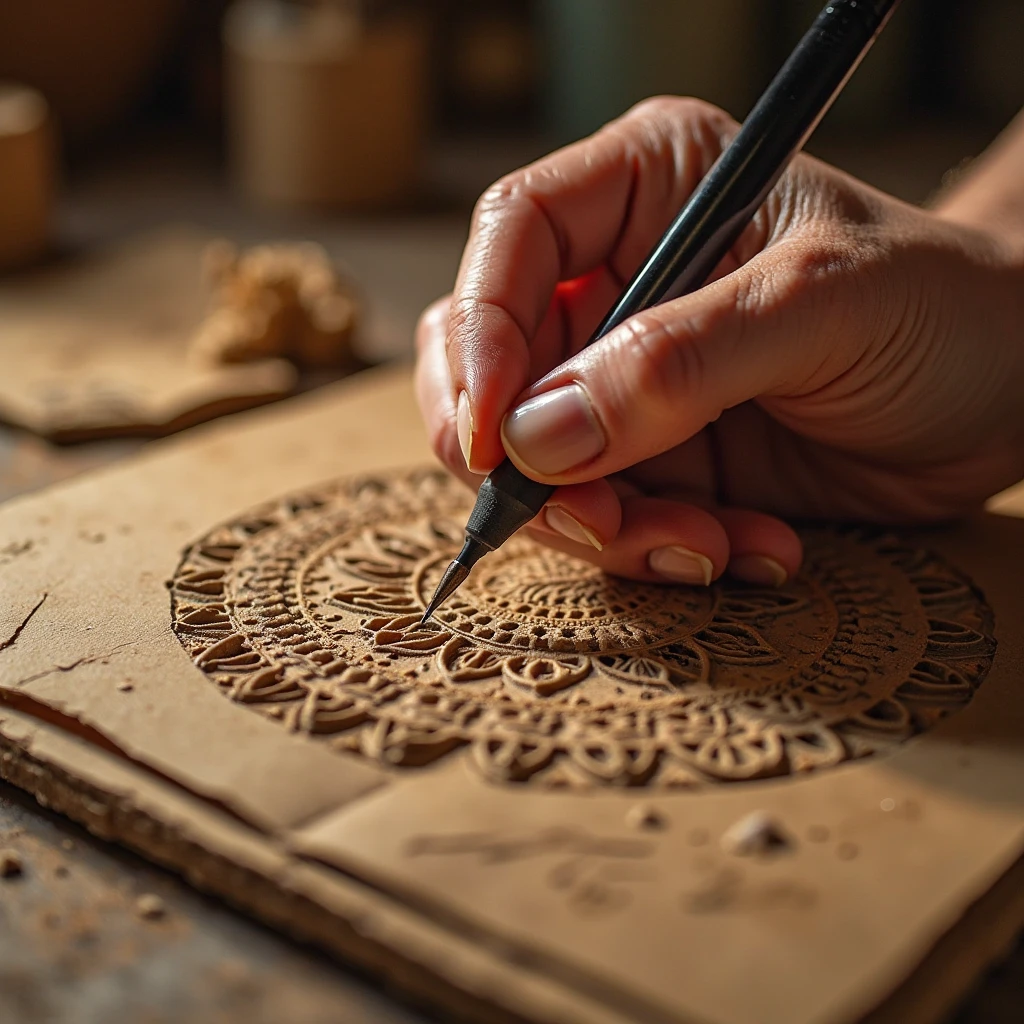
1. Classic cut-out engraving
- Draw a sketch on cardboard.
- Cut out the outlines with a knife (deleted sections will not be printed).
- Apply the paint with a paint roller.
- Make an impression by rolling a clean roller on top.
Tip: Use black paint on white paper for contrast.
2. Engraving with overlapping layers
- Cut out the different elements on three sheets of cardboard.
- Print the background layer first, then the middle and front layers.
- Use a different color for each layer.
Effect: 3D depth without special tools.
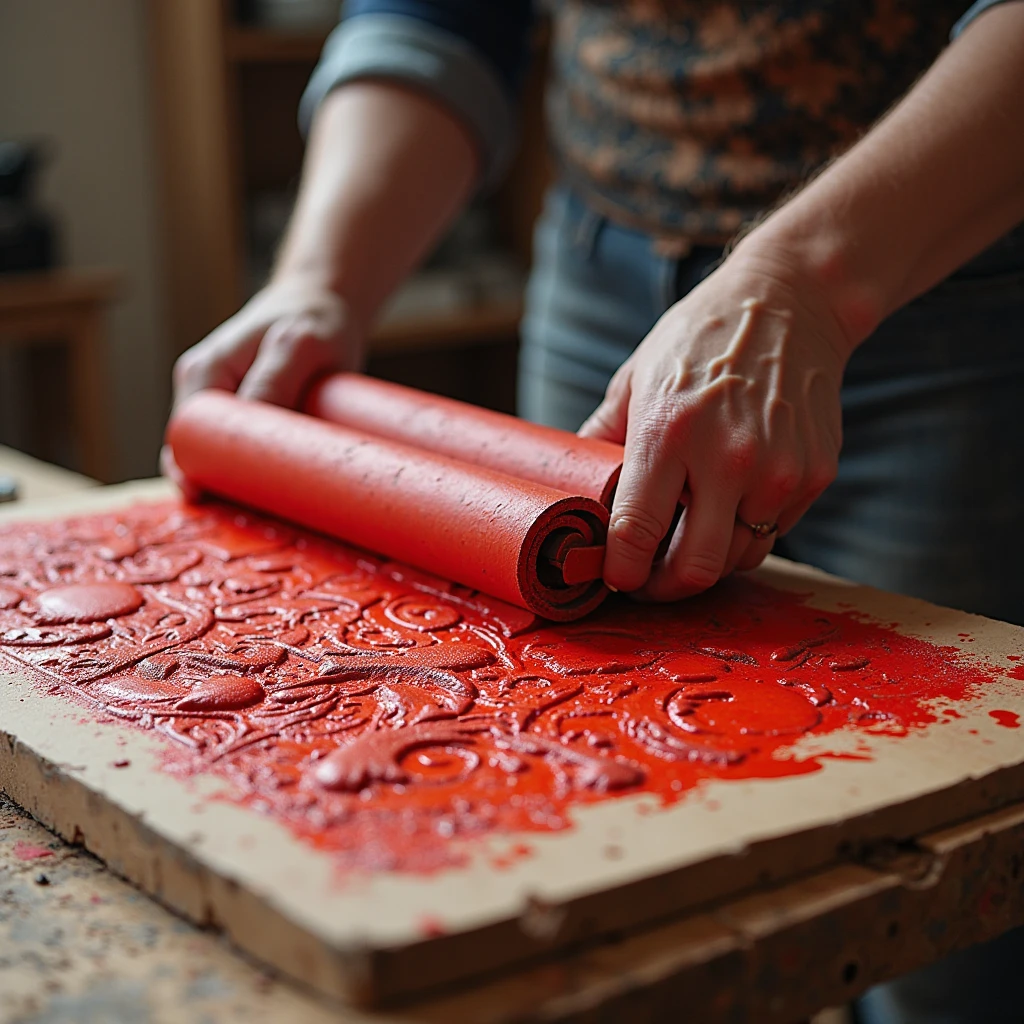
3. Textured engraving
- Use uncut cardboard.
- Roll the roller with paint - the relief of the corrugation will be imprinted.
- Add the cut out elements on top.
Idea: Abstract landscapes with "rain" of stripes.
4. Engraving with template
- Glue the lace or leaves onto the cardboard.
- Paint with a roller.
- Remove the template before printing.
Result: A combination of handmade and natural patterns.
5. "Light Drawing."
- Cover the entire cardboard with paint.
- Scratch the pattern with a needle (light lines on a dark background).
👩🎨 How to make the technique harder?
For Professionals:
- Create halftones by peeling off the top layer of cardboard with sandpaper.
- Use watercolor underpainting after printing.
- Experiment with colored layers (Technique chine-collé).
For educators:
- Make a collective engraving where each child creates a different piece.
🌿 Ideas for inspiration
1. Children's projects
- Animal postcards.
- Letters of the alphabet for learning.
2. Decorative art
- Handmade wallpaper.
- Gift Wrapping.
3. artwork
- A series of cityscapes.
- Expressionist portraits.
⚠️ Problem Solving
Problem: The cardboard is warping.
Solution: Coat the back side with PVA glue before working.
Problem: A smudged print.
Solution: Use less ink and press down harder on the paper.
Problem: Fuzzy lines.
Solution: Cut at a 45° angle.
💡 Tips for perfect impressions
✔ Make test prints on the newspaper.
✔ Use liners (thin brushes) for fine details.
✔ Sign the engravings below (in pencil 2B).
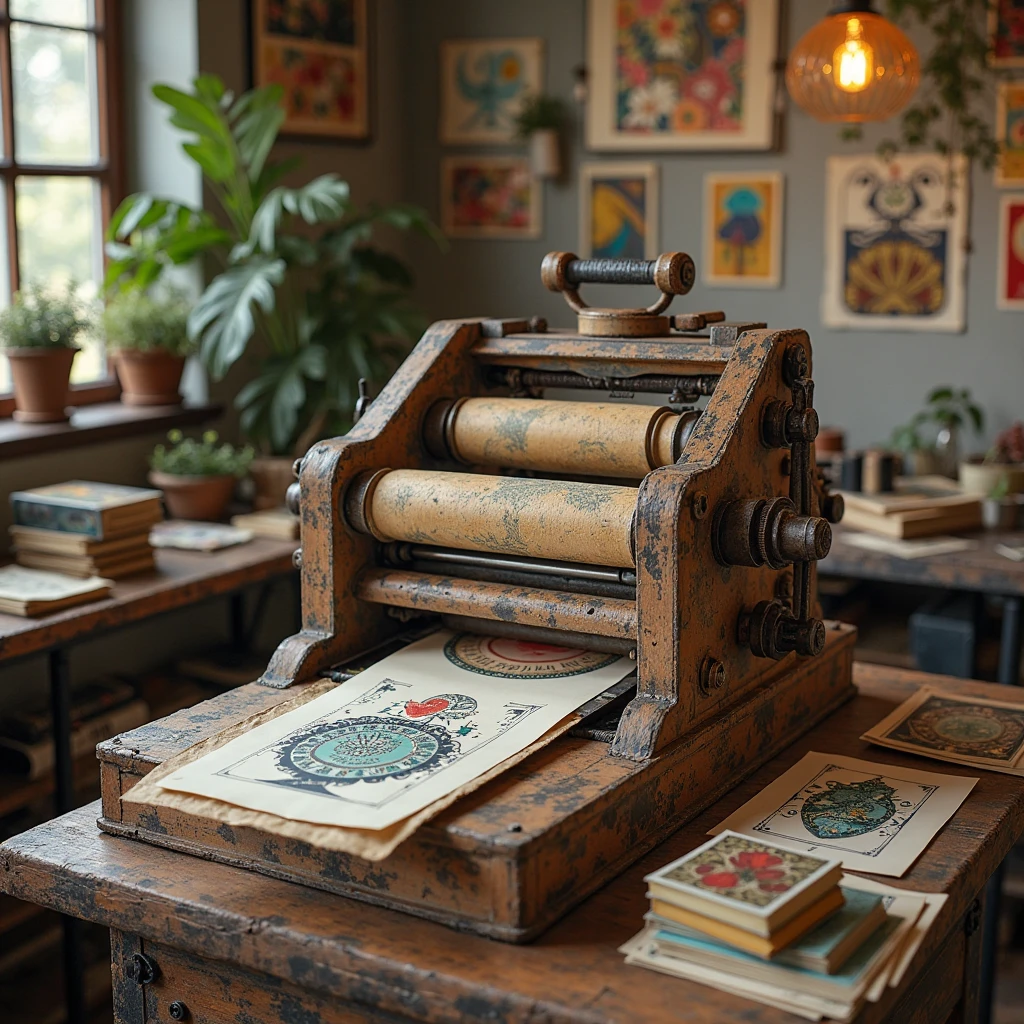
🖼️ Formalization of works
- Drying: 24 hours for oil paint, 1 hour for acrylics.
- Fixation: Spray lacquer in 2 coats.
- Showing: On a passepartout mat or under glass.
Engraving on cardboard proves that art doesn't need expensive materials - just ideas and hands ready to create!


