
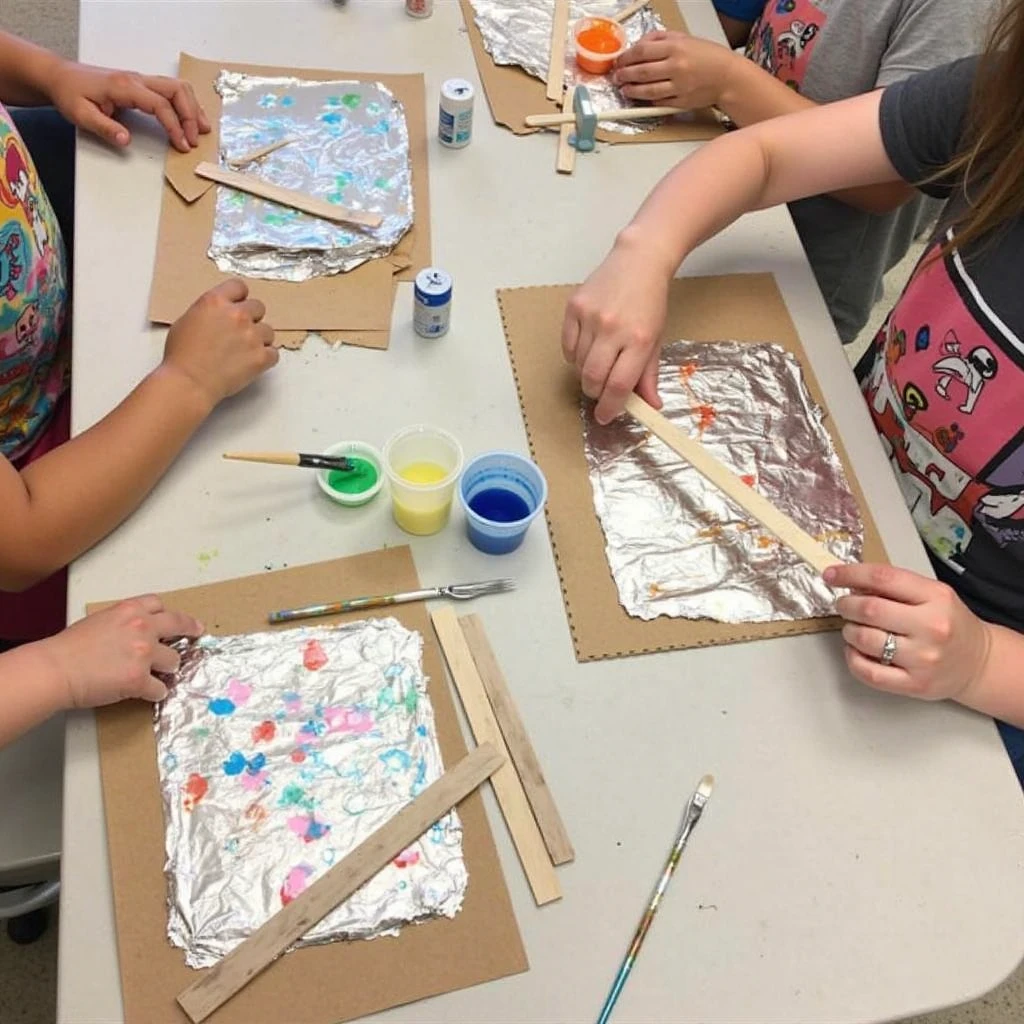
Creating foil engravings is an amazing technique that allows children to feel like real masters of printmaking. Unlike complicated metal engraving methods, this option is safe, affordable and gives amazing results from the very first time.
🎨 What is foil engraving?
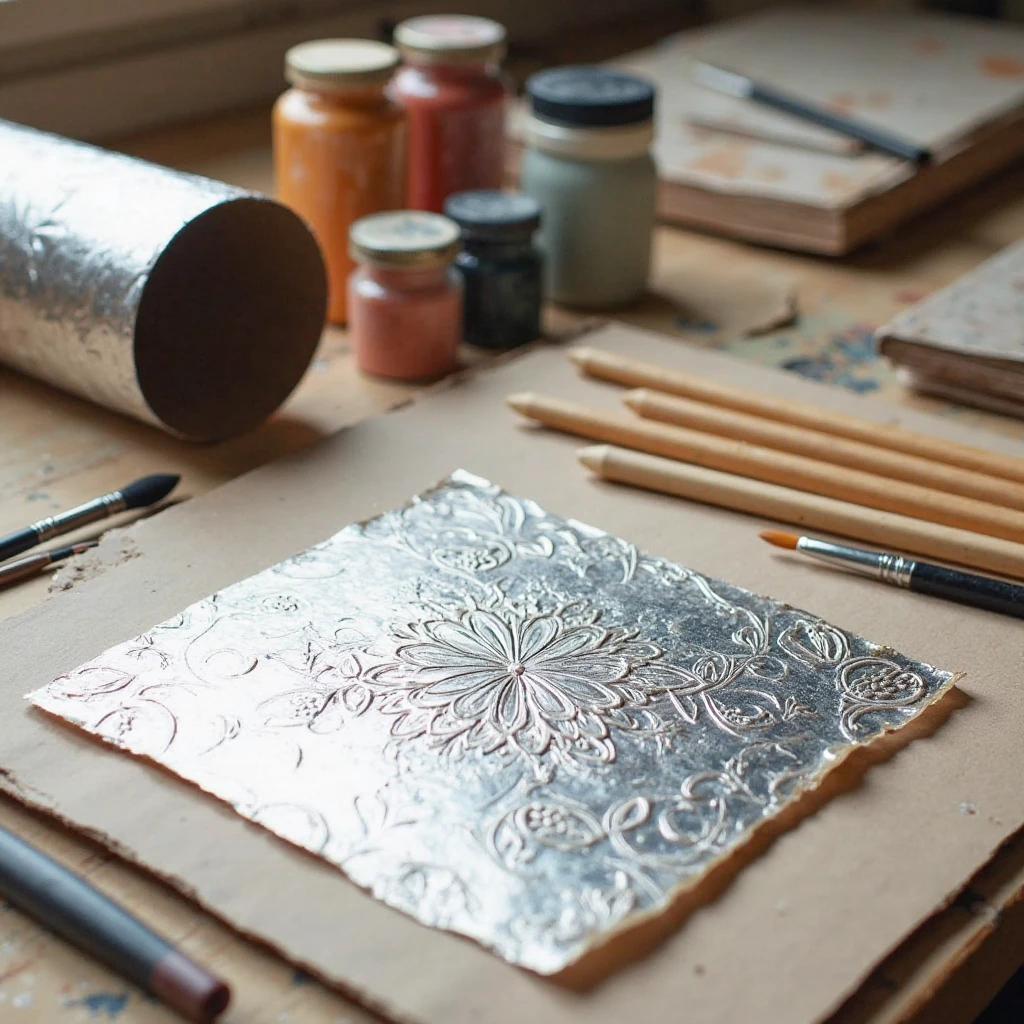
This is a simplified embossing technique, where instead of a metal plate, ordinary aluminum foil is used. The method is based on the principle of relief creation: pressing the foil leaves indented lines, which turn into a clear contrasting pattern after coloring.
📋 What will you need for the job?
For the first experiments, simple materials are sufficient:
- Aluminum foil (it is better to take a dense one, from 30 microns)
- Cardboard base (for stiffness)
- Embossing tools:
- Wooden sticks (popsicle sticks, toothpicks)
- Blank ballpoint pens
- Plastic molding sticks
- Colors: gouache, acrylic or ink.
- Brushes (flat and thin)
- Lacquer (to record the result)
🖌️ Step-by-step process for creating an engraving
- Preparing the foundation - The foil should be carefully smoothed and glued to the cardboard using PVA glue or double-sided tape. It is important that the surface is even, without folds and bubbles.
- The patterning is Use a simple pencil to outline the contours. For the first works it is better to choose large, clear shapes: animals 🦉, stars ⭐, geometric patterns.
- The embossing is. With a wooden stick (not the sharp end!) press the lines along the outlined pattern. The stronger the pressure, the deeper and more expressive the relief will be.
- The coloring is. Apply the paint to the entire surface, then gently wipe off the excess with a soft cloth. The paint will only remain in the recesses, creating a classic engraving effect.
- The finish is. After drying, you can cover the work with varnish - it will make it more durable and give a noble shine.
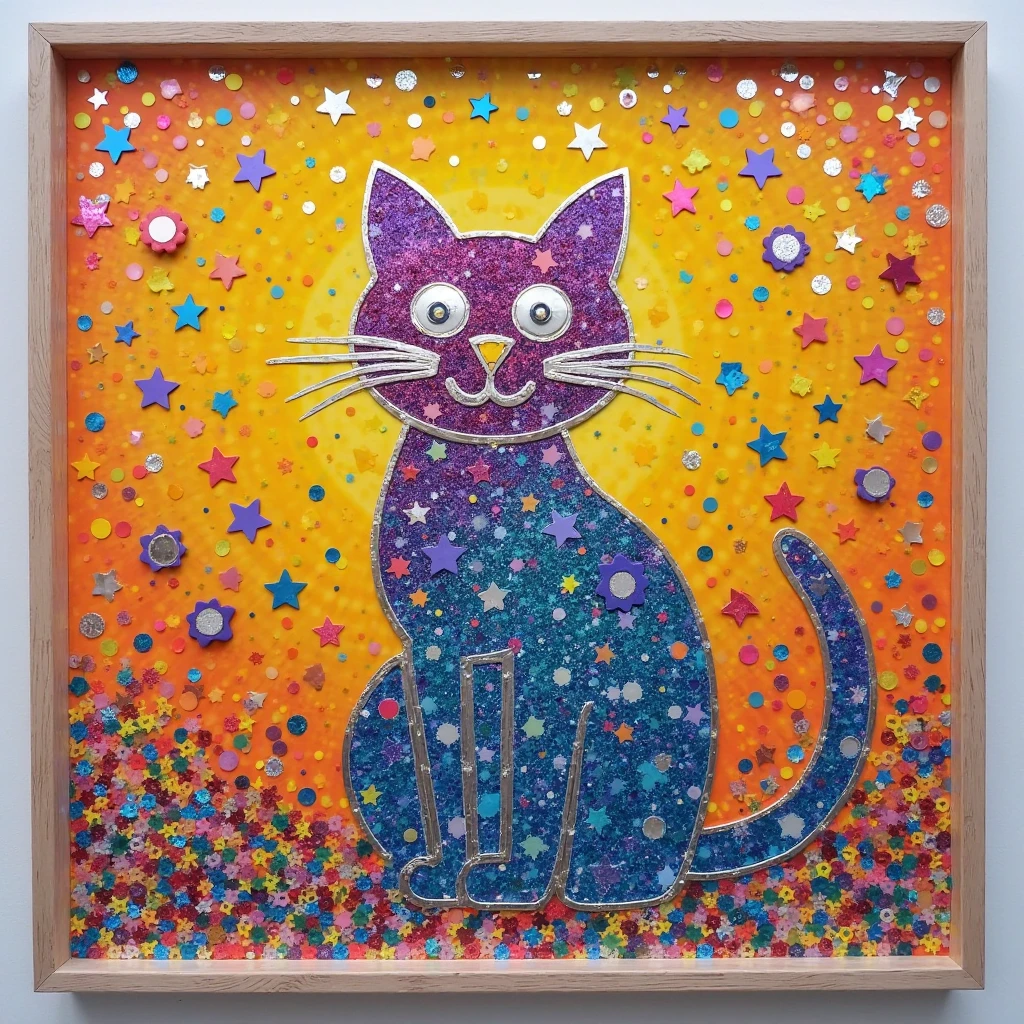
🌈 Options for decorating and complicating the technique
Once the basic principle is mastered, you can experiment:
- Color prints - use of different shades of paint
- Multilayer embossing - depth effect
- Combining with other techniques - applique, decoupage
- Creating postcards ✉️ and photo frames
🧠 Why it's good for kids?
- Develops fine motor skills and coordination
- Trains diligence and attention to detail
- Introduces the basics of graphic arts
- Gives quick visual results - important for motivation
💡 Tips for parents and educators
- Start with small formats (A5)
- Use ready-made stencils for the first trials
- Combine with felt-tip pens for colorful accents
- Organize an "exhibition" of finished works - this will inspire the children
Foil engraving - is the perfect way to introduce your child to the world of art. Simplicity, safety and spectacular results are guaranteed! Give it a try - and maybe it will become a favorite family hobby. 🎭


