
 If you know how to tie men's ties, you will probably find this lesson very easy. We offer to make a souvenir tie from a real money bill. You can consider this craft as a joke gift for your loved one or for dad, for a friend, or just a variant of the craft, which should be folded carefully and scrupulously. The basis of the tie will be a bill, and you can choose any denomination to get a gift of the value you need. Just a few steps of folding - and a valuable banknote will instantly turn into a small tie, which is not difficult to attach to a gift box or to a card, to applique, or even put in a small box. We show an example on 50 rubles to make it clear to you how to make an interesting manigami craft.
For work it is necessary to take a money bill.
[H2]How to fold a tie in the manigami technique[/H2]
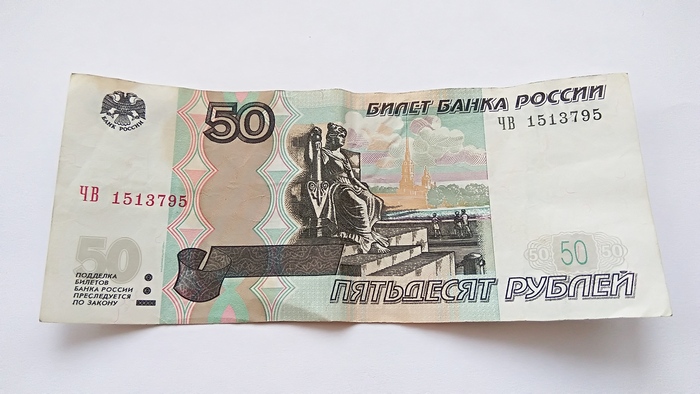
1. Smooth out and place the money bill you have chosen horizontally in front of you. In our case you see 50 rubles in the photo.
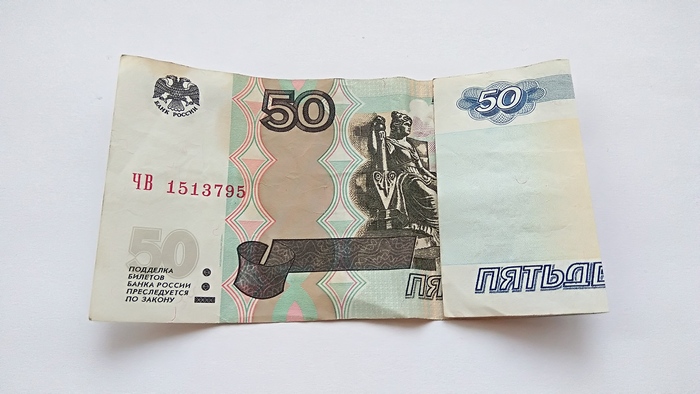
2. First find the center by bending the rectangular piece vertically. Then unfold it again and point one side, such as the right side, to your center. Smooth out the new fold.
3. Unfold the paper again and fold the bill again, this time horizontally in the center. Smooth it out.
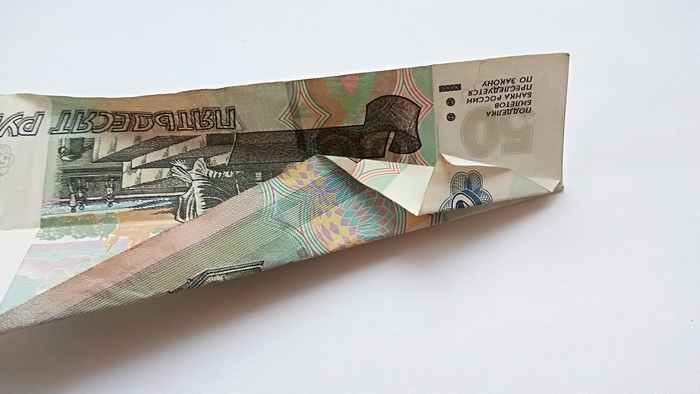
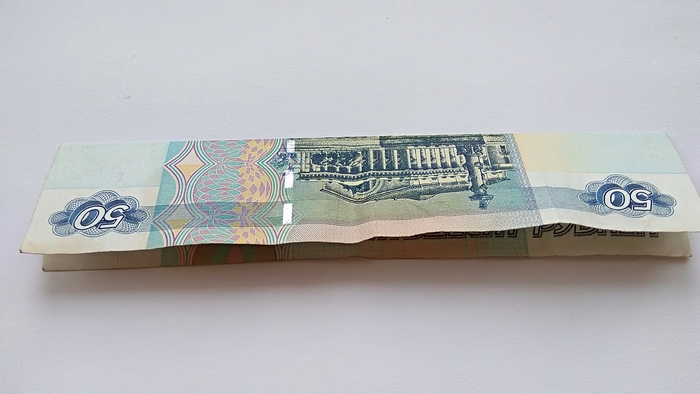
4. Unfold the paper. Make the first fold line aslant. The points will run from the bottom side, about 2 cm short of the corner, to the right center point marked by the previous fold. Smooth the paper in this position. The corner that will overlap after this fold from the top also needs some work. Fold the corner first toward you and downward, smooth it out, and then the part that stands out, again lift it toward you and upward. Smooth and then bring the small corner down again. In this way, you will have an asymmetrical zigzag line in this part of the workpiece.
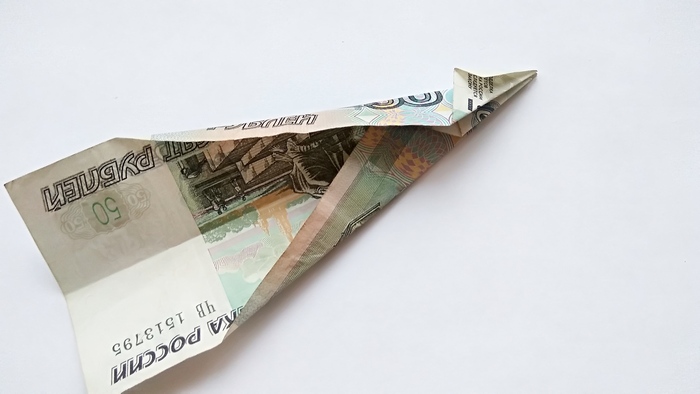
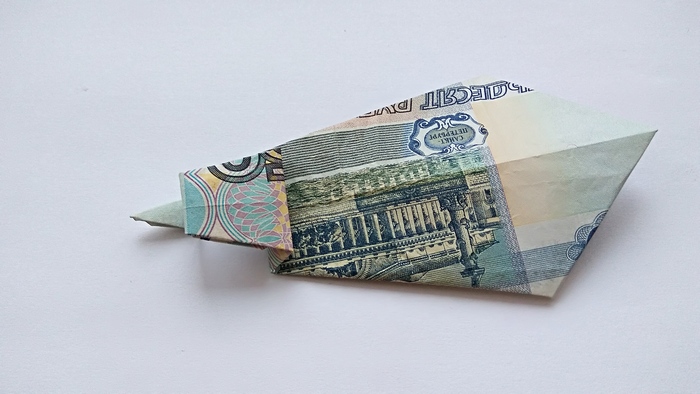
5. Make the same fold on the second side. Focusing on the center point and the top side, leaving a couple of centimeters from the corner, fold first aslant. And then bend so as to get rid of the protruding corner. Thus, you will have a triangular piece resembling an airplane after this folding procedure.
6. Work on the opposite side without turning the paper over. Fold the corners into a house, as shown in the photo. The reference points of folding will be: the central part of the narrow side of the rectangle, which we initially highlighted by folding, as well as the points on which the previous triangles of the bill were folded.
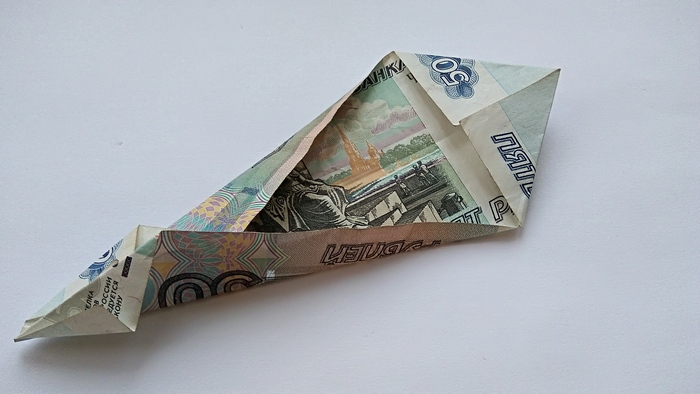
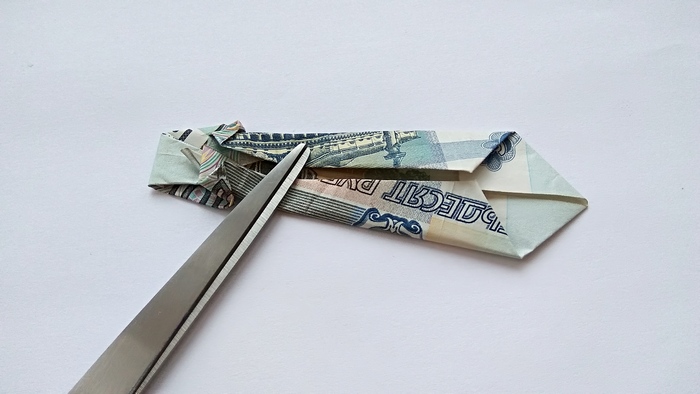
7. Turn over the other side of the workpiece (this will be the blind side). Direct the acute angle to the opposite side, but do not reach the end, but leave about 2-3 cm. Thus, you will highlight an isosceles acute triangle. Smooth out the fold line.
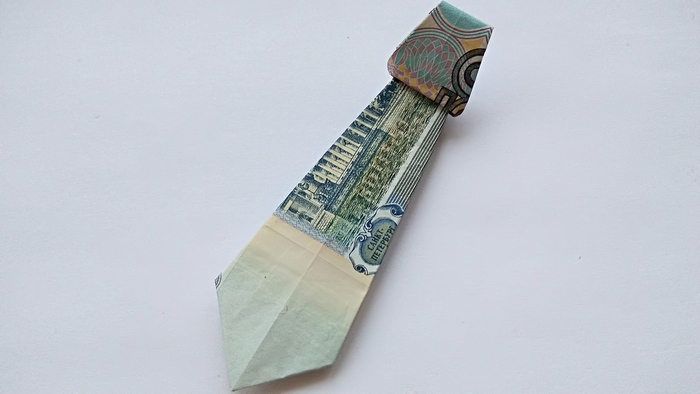
8. Bend the tip, make a fold and put the corner back in place, but not completely, but make another fold. How the construction looks like, which you should have, you can see on the corresponding photo.
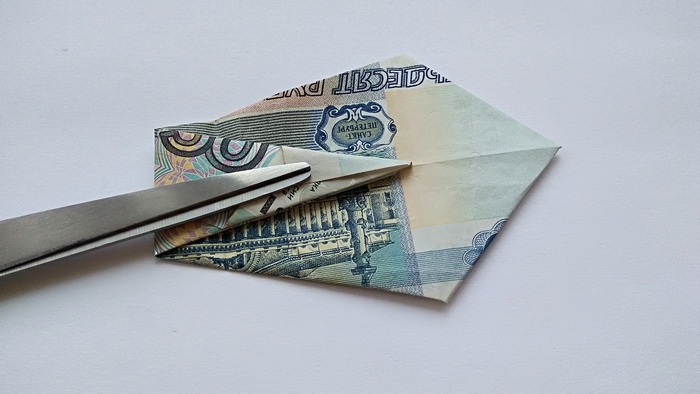
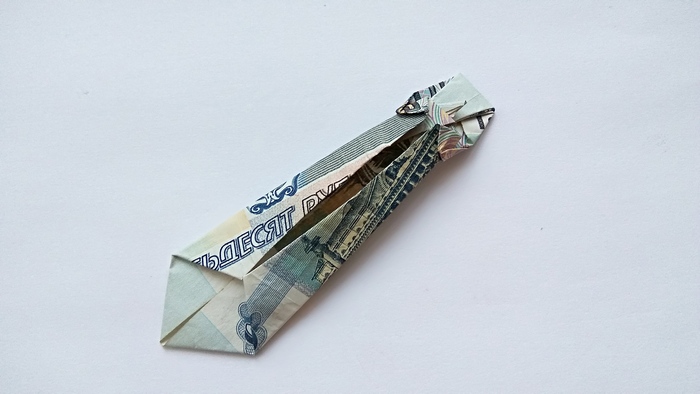
9. Turn the blank over again with the back side facing you and fold the sides at some angle. At the same time, the upper part of the bill, where the paper has already been folded many times, will resist. It is necessary to carefully smooth the corners so as not to tear or crumple them. The sides should almost meet in the center part. Be sure to smooth, perhaps even with an iron, the piece.
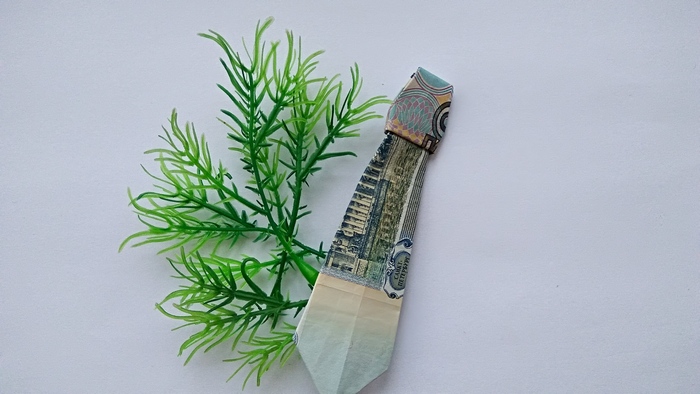
Turn the piece over to face you. This will be the tie that we modeled together with you. The model looks like a real man's accessory.


