
 Bright and unique snowflake you will get from paper, if you use this rather simple technique. Source materials - multicolored paper, technique - symmetrical cutting. Most likely, every adult has created New Year's crafts from napkins and paper leaves, he will certainly pass on his experience to the child. But there is one secret that will allow you to make something unique. First, a snowflake can be made two-color, using very different contrasting shades, and secondly, it is easy to decorate the finished product, make it New Year's and sparkling. This will help small rhinestones. All this will not cause anyone difficulty. The drawing of a snowflake can be non-repeatable completely new, from product to product. Today in stores and stalls sell a lot of materials for creativity. Sets of stones and rhinestones, packages of colored paper cost pennies. Therefore, everyone is able to buy before the New Year enough material for creativity to prepare well.
What you'll need for a colorful snowglobe:
- scissors;
- a simple pencil;
- sheets of pink and white paper one at a time;
- glue;
- velcro rhinestones.
How to make an ornate snowflake
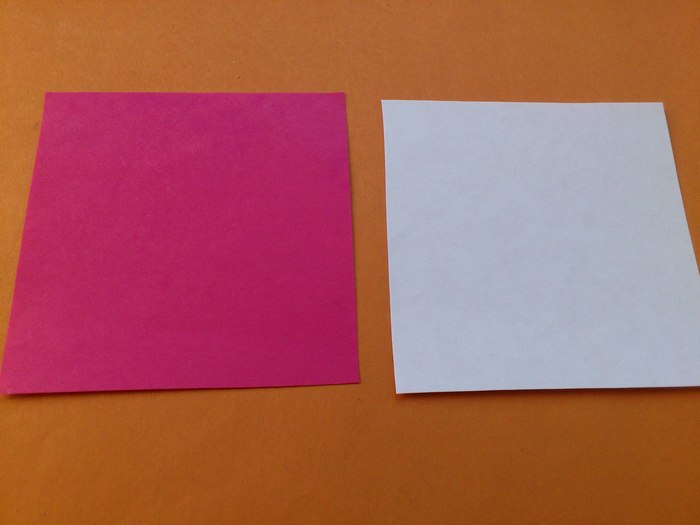
1. usually before cutting out a snowflake, always look for interesting stencils that will allow you to set an unusual ornate pattern. But in the above case, it will not be necessary to cut out any complicated lines, to achieve something unusual. All the beauty will consist in the combination of white and pink paper leaf, and the ornament on the top layer of the crafts we will make the simplest. Initial blanks are the same as for folding before symmetrical cutting - ordinary squares of the same size. Cut out the parts separately from white and from pink paper.
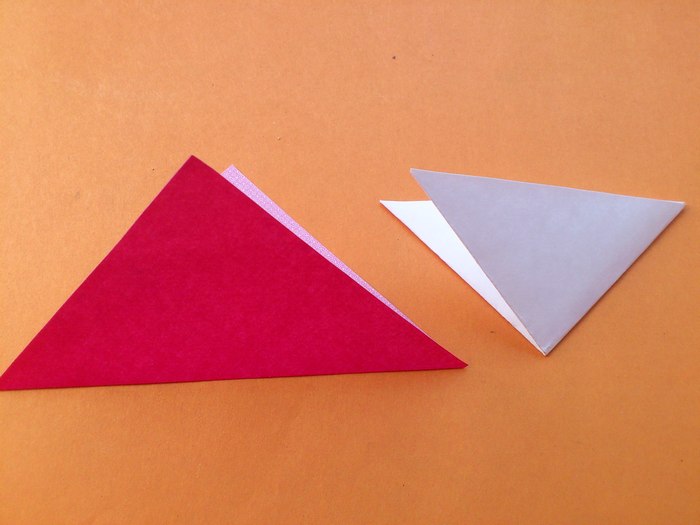
2. Fold the squares very precisely along the diagonals. Make the original compositions identical in shape.
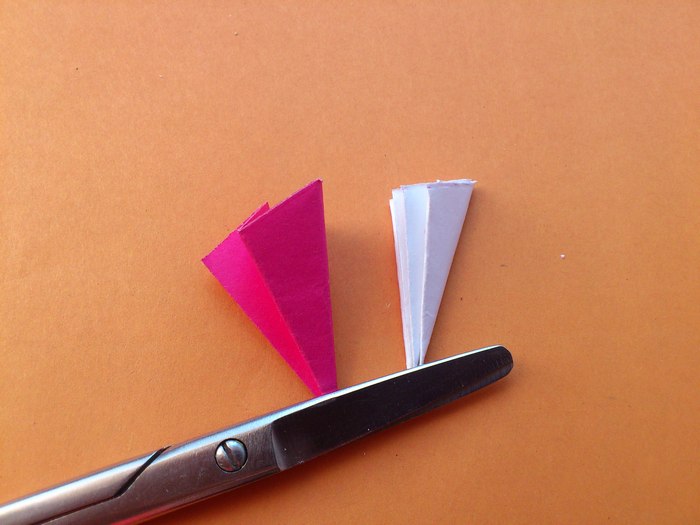
3. Fold the pieces in the center several times until you see narrow triangles in front of you. After that you can stop folding. The more folds you make, the more rays the snowflake will have. Fold both parts together and synchronously cut off the outer edge - the tail.
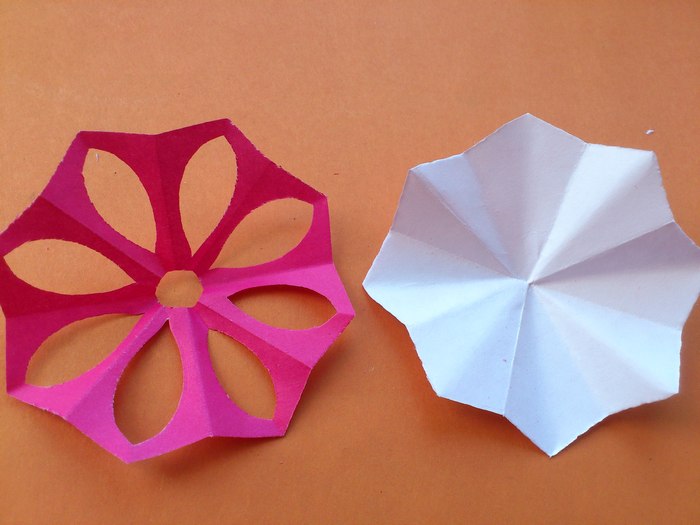
4. Leave the white part unchanged. Unfold the folded former square and you will see the bottom layer of the snowflake. On the pink component make an oval hole in the folded form - carefully cut off the paper with scissors. When you unfold the pink layer, it will be the same shape and size as the white one, then shaped (each ray will have a hole).
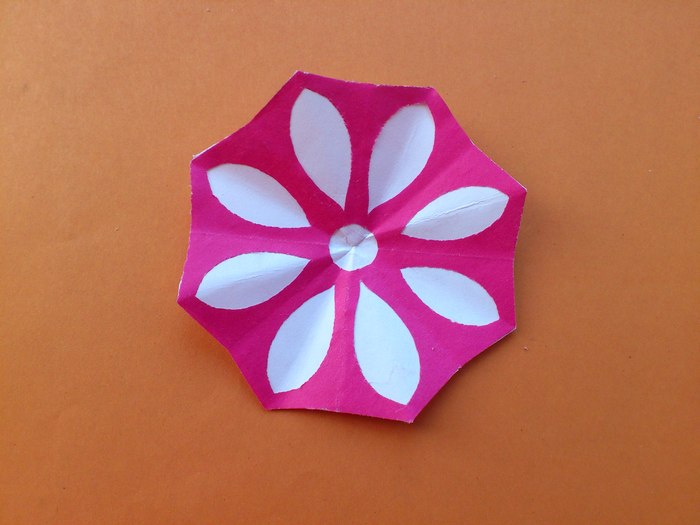
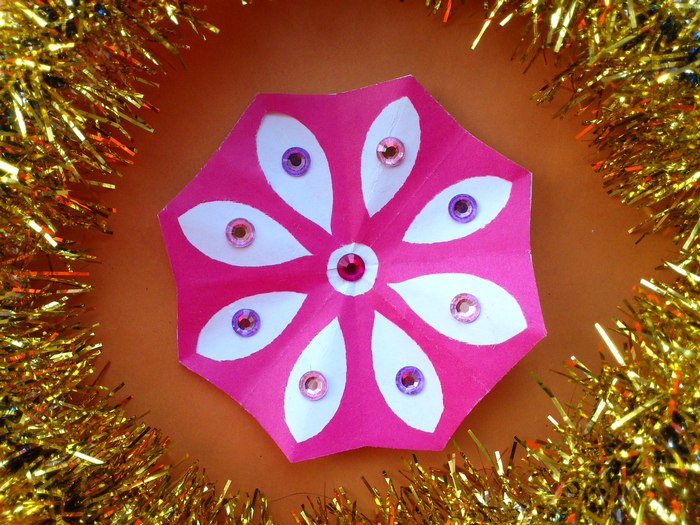
5. With the perimeter of the snowflake clearly aligned, glue the white layer of the snowflake onto the pink layer. If you have a sloppy edge, cut off the excess paper with manicure scissors. Thus, you will have a beautiful two-color snowflake in front of you.
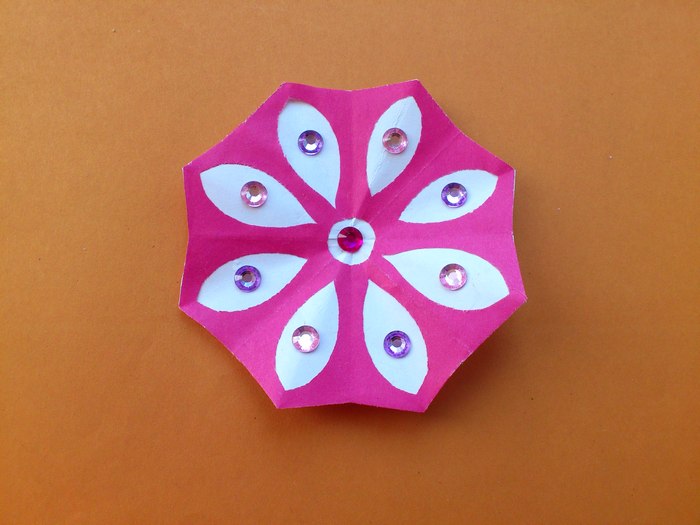
6. Glue rhinestones - this is a must, because the craft is designed to celebrate the New Year. Everything around sparkles and sparkles, shimmering with the lights of garlands and lanterns. And rhinestones are included.


