
 Origami figure models are a great way to teach children. Creative lessons on creating such crafts allow you to solve many pedagogical problems. To begin with, you will familiarize kids with such geometric figures as square and rectangle, teach pupils to use a ruler and scissors to create blanks. Also origami is a method that allows you to develop fine motor skills of fingers, diligence and accuracy of work with paper. You should be sure to fold squares clearly, perfectly combine all the corners to get the planned models. And finally, children will remember numbers faster and even learn to count if they learn math in this interesting way.
To create origami figures, prepare:
- brightly colored, single-sided paper;
- a ruler;
- scissors.
How to make origami figures with your own hands
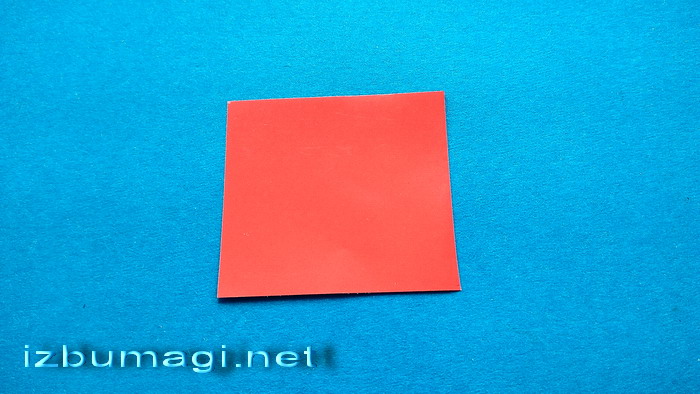
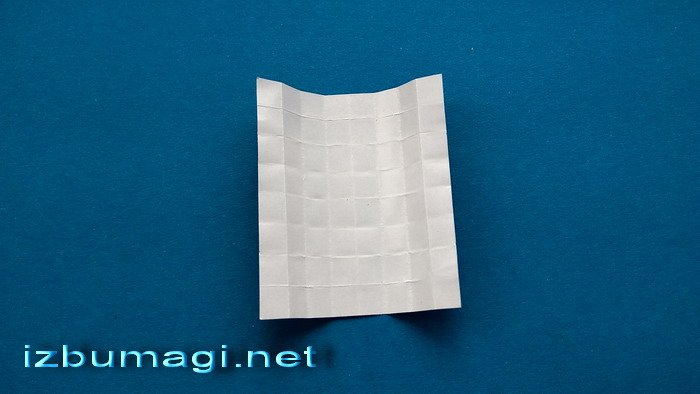
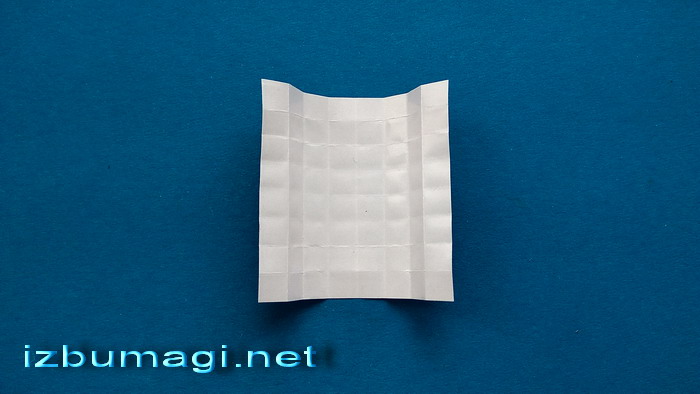
- The lesson describes how to make numbers with your own hands. The easiest variants are given as an example. To model each of them, you should prepare a square sheet of paper. Here we used bright red paper, the back side of which is white. The different color of the sides of the paper is a prerequisite in this work, since both the front and back sides will be involved in the modeling process. For each figure you should prepare a square (of any size), then divide the square by bending it into segments (in total you should allocate 8 squares on each side, that is, divide each blank into 64 segments). To do this, fold the number modeling paper in the same way.
- Fold the square to one height, then unfold the paper and make a perpendicular fold.

- Unfold the square, turn the white side toward you. Fold the two opposite sides together along the center line, smooth the piece.

- In the resulting rectangle, bring the opposite sides together again in the center. This will create a very narrow rectangle.

- Unfold the paper again. You will see 5 parallel lines. Then make the same folds. Only perpendicular to the previous lines.
- When you unroll the square for the last time, it will be visually divided into 64 identical small squares.
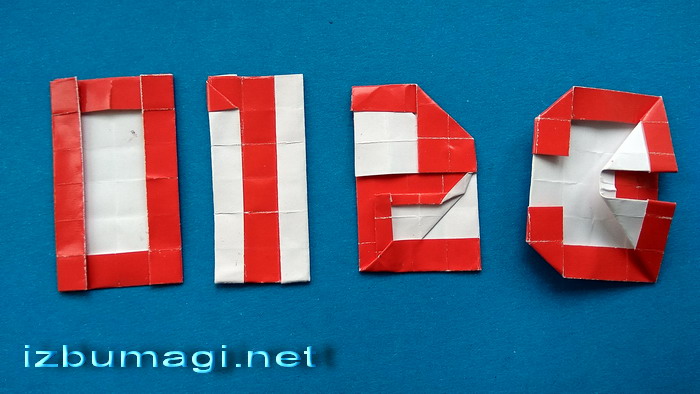
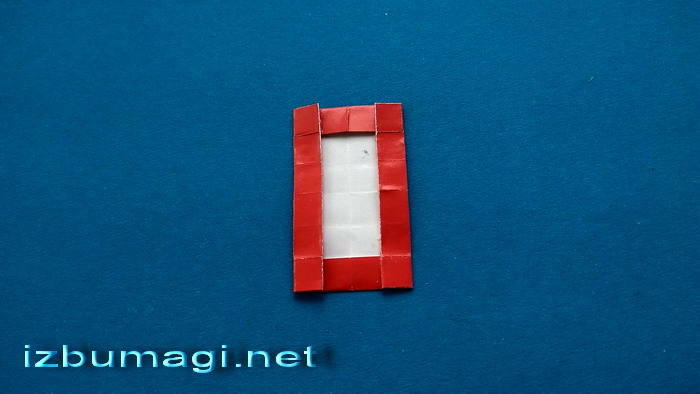
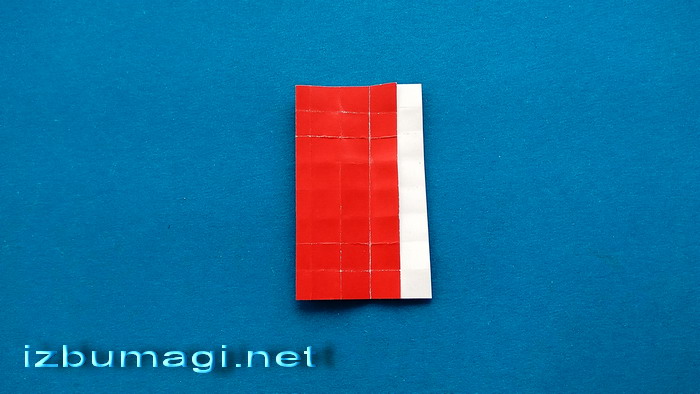
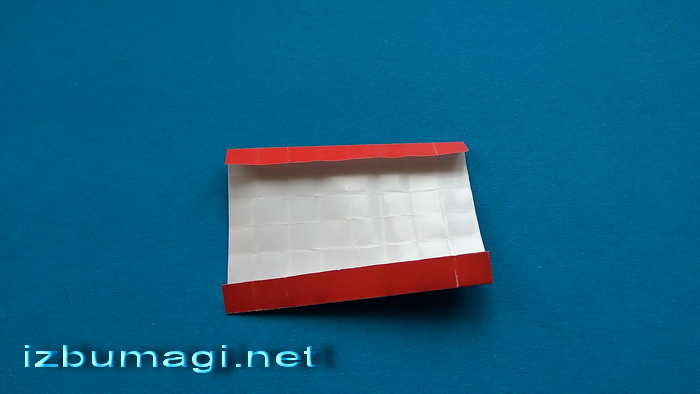
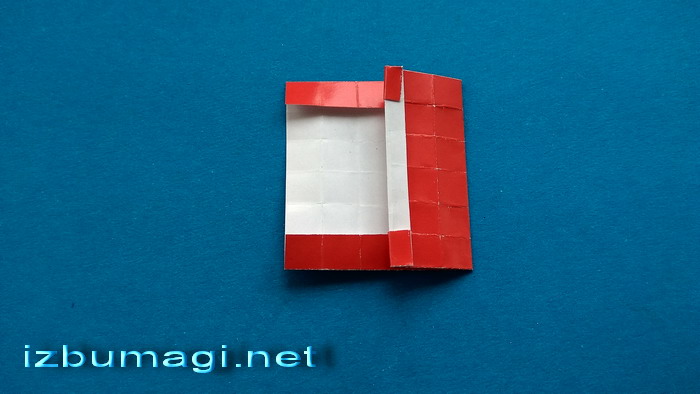
- To make the number 0, fold 2 opposite sides of the square, showing the red part of the paper, then fold the second pair of opposite sides. The fold at this stage is only along the first lines. You will have a square again, but smaller and with a red border.
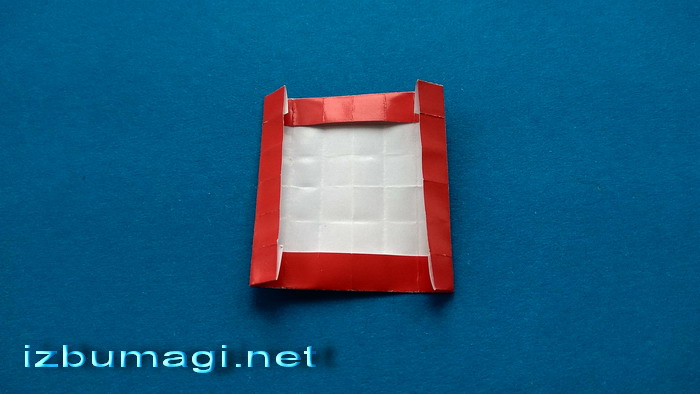
- Once again fold the two opposite sides to the center (move along the second line). Now you have a rectangle with a red border, which is the model of the number 0 you are looking for.
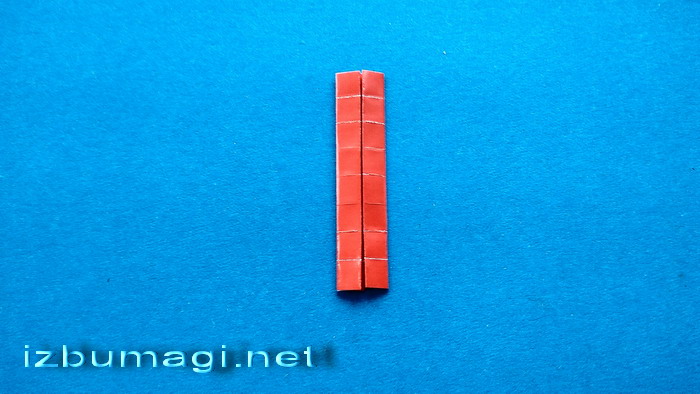
- Prepare the second square with the segments for the number 1. Turn the blank with the red side facing you. Bend the left side toward you, capturing 2 lines at once. Bend the corner at the top to highlight the tip.
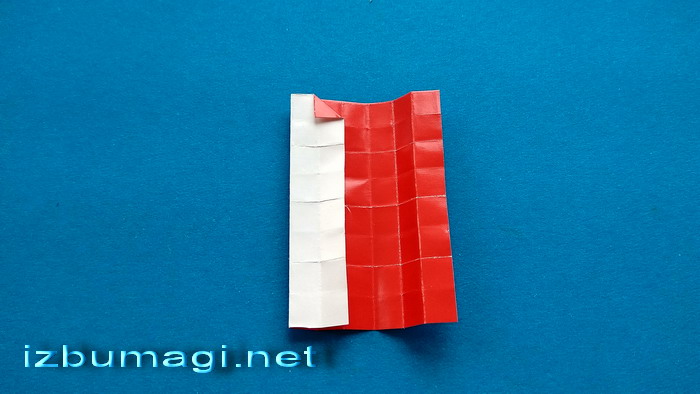
- Fold the opposite side toward the previous side, but only grab 1 segment.

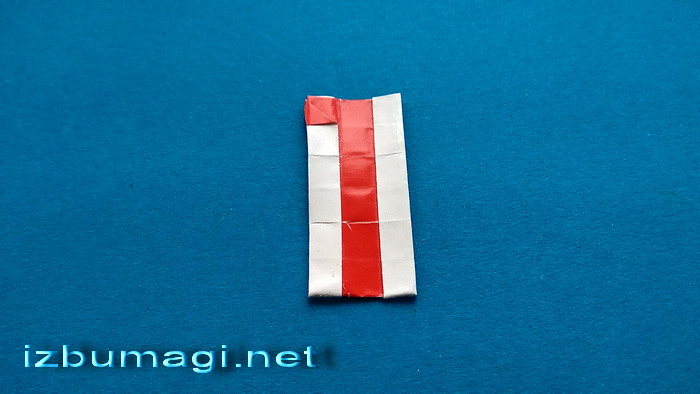
- Fold the left side back along 1 segment. Also fold back up the bottom side. If necessary, glue the paper. The model of the number 1 is ready.
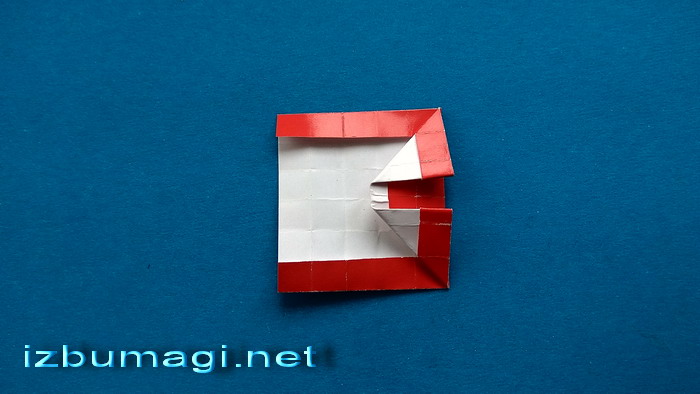
- To make the number 2, prepare a square in the previously described way.
- Fold the square vertically. There should be one white strip left on the right side.
- Fold the corners of the top layer symmetrically, aligning them with the edge. A thin red stripe will peek through the center.

- Holding the paper in this position, pull the top segment down, then fold the top right corner.

- Fold the top layer upwards as well, smoothing all the corners. Lift up the bottom side along one segment.

- Fold back the right protrusion, smooth it out. The number 2 is ready.

- Start the last number 3 by working the original square. Fold the top and bottom sides along the first line toward you.
- Vertically fold right side out, leaving 2 strips on the left side.

- In the top layer, fold back the edge, showing the white side.
- Fold back the corners of the top layer to the opposite side.
- Fold down the left corners by 2 segments.

- Fold the left side along one segment back and glue.

- The set of first digits 1, 2, 3, 4 is ready.
V555K


