
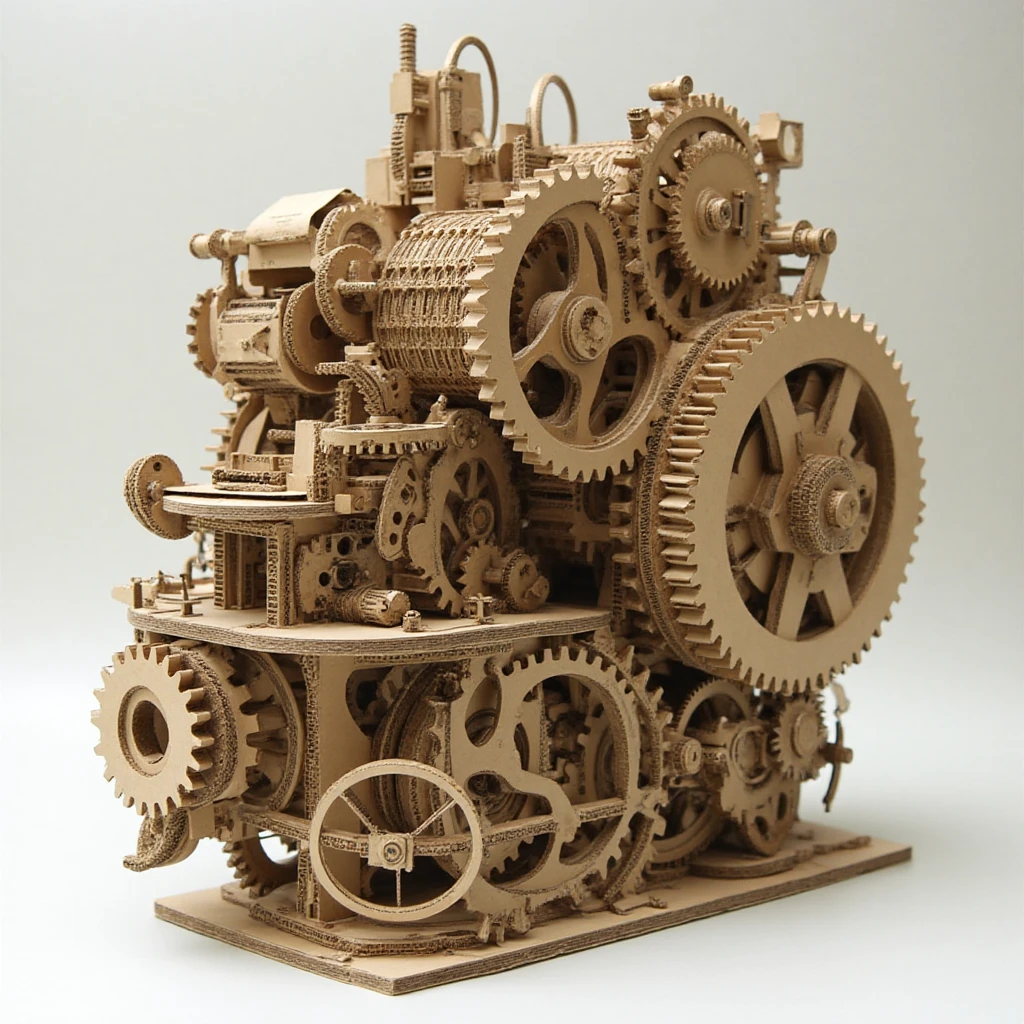
Have you ever thought that ordinary cardboard can be transformed into a complex mechanism? That from this material you can create not just a craft, but a real working system of gears, which will transmit motion and perform simple mechanical tasks? It seems like magic, but in fact - this is pure physics and engineering, available to everyone.
🎯 Why cardboard?
Cardboard is the ideal material for your first steps into the world of machinery. It is available, cheap, easy to work with and has sufficient strength. But its main advantage is the possibility of rapid prototyping. Before cutting a part out of wood or metal, it makes much more sense to first create it out of cardboard, test the interaction of the parts and only then transfer it to more durable materials.
Historically, paper and cardboard have been used by engineers to create the first models of complex devices. For example, John Harrison's famous clock, which solved the longitude problem in navigation, was first tested as paper models. This approach saved time and resources by finding errors early in the design process.
🔧 Gear fundamentals: simple to complex
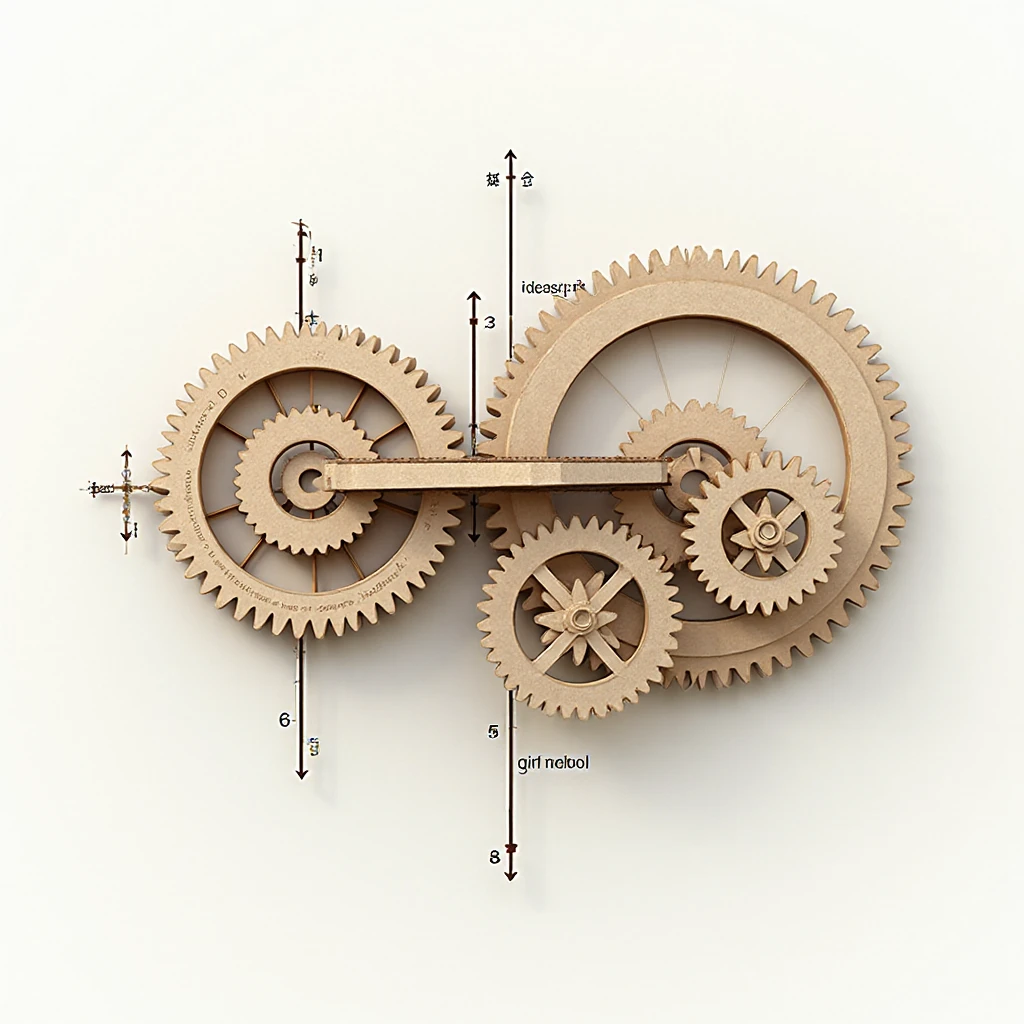
To create a working mechanism, you need to understand the basic principles of gears. Imagine two wheels with teeth meshed together. When you turn one wheel (called the drive wheel), its teeth push the teeth of the other wheel (the driven wheel), causing it to rotate in the opposite direction.
The most important parameter of any gear is the gear ratio. It shows how many revolutions the idler gear will make per one revolution of the master gear. If the leading gear is larger than the driven gear, the small gear will rotate faster, but with less force. If the opposite is true, the larger gear will rotate slower, but will be able to transmit more force.
📐 Creating the perfect gear: from theory to practice
Method 1: Using online generators
For beginners, the easiest way is to use special online services like GearGenerator.com.. These programs allow you to set all the necessary parameters: the number of teeth, their size, the diameter of the gear, the angle of inclination of the teeth. After entering the data, you get a ready template, which can be printed and transferred to cardboard.
The advantage of this method is precision - all gears will fit together perfectly. This is especially important when creating complex mechanisms with multiple gears.
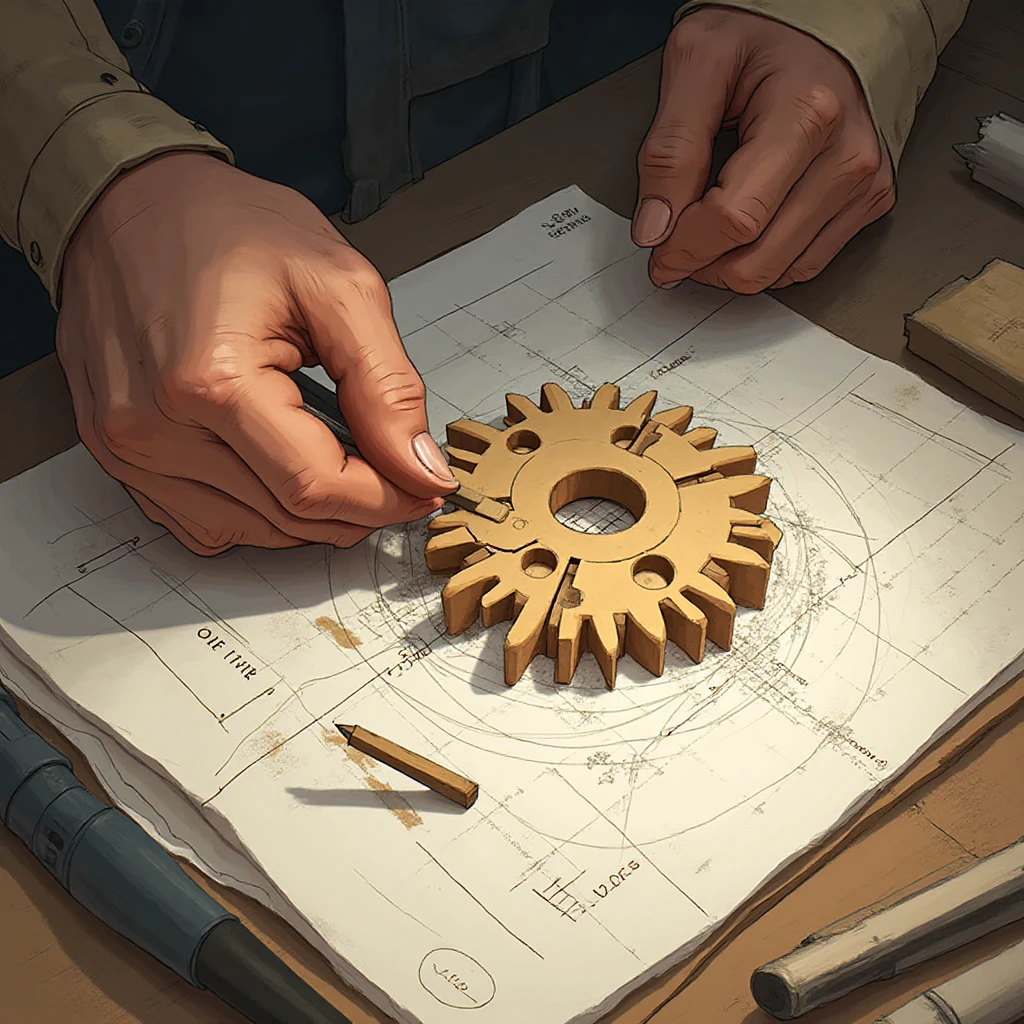
Method 2: Manual drafting
For those who want a deeper understanding of the principles of gears, it is better to master hand drawing. You'll need a scroll, a ruler, a protractor and a pencil.
Start by drawing a basic circle - this will be the dividing circle that defines the tooth sizes. Then calculate the tooth pitch - the distance between the same points of two neighboring teeth. For simple mechanisms, you can use a simplified formula: pitch = π × diameter ÷ number of teeth.
The tooth tips form a circle of tips and the troughs form a circle of troughs. The angle of inclination of the tooth flanks is usually 20 degrees, which is the standard for smooth engagement.
🛠️ Materials and tools: what you really need
Scissors and glue aren't enough to create working mechanisms out of cardboard. Here's what you'll need to get serious:
Basic Materials:
- Dense corrugated cardboard (2-3 mm) for the gears
- Thin cardboard for templates and small parts
- Wooden skewers or bicycle spokes for axles
- Beads or plastic tubes for bearings
- PVA glue and Krystal torque for different types of joints
Tools:
- Stationery knife with spare blades
- Self-repairing cutting mat
- Metal ruler and angle
- Precision axle puncture awl for precise axle punctures
- File or sandpaper for machining the teeth
The quality of the tools directly affects the result. A dull blade will tear the cardboard, creating uneven edges that will cause the mechanism to jam.
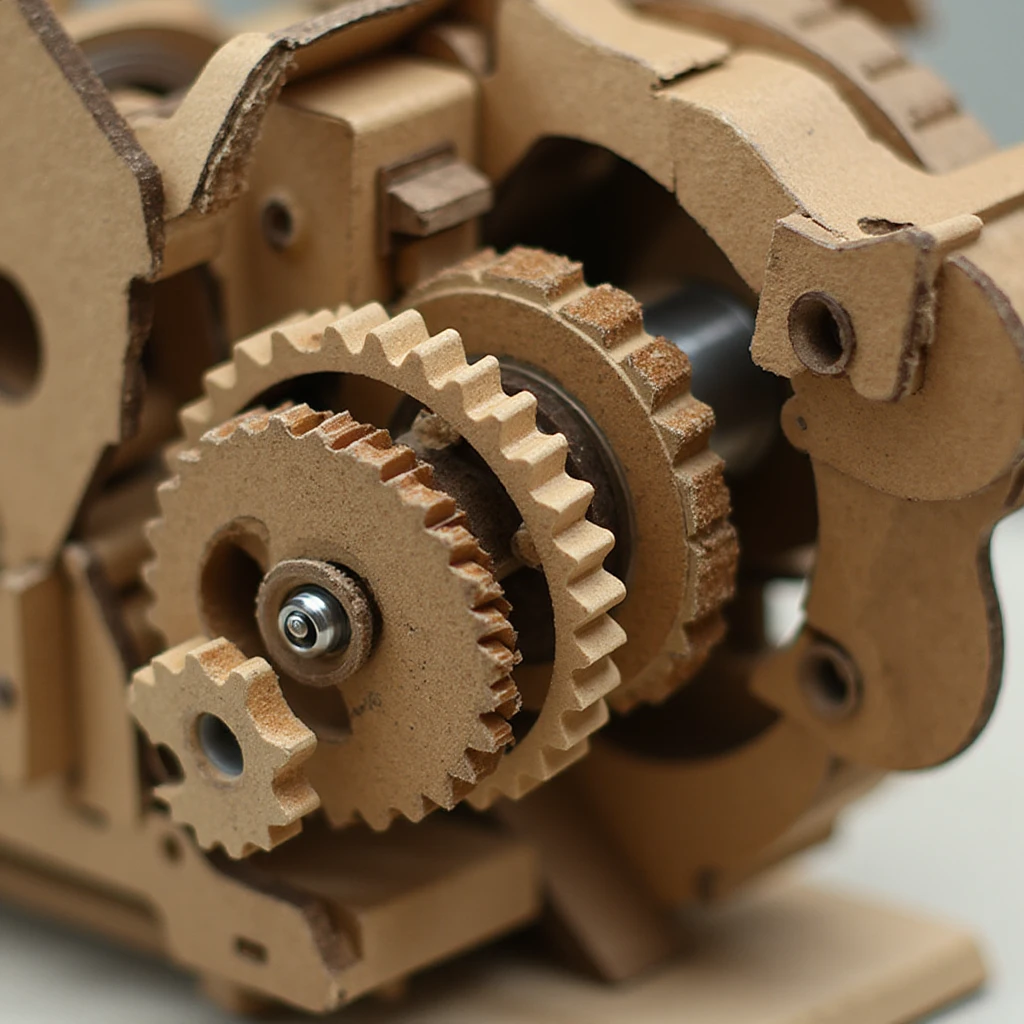
⚡ Assembling a mechanism: secrets of success
The most responsible stage is the assembly and debugging of the mechanism. Start by creating a solid base - a bed on which all axes will be fixed. The holes for the axes must be strictly parallel to each other, otherwise the gears will skew and seize.
When assembling the gear, leave a small gap between the teeth - approximately 0.2-0.3 mm. Too tight a clutch will create excessive friction, and too loose a clutch will cause skips in the transmission of motion.
To reduce friction, use the simplest bearings: put a bead or a piece of plastic tubing on the axle, and then mount the gears on them. This will significantly increase the smooth running and durability of the mechanism.
🎡 Practical projects: from simple to complex
Project 1: Spinner with two gears
A perfect start for beginners. Create a mechanism where a large gear turns a small gear. You will see how the gear ratio works - a slow rotation of the knob turns into a fast rotation of the second gear.
Project 2: Lifting mechanism
A more complex task is to create a winch or crane. Here you will need not only a gear train, but also a reel for winding the thread and a backstop system.
Project 3: Pendulum Clock
The pinnacle of craftsmanship is the creation of a clockwork mechanism. It requires a system of gears with a strict gear ratio, a pendulum with a stroke regulator and an arrow mechanism. This is a challenging but incredibly exciting project.
🔍 Troubleshooting
Even the most carefully designed mechanism can fail to perform perfectly. Here are the most common problems and their solutions:
The gears are slipping: The teeth are probably not meshed deep enough. Increase the clutch depth or check for deformation of the teeth.
The mechanism is jammed: Possible causes are misaligned axles, uneven teeth or insufficient clearance. Check the axles for parallelism and sand the teeth with sandpaper.
Excessive friction: Make sure the gears do not press too tightly against the base. Use more bearing beads and lubricate the axles with pencil graphite.
🌟 Project development: where to go from here
Once you have mastered the basic principles, you can make your projects more complex. Try creating mechanisms with rack and pinion gears (converting rotary motion into translational motion), worm gears or differential mechanisms.
Cardboard mechanisms are not just toys. Many inventors and engineers start with paper prototypes, testing ideas before creating the final product. Perhaps your cardboard mechanism will be the prototype for something bigger!

Creating working mechanisms out of cardboard is a fascinating journey into the world of engineering. It develops spatial thinking, understanding of physical principles and, of course, patience. Each successfully working gear will give you an unparalleled feeling of satisfaction - you have not just made a craft, you have created something that lives its mechanical life.
Start simple with a single pair of gears. Feel the joy as they move smoothly and silently. And then... then the world of gears will open up to you in all its diversity! 🚀


