
The technique of burning patterns on paper is a unique combination of creativity and precision, allowing you to create spectacular works with a vintage aesthetic. However, working with fire requires special care. In this article, we'll break it down in detail:
✔ Safe alternatives to open flames.
✔ Step-by-step burnout techniques (from simple to complex).
✔ Which materials to choose for the best results.
✔ How to work the edges for an antique effect.
✔ Ideas for creativity - from postcards to interior decor.
🔥 Why should you try paper burning?
This technique gives effects unattainable by other methods:
- Authentic Aging - like ancient manuscripts.
- Contrasting patterns - dark lines on a light background.
- voluminosity - controlled ply burning.
- Versatility - suitable for postcards, covers, art objects.
⚠️ Safety first: 3 working methods
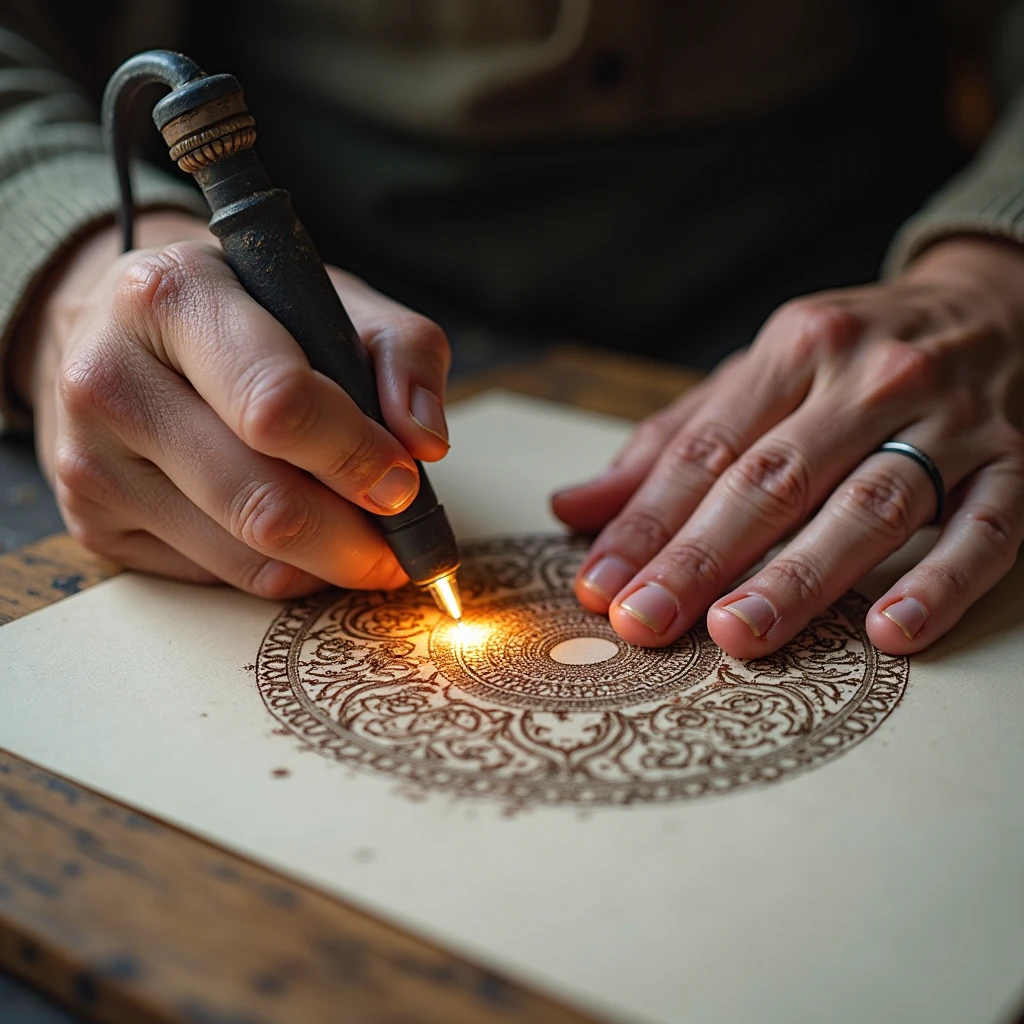
1. electro-incinerator (pyrograph) with a fine nib
Suitable for: The exact lines, the inscriptions.
How to work:
- Set the temperature 120-150°C (higher is the risk of fire).
- Use 200-300 g/m² cardboard or watercolor paper.
- Move fast. - the paper burns through in seconds.
Pros:
- Control of the piercing depth.
- No open flames.
2. Hot needle/soldering iron with regulator
For: Shading, dots.
Technique:
- Heat the tool to 100°C.
- Work in a well-ventilated area.
- Place a silicone mat underneath to protect the table.
3. chemical "cold" burning
Composition:
- 1 tsp. citric acid.
- 10 ml of water.
- Brush with metal tip.
Process:
- Apply the solution to the paper.
- Iron with a hot iron through the parchment.
- A slight charring effect will appear.
📜 Choosing paper: 5 best options
| Paper type | Thickness | Effect |
|---|---|---|
| Kraft | 120 g/m² | Burns through quickly, gives a crisp edge. |
| Watercolor | 300 g/m² | Allows multi-layer burning |
| Rice | 80 g/m² | Translucent patterns |
| Cardboard | 1-2 mm | Deep relief burns |
| Parchment | 60 g/m² | Openwork "lace" effects |
Important! Avoid coated paper - releases toxins when heated.
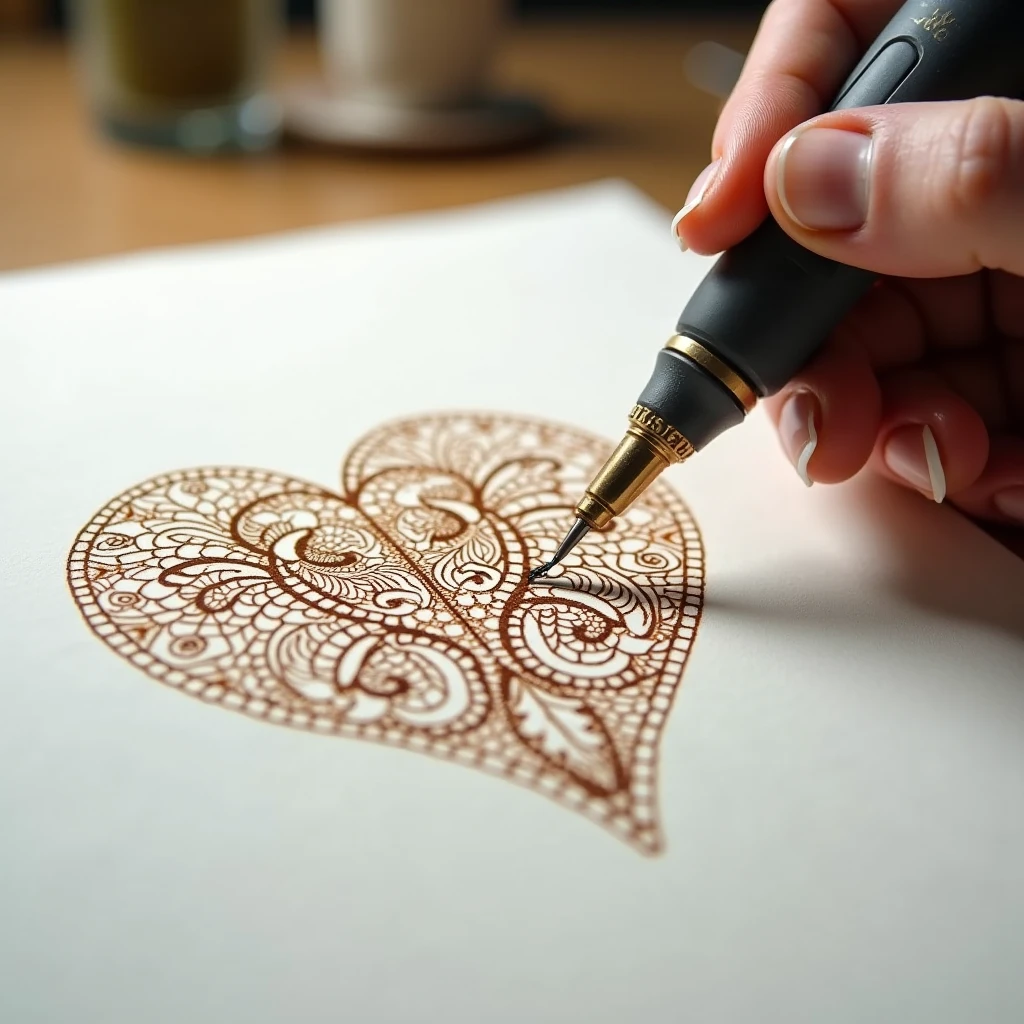
🎨 4 techniques for creating patterns
1. Contour burning
- Circle the stencil with a pyrograph needle.
- Use for lettering and silhouettes.
2. tinting
- Lightly tap to create a gradient from light brown to black.
3. multilayer piercing
- Glue 3-4 sheets together.
- Burn out the pattern, penetrating to different depths.
Effect: 3D relief.
4. Combining with other techniques
- Watercolor - paint over the areas that don't burn.
- Gilding - apply gold leaf to the charred edges.
✂️ Edging: 3 ways to age your edges
1. Controlled charring
- Light the edge for 1-2 seconds, extinguish immediately.
- Cover with varnish to fix it.
2. Imitation fire
- Heat a spoon, apply to the edges.
3. chemical method
- Mix strong coffee with PVA glue.
- Spread over the slices, sprinkle with cinnamon.
💡 7 ideas for inspiration
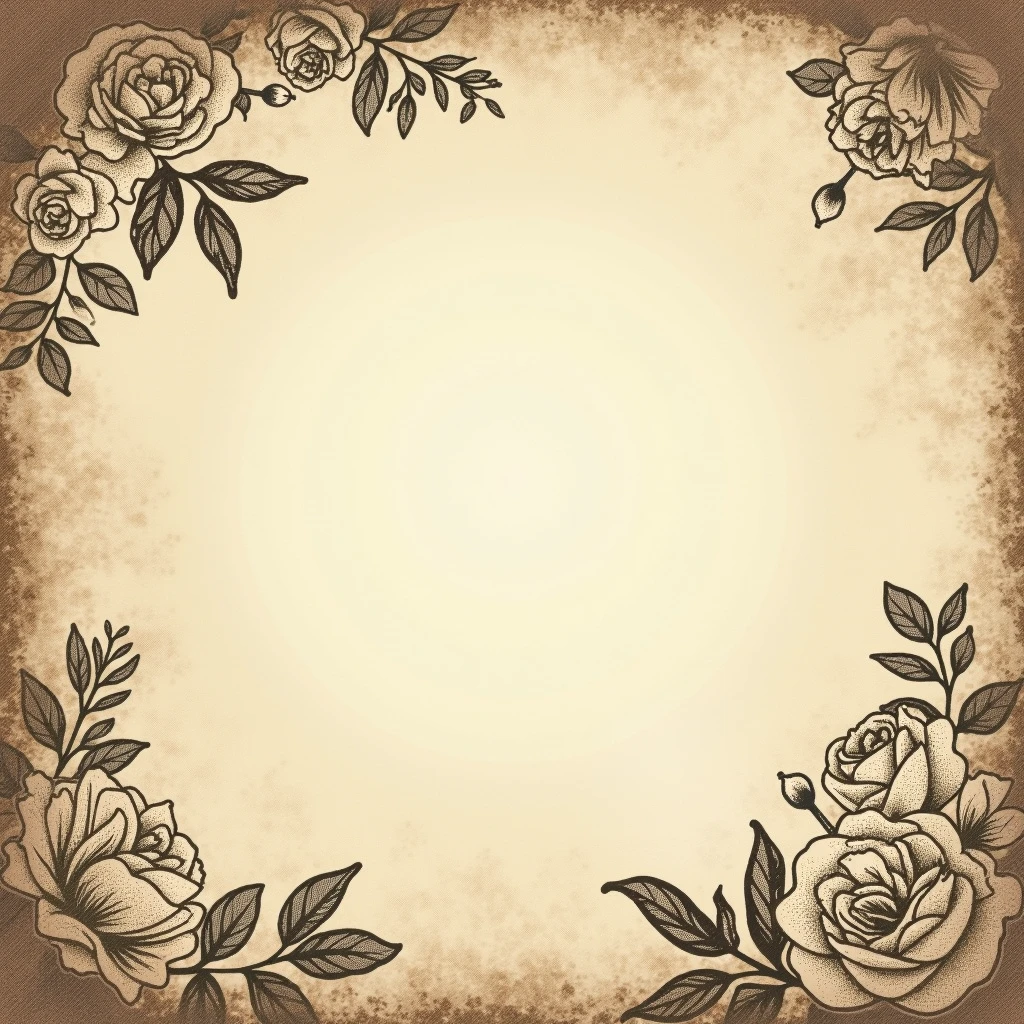
- Vintage cards - scorched routes.
- Wedding invitations with lace patterns.
- Diary covers - monochromatic patterns.
- Astronomical charts - constellations on a dark background.
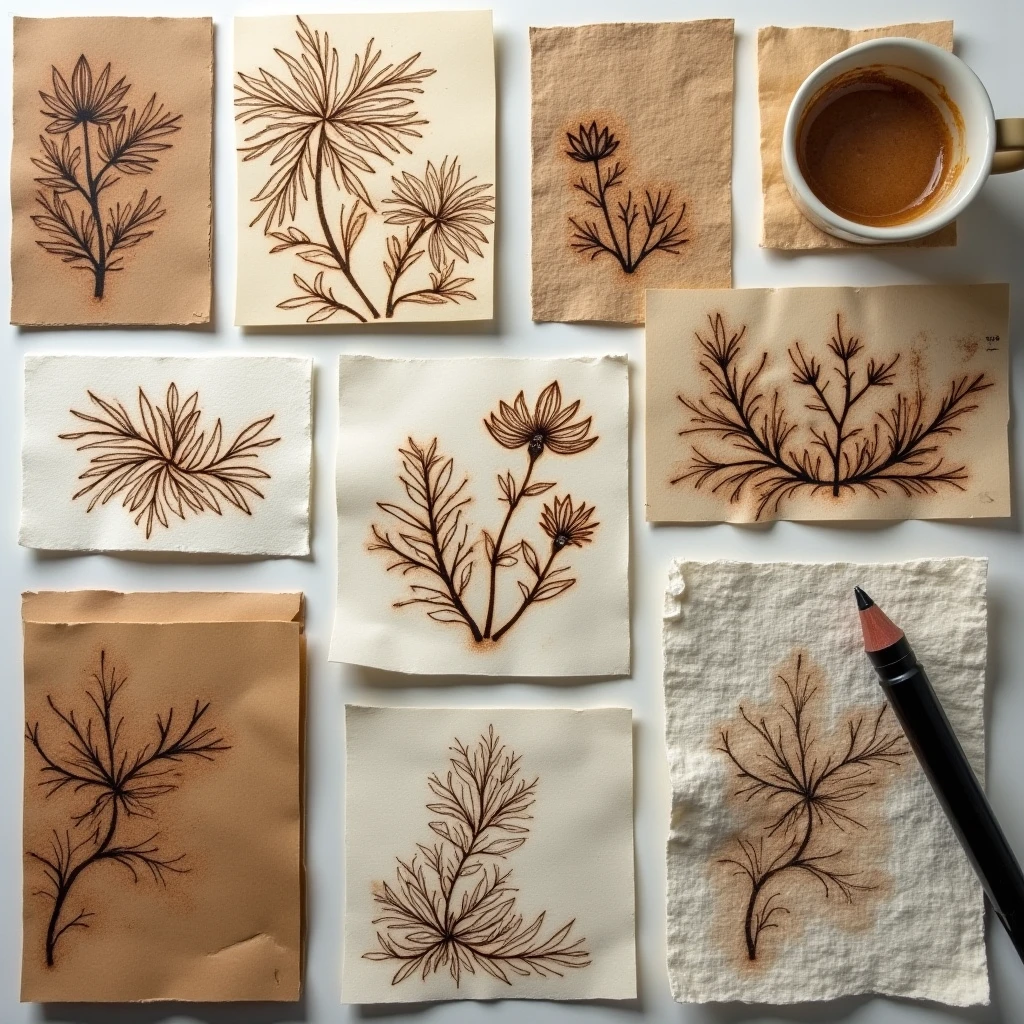
- Botanical sketches - leaf veins.
- Animalistics - animal silhouettes.
- Heraldry - coats of arms in relief.
🧯 Precautions
- Work in a ventilated area.
- Keep a bowl of water and a fire extinguisher.
- Use the pliers to hold the paper.
- Do not leave the tool unattended.
🌿 Alternatives: how to create an effect without fire
1. Solar burnout
- Lens + sunlight (clear weather only).
2. electrostatic method
- Pass a high voltage current through the wet paper.
3. Laser engraver
- For professional work (requires equipment).
Paper burning - This is a risky art, but it opens up new horizons for creativity if safety is observed. Start with simple patterns and gradually increase in complexity!


