
In the world of handmade creativity, a special place is occupied by crafts that combine the simplicity of production with an impressive result. "Bouquet of butterflies" is just such a case. It looks delicate, airy, festive, but it does not require complex skills or expensive materials. Such a craft can become a great gift, interior decoration, photo zone, classroom or postcard.
In addition, the process of making is a great art therapy. Folding paper elements, adjusting details, decorating the bouquet - all this allows you to distract yourself from the hustle and bustle, work with your hands, feel pleasure from the process and pride in the result.
Read also: How to make irises out of paper
Materials needed:
- Colored paper (double-sided, pastel or saturated shades)
- Cardboard (optional - for stability of butterflies)
- Butterfly templates (printed or hand drawn)
- Scissors (can have a shaped edge)
- Glue (PVA, glue stick, heat gun)
- Wooden skewers or wire (for "stems")
- Floral tape, duct tape or decorative tape
- Satin ribbons, twine, wrapping paper (kraft, felt, film)
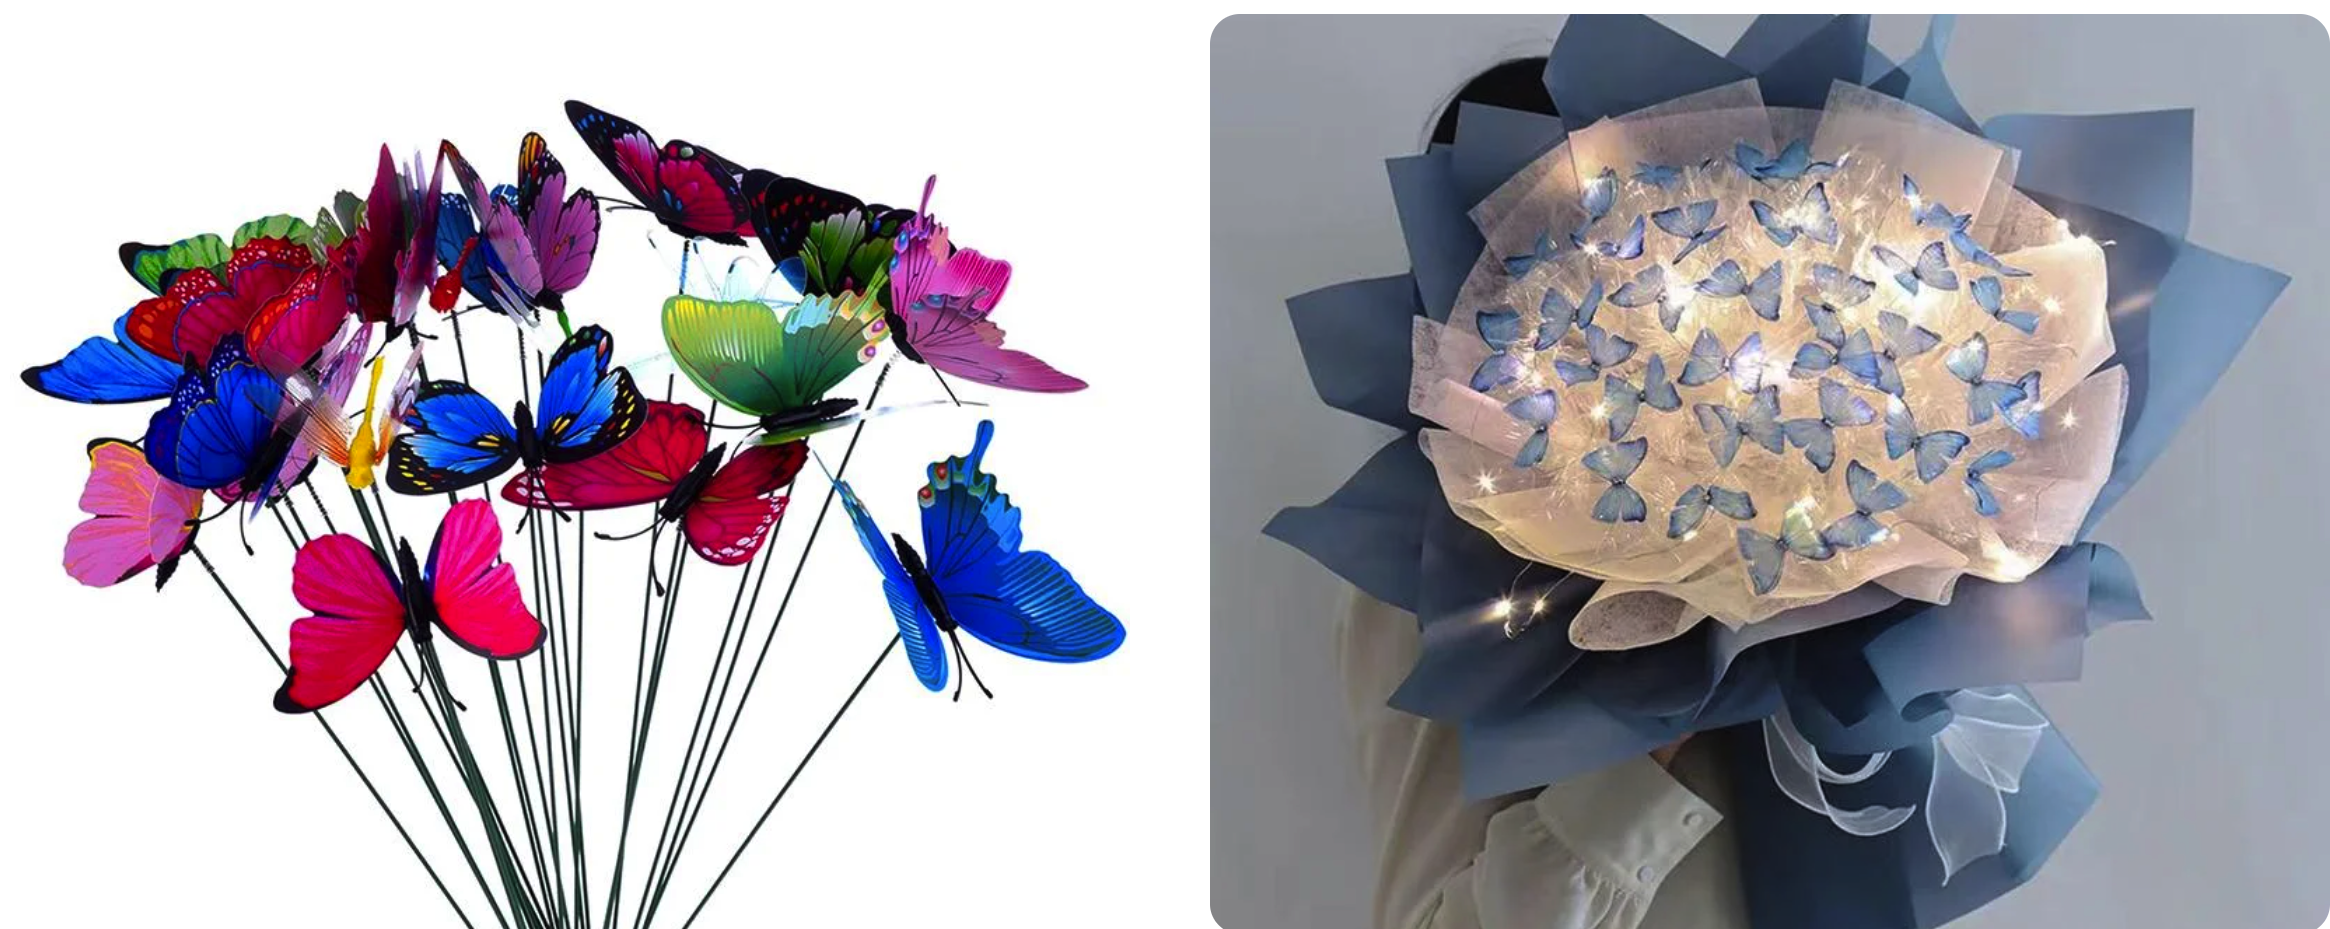
Step 1: Preparing the butterflies
Choose 2-3 butterfly templates of different sizes and shapes. You can download them from the Internet or draw them by hand. Transfer them to colored paper. To make the craft look three-dimensional, fold each butterfly in half along the line of symmetry (body). If desired, decorate the wings with patterns, glitter, felt-tip pens, stickers or cut openwork slits.
Step 2: Attachment to "stems"
Glue a wooden skewer or wire to the underside of each butterfly body. To make the joint look aesthetically pleasing, you can cut a small circle out of paper and glue it on top. The wire can be bent at an angle to give the butterflies a "flying" effect.
Step 3: Assembling the composition
Bundle the butterfly skewers together. Arrange them at different levels to give the bouquet volume. Tie the base with tape or scotch tape. Then you can add decor - paper leaves, flowers, beads on the wire. It is important to keep the balance of the composition, so that the bouquet does not "fall" to one side.
Step 4: Packaging and decoration
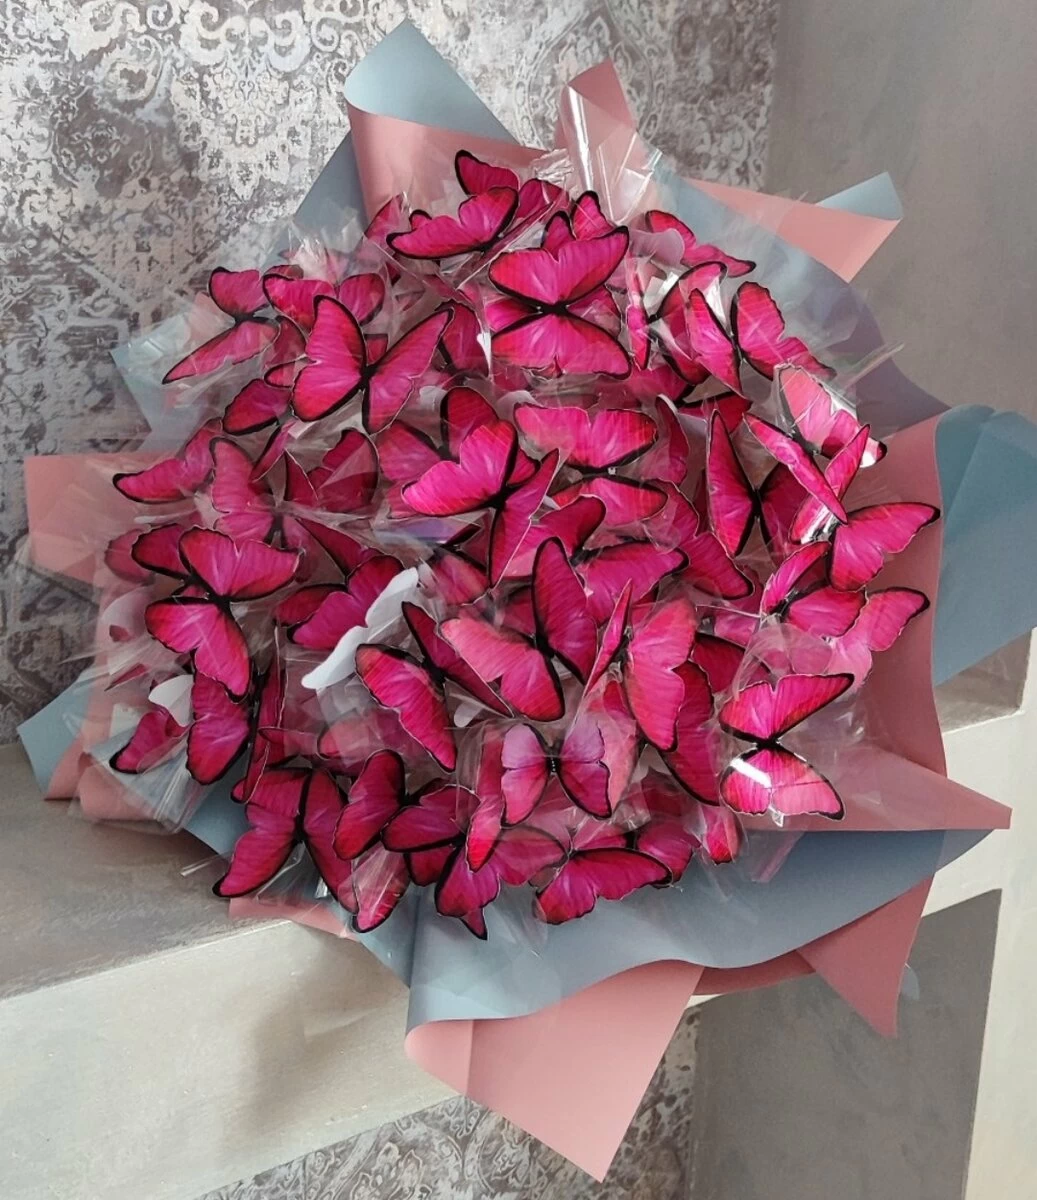
Wrap the base of the bouquet with fabric, kraft paper, felt or transparent film. Decorate with bows, string, decorative skewers. In the center you can insert a tag with a wish. Such a bouquet looks very festive and original.
Ideas for variations and practical applications
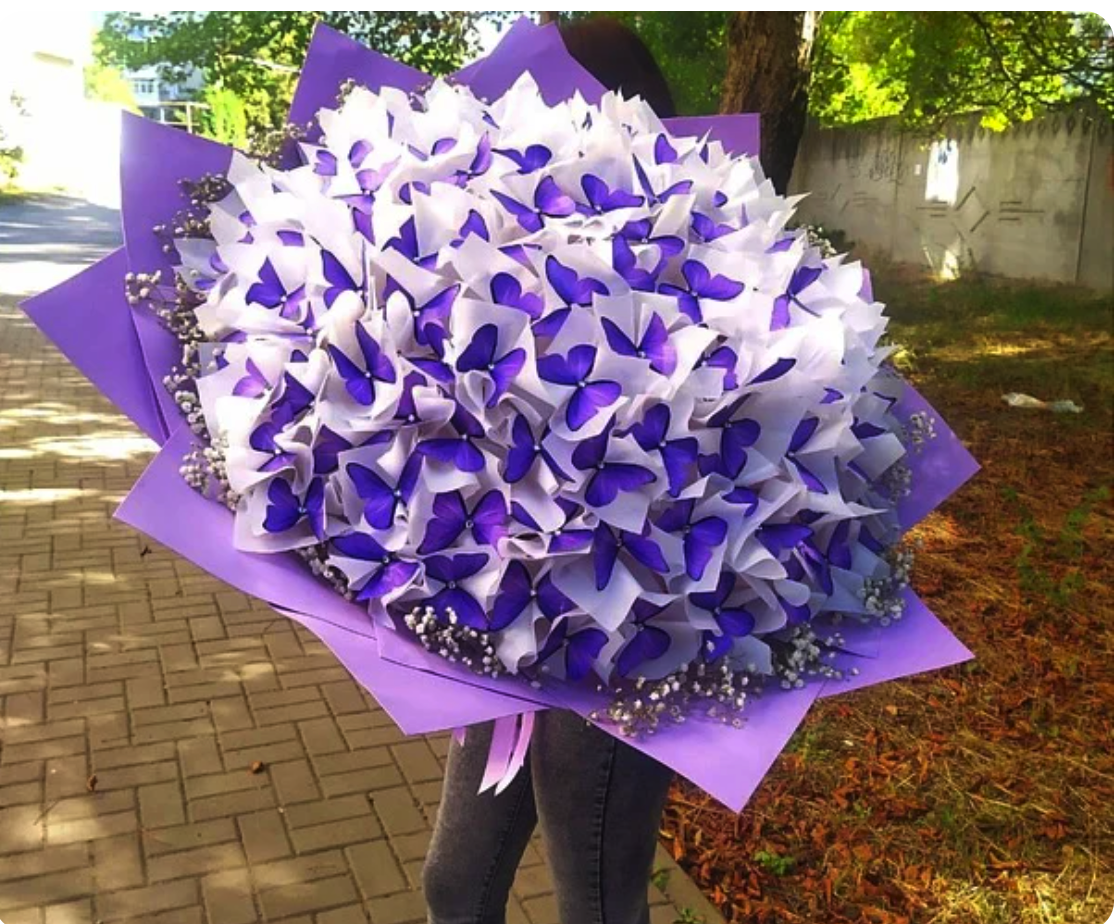
- Theme: Use a color scheme to match the season or occasion (fall, winter, spring, wedding).
- Name bouquet: You can glue a letter on each butterfly to create a greeting.
- Mini Variant: One butterfly in a kraft paper cone is a stylish addition to a gift.
- Decor: Attach the butterflies to a long wire and use in a photo area or on a wall.
- Master Class: This craft is great for children's activities - easy to organize even in the classroom.
Conclusion
Bouquet of butterflies is a beautiful, emotional and affordable craft. It requires only a little time, patience and inspiration. Creating it, you are not just making a decoration - you invest the warmth of your hands and positive energy. Give this bouquet to your mom, friend, colleague or yourself and feel how paper wings bring joy and lightness to everyday life.


This is very educational. The bouquet of butterflies are indeed adorable. İ would really love to make one.