
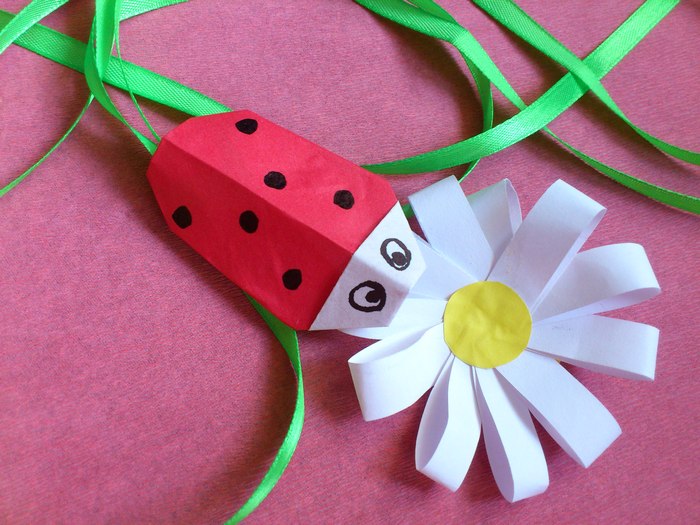
 This brightly colored paper bug, so reminiscent of a ladybug, is a famous and favorite insect for children. It can crawl on your table, on the windowsill, on a flower pot, if you make it in the origami technique. We present a detailed assembly scheme, which will help everyone who wants to make this wonderful handicraft. Especially such a prospect will please children, who are very fond of ladybugs, always catch the first spring bugs and bring them into the house. And the red bug is the most harmless and famous.
When starting a creative lesson, be sure to stock up on red paper, and if you have it, it is better to have red paper with black speckles, perhaps you will find such material in the style of Lady Bug on sale. It can be a sheet for gift wrapping or scrapbooking. If the paper is simply red, you can always draw speckles by hand. The canvas for creativity will be an origami figure. This is what we will talk about in this lesson.
What you need to have to make a small origami ladybug:
- A sheet of one-sided red paper;
- Black marker or pen.
Origami ladybug assembly diagram

1. Make an initial square for further paper folding. Use one-sided paper, in the process we will show the back white side of the paper, a thin strip will become the head of the insect. This is the easiest folding option.
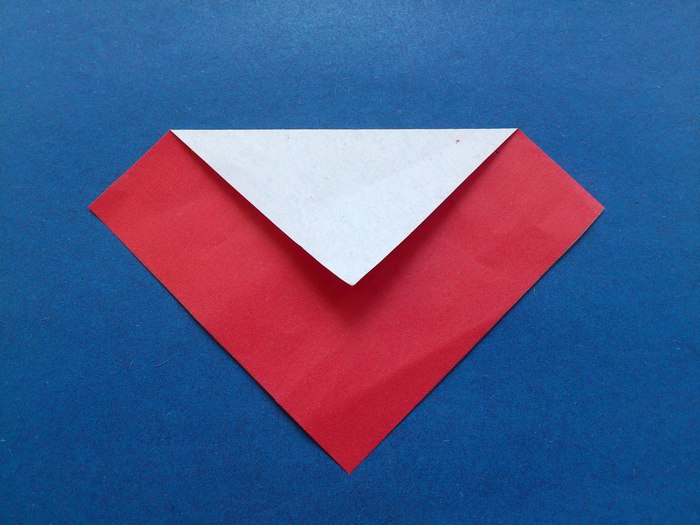
2. Now turn the square in front of you in the shape of a rhombus. Turn the red side toward you. Look at the photo of the model of the first fold. Fold the top corner toward you approximately in the center of the two sides. Run your finger along the fold line so that the paper remembers the position.
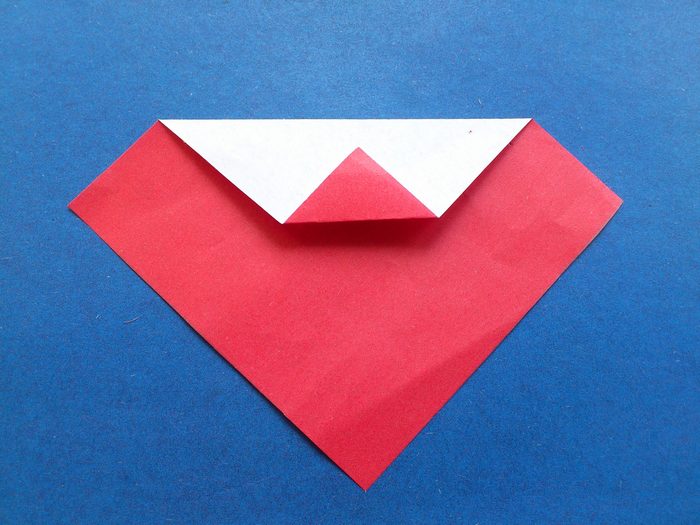
3. Now you will see the white side of the paper - you will see a white triangle superimposed on the red piece. Lift the corner up and tuck in the fold. But don't dock the corner with the top side (where the previous fold was), go to about the middle.
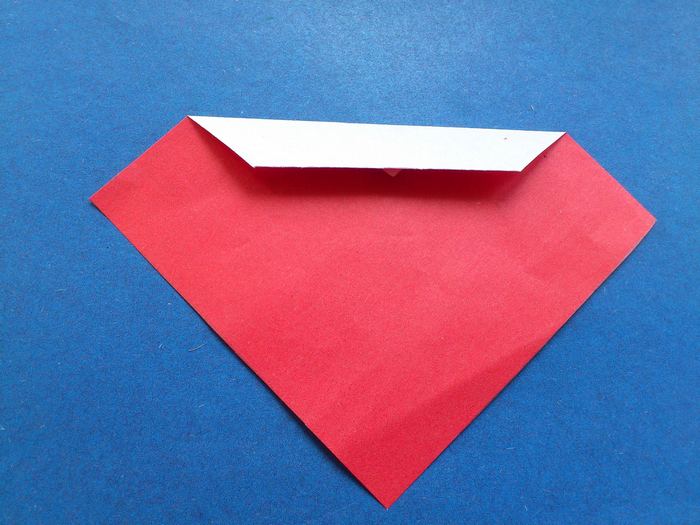
4. Next, pull the top bar down on itself so that the paper is folded over several times at this point, and also to clearly hide the small corner. This is about half of the assembly work.

5. While holding the top white strip folded, fold the two side corners away from you. Fold in one side at an angle, then the other side. Refer to the photo for the correct folds, leaving the white strip at the desired length.
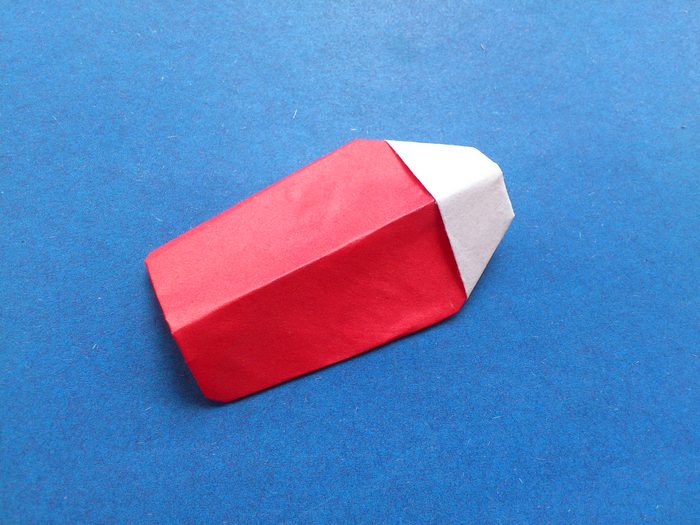
6. Bend the sides additionally so that the whole figure becomes rounded, but still oblong. Now you can bend the insect lengthwise in half to show the wings (this will be their imitation).
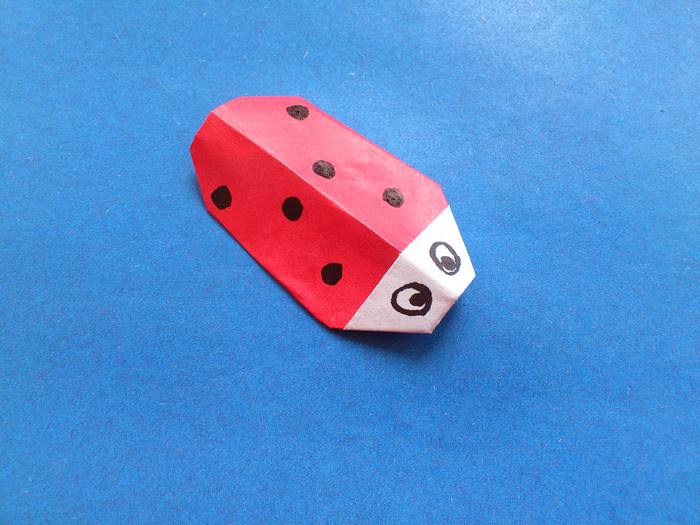
7. The insect is almost ready. We have made a paper origami figure. But it is still possible to make drawn fragments, which will definitely show that in front of us it is a ladybug. Use a black pigment - a marker or a pen. Draw spots on the wings, and also make eyes on a white background. Kids know that you have to count the dots to find out how old a bug is. How old is your miniature creature?
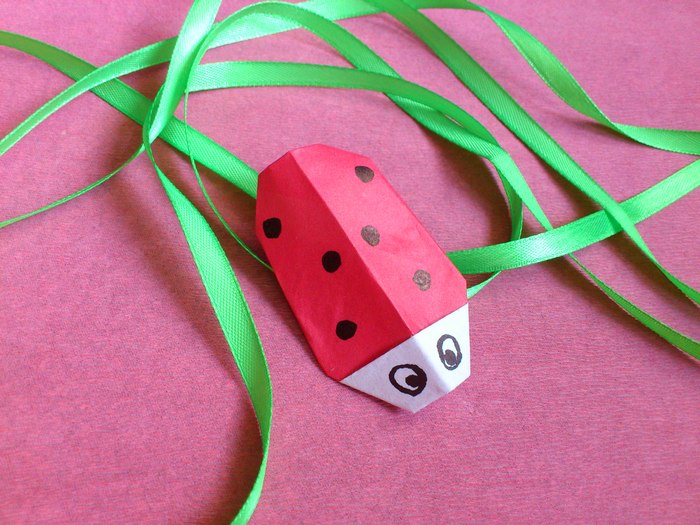
Now you can definitely plant a bug of your own making on a flower pot or on a plant leaf. It's so easy and simple, without much difficulty, we got it.


