
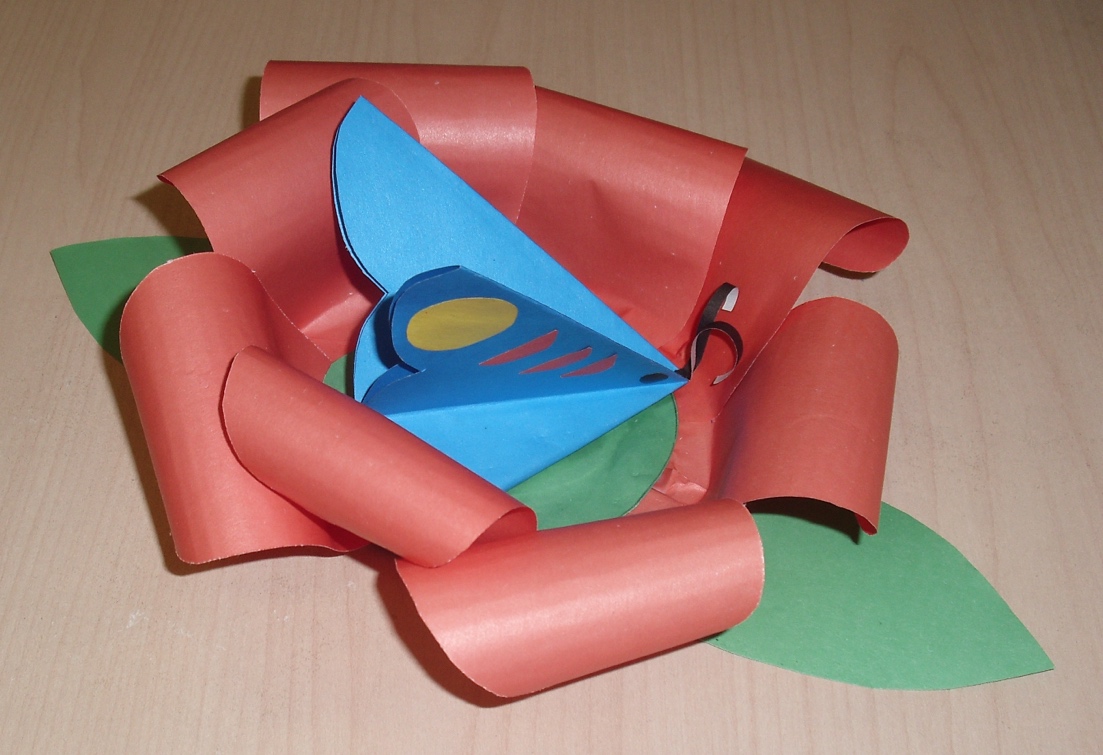
Creating an origami butterfly is a fascinating and simple activity that does not require expensive materials. Such a craft is suitable for beginners and for schoolchildren for labor class. The butterfly is neat, light and airy - you can decorate a card, interior, children's album or use it in mobile hanging compositions.
 Materials that will be needed:
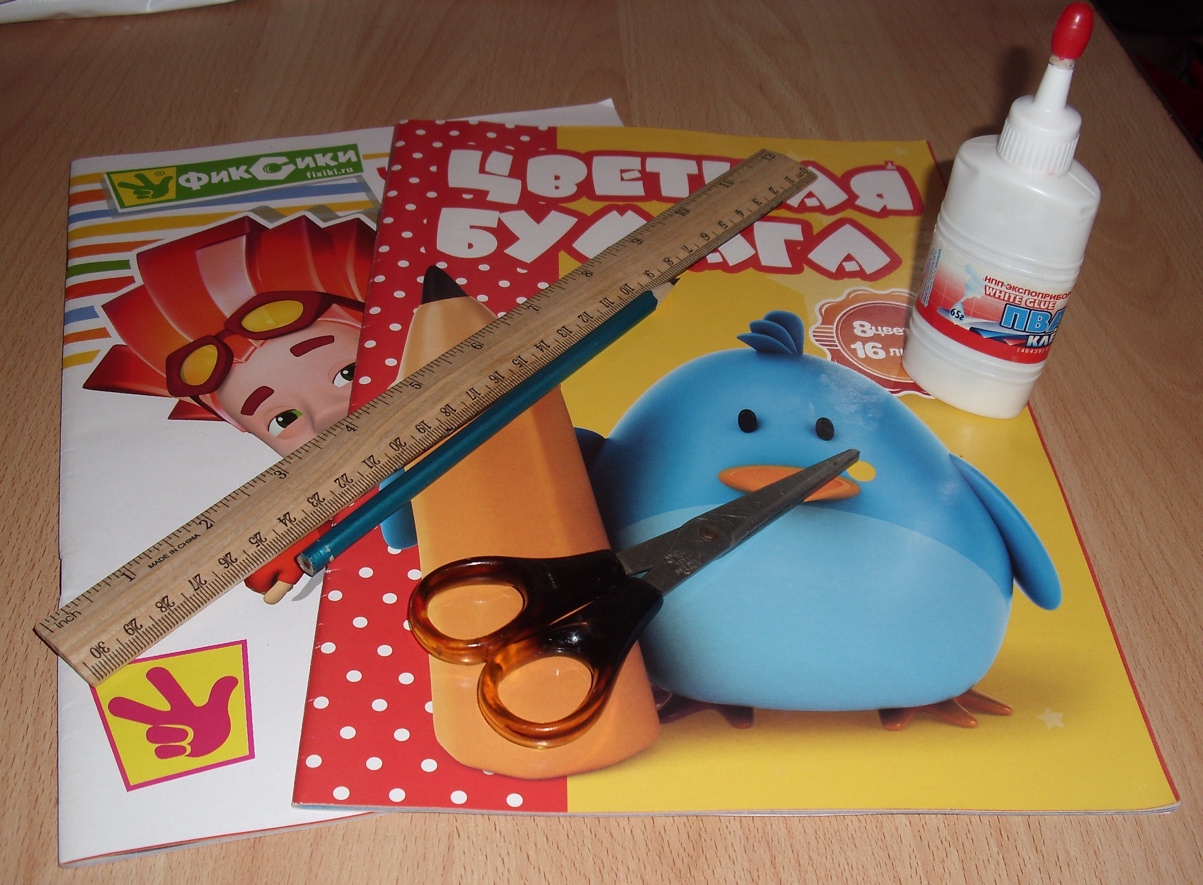
- Colored paper (preferably double-sided, not less than 80 g/m²)
- Glue stick or PVA (optional)
- Scissors
- Marking pencil
- Ruler
- Black paper for the tendrils
- Tweezers or toothpick (for precise folds)
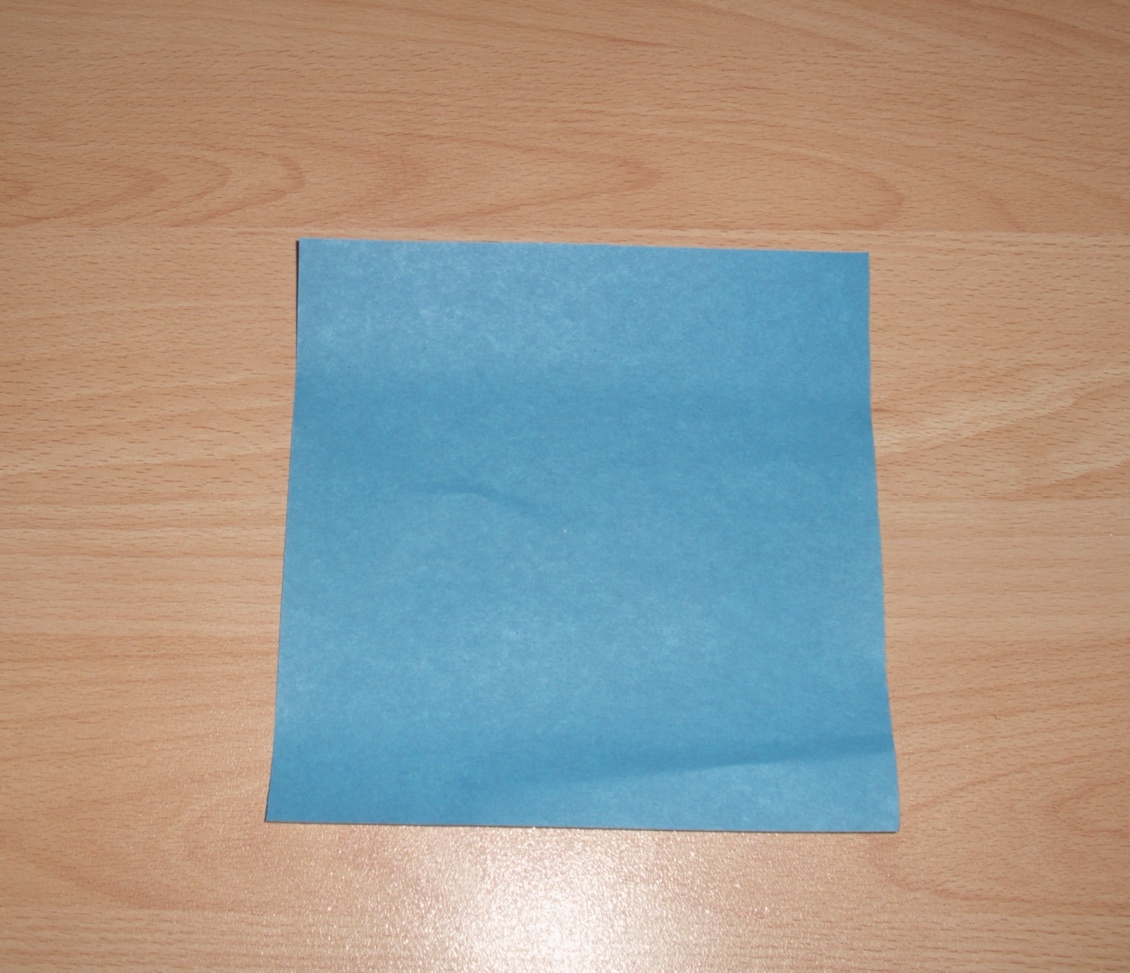
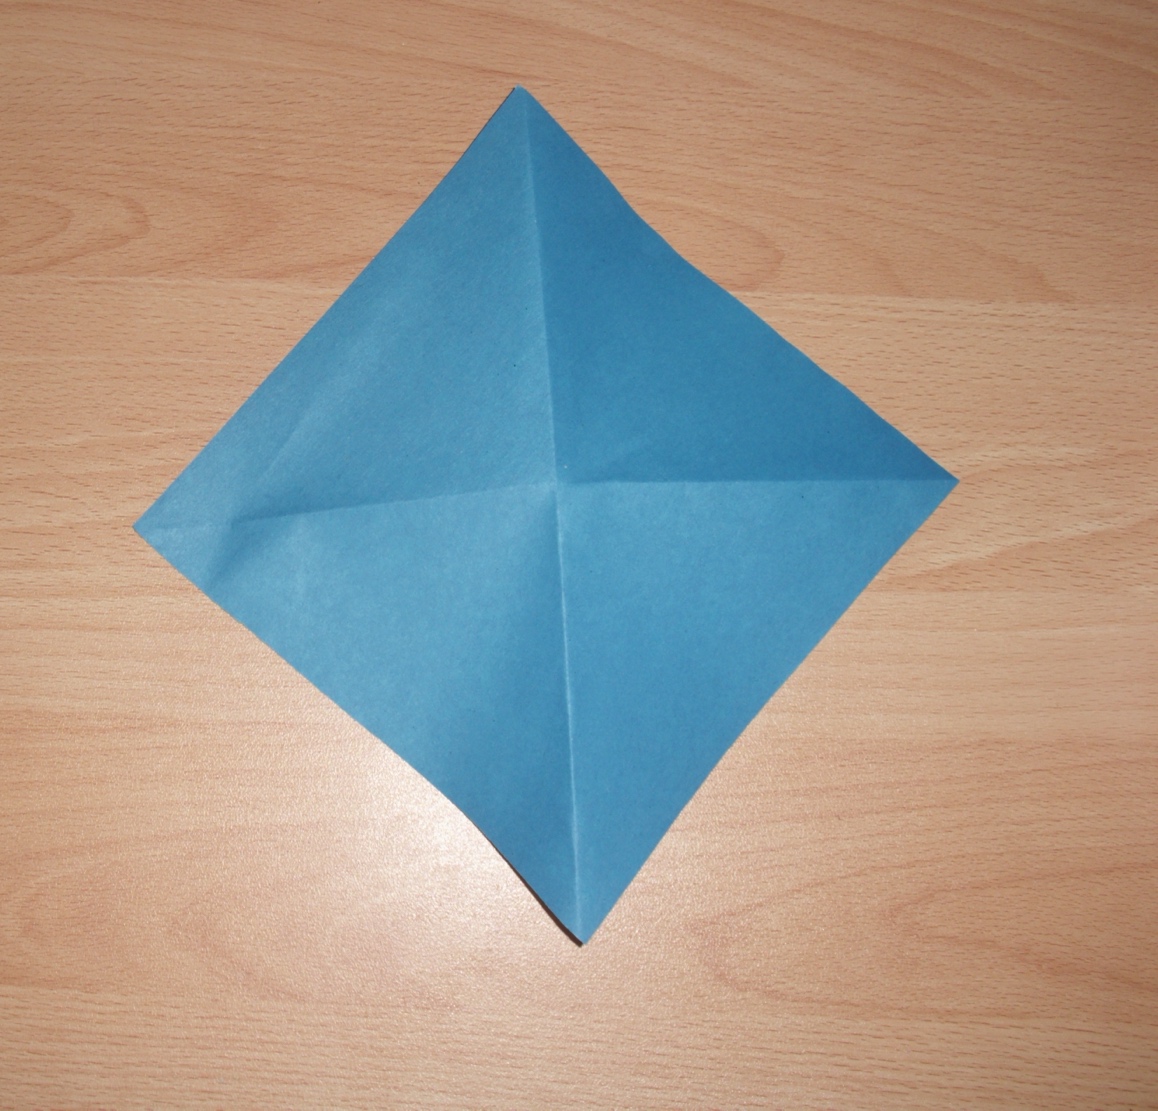
Step 1: Preparing the square
Start by cutting out an even square. The ideal starting point is 15 by 15 centimeters, but you can vary the size. The larger the square, the larger the butterfly will be. The symmetry of the finished shape depends on how precisely you cut out the shape.
Step 2: Folding the basic framework
Fold the sheet diagonally once, unfold. Repeat with the other diagonal. Then fold vertically and horizontally. After all the bends you will see 8 folds, and the square will be ready to form a volumetric structure. 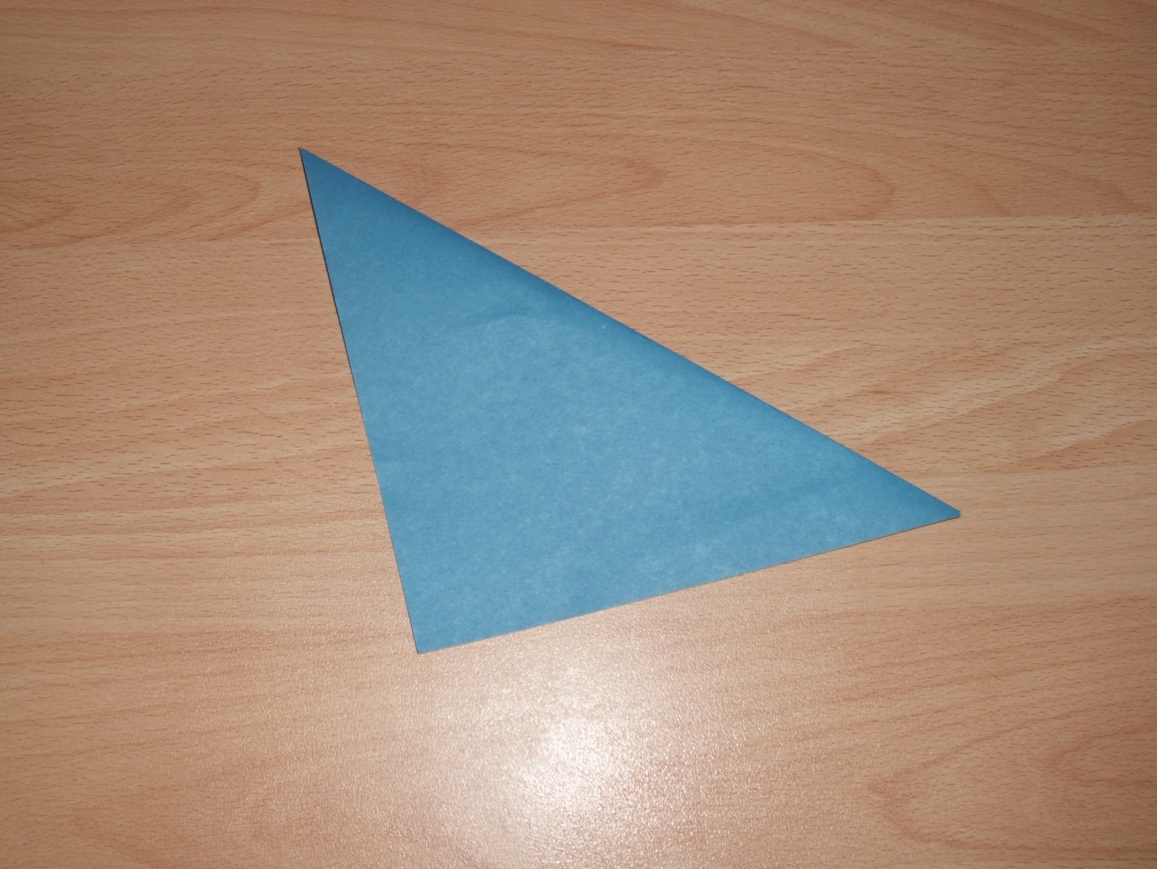
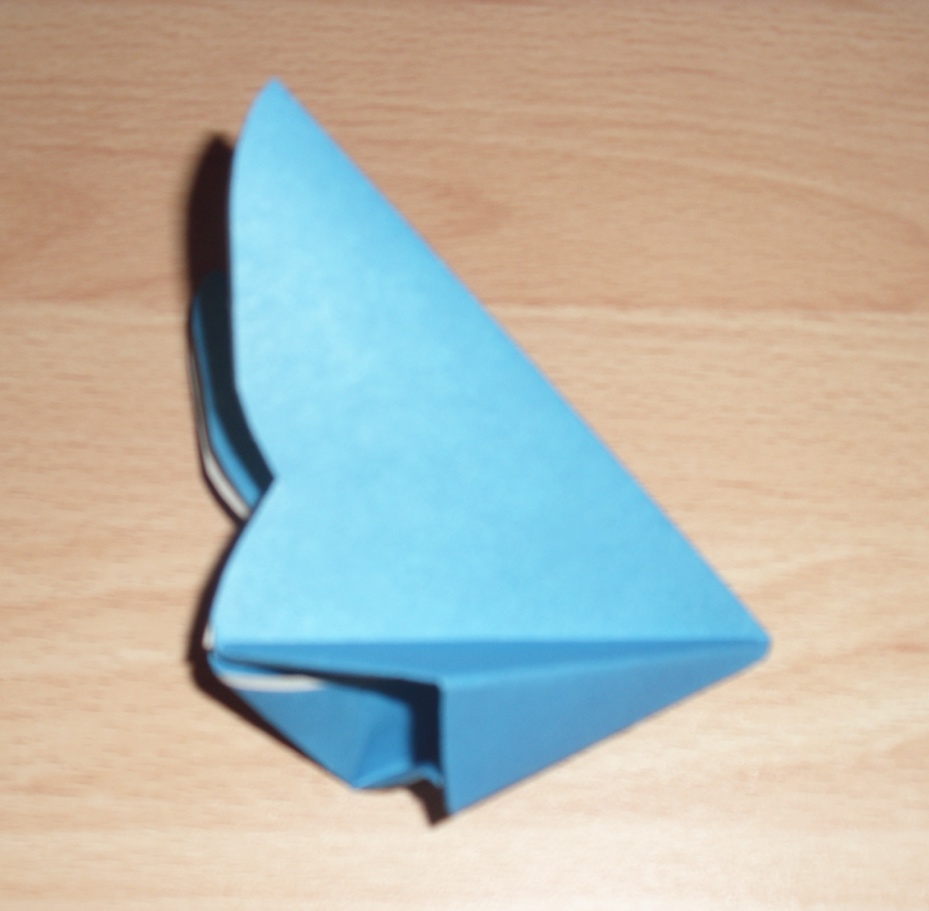
Step 3: Form a double triangle
Gently join the sides inward, creating a double triangle shape (also called a "water bomb"). This structure is a basic shape in many origami designs and helps to distribute symmetry.
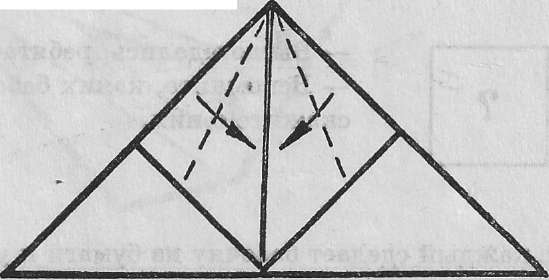
Step 4: Folding the top
Fold the top two corners of the triangle to the top center corner. You should get a neat rhombus. Turn the piece over. There will be a triangle at the bottom - fold it up to cover the bottom of the rhombus. This will be the body of the butterfly.
Read also: How to draw a butterfly with a pencil?
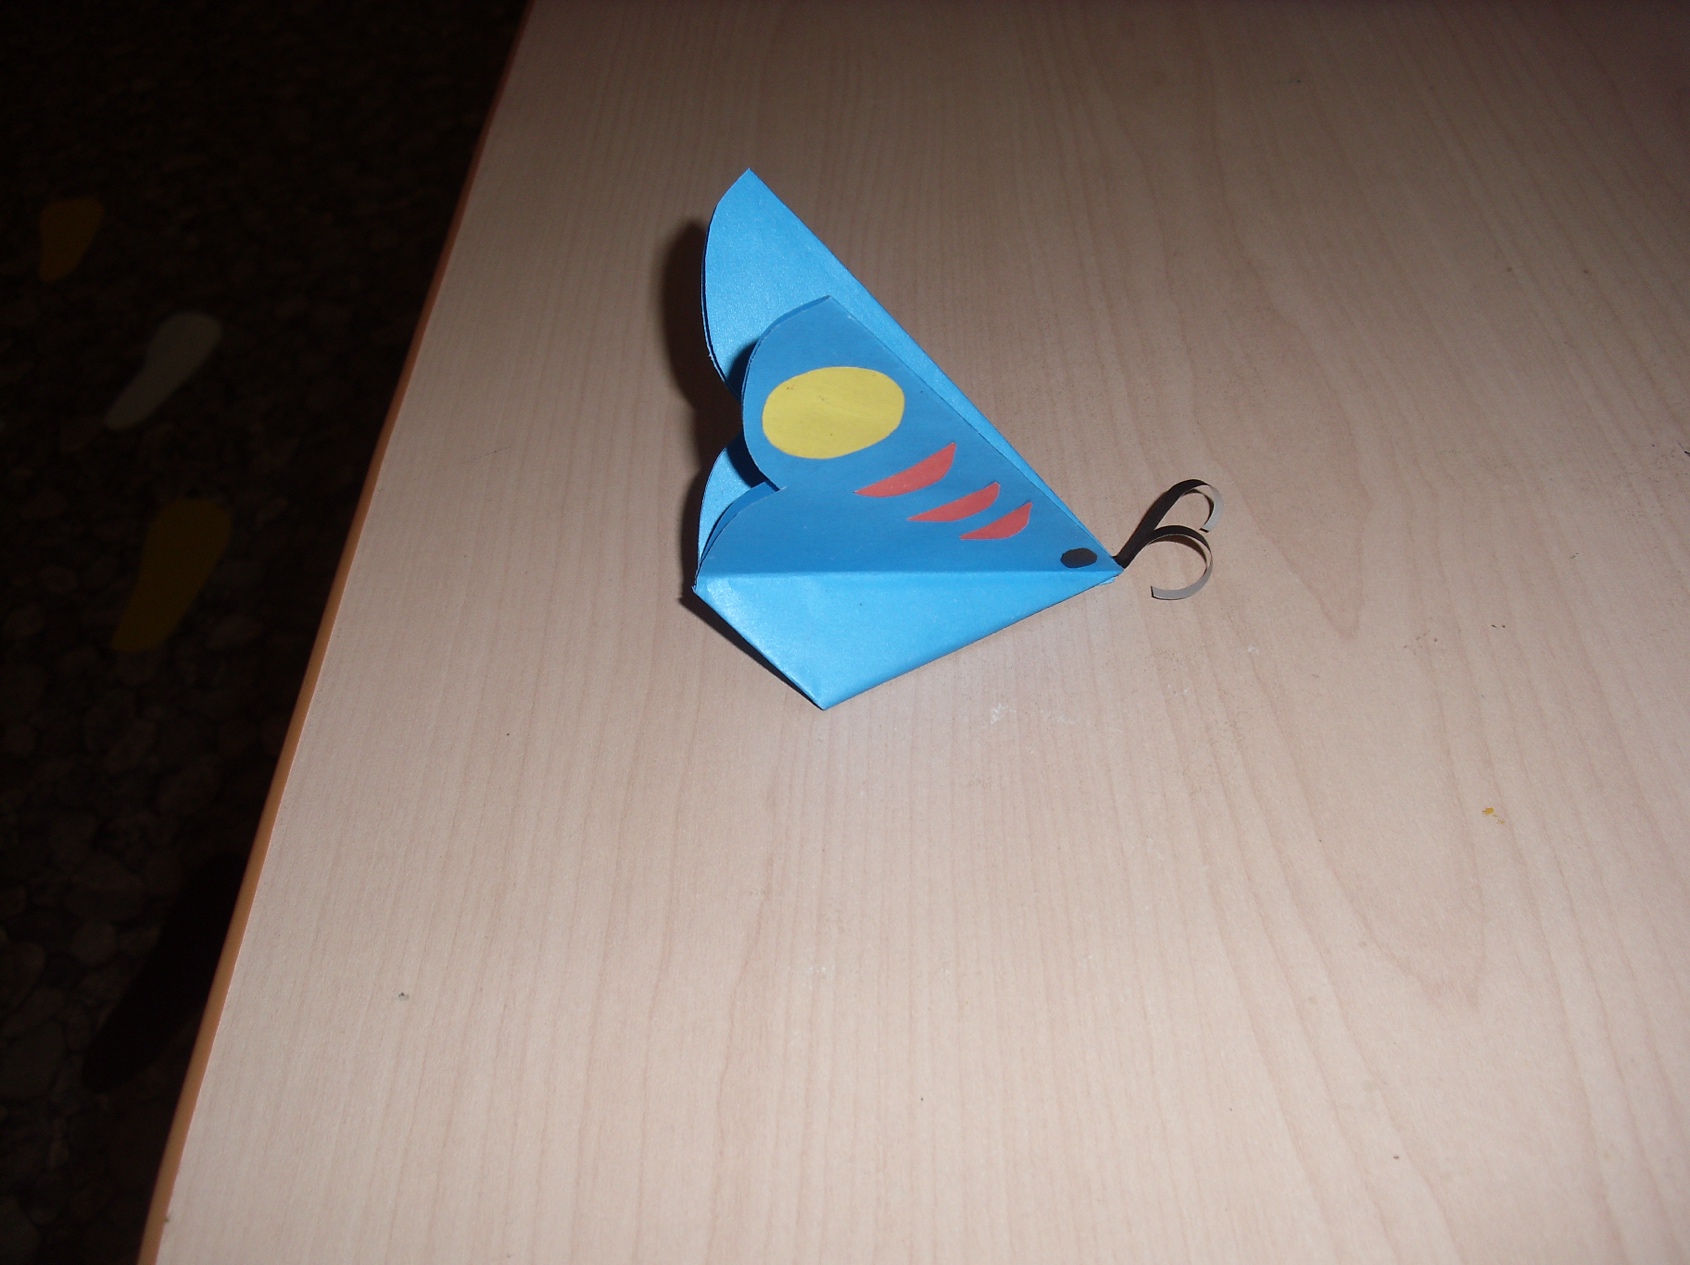
 Step 5: Shape the wings
Turn the piece over again and you will see the base with the wings protruding. Grasp the sides and bend the wings back slightly to give volume. You can press the bends a little with your fingers or tweezers. This will give the butterfly a realistic look.
Step 6: Finalizing parts
Cut two thin strips of black paper 3-4 cm long - these will be the antennae. Use a toothpick to spiralize them and glue them to the body. You can also decorate the wings with felt-tip pens, stickers or cut out openwork elements.
Read also: Origami for windows - Summer decorations 2026
Step 7: Application options
The finished butterfly can be glued onto a greeting card, attached to a string and hung in the room. Several butterflies create the effect of movement if they are placed on the wall in a chaotic order. Also such crafts look good on curtains, pots with flowers and frames for photos.
Step 8: Helpful hints
- For children, it's better to use large size paper and soft texture - it will be easier to fold.
- If the paper is thin, you can use two layers.
- Colored newspaper, wrapping paper and even magazine pages will work too - the main thing is that they should hold the folds well.
Extras:
These butterflies can be made not only from paper, but also from fabric if you soak it in glue and let it dry. You can also connect several butterflies to each other on a transparent fishing line to make a light garland. For festive events - birthdays, weddings, themed photo zones - such elements look especially winning. Don't be afraid to experiment, combine techniques and your collection of paper butterflies will become truly unique.


