
 Children are always interested in making unusual crafts with their own hands. And not necessarily the materials for creativity should be some unique. The most common paper sold in sets will do. Looking at leisure in the store, be sure to buy them a folder for creativity, because it costs quite a bit. Next, get to work together. Choose just 2 leaves of orange (brown) and green color to model a pineapple. Why him? This exotic fruit gets on the table only on holidays. It looks unusual, so the craft will be interesting. Usually children are happy when parents bring such a sweet in the house, to create a volumetric application they will also be happy.
[H3]To make a pineapple applique, prepare:[/H3]
- scissors;
- drawing pencil;
- heavy white cardboard;
- glue;
- a ruler;
- leaves of green and orange (brown) paper.
How to make volumetric applique with your hands from paper strips
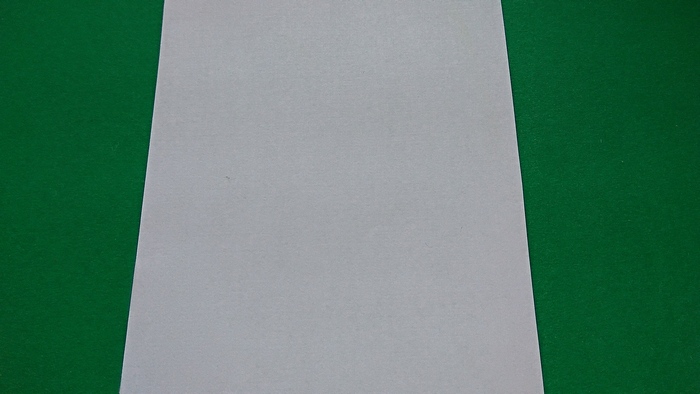
1. cut a thick cardboard, on which you will soon apply a three-dimensional pattern of paper rings.
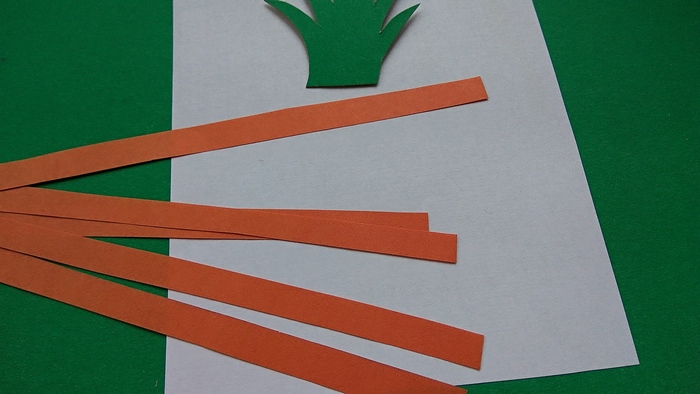
2. Draw the famous pineapple chub on the back of the green leaf. Everyone knows what it should look like. Cut out the blank - this will be the top, non-voluminous part of the applique. Also prepare several thin strips of orange or brown color. The exotic fruit has a very thick dark rind, it is the strips of paper in the form of rings will help to simulate it. If you have already ready-made paper for quilling in sets, you can use it, then the strips separately do not have to cut out, draw lines on the paper, cut out. From the strips you need to make sections about 5-6 cm or so long.
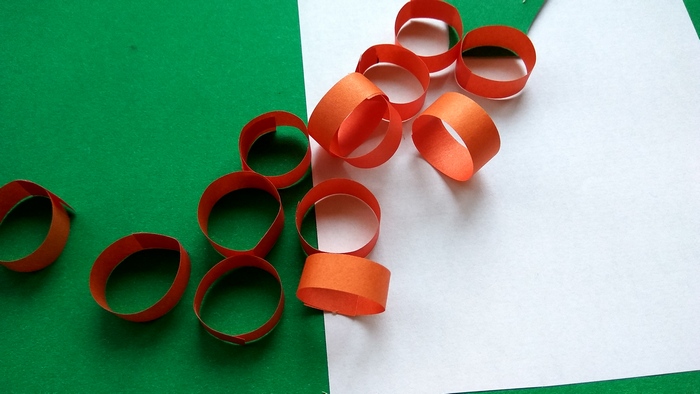
3. After cutting the paper into strips, start modeling the rings. At this stage you will already need glue. Connect the ends of the rings together. Place the ends on top of each other, pre-lubricate with glue. Make enough identical pieces to create a curly pineapple torso.
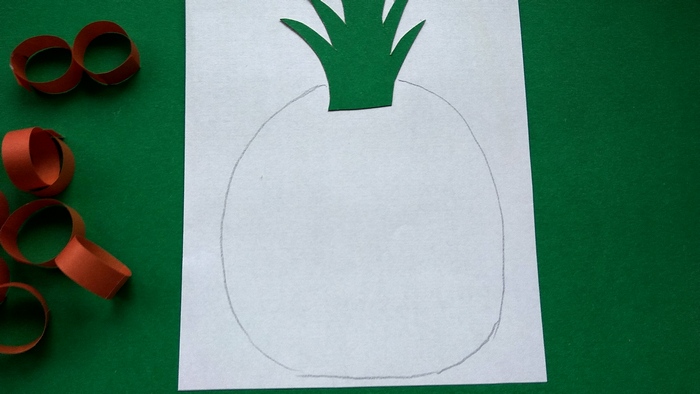
4. On the previously prepared cardboard in the upper part glue a green chub, be sure to smooth the paper. Draw an oval at the bottom with a pencil. Start from the stump of the chub, lower the pencil line down and loop it from the opposite side. This is the boundary of filling the figure with paper rings, it will set the shape of the pineapple.
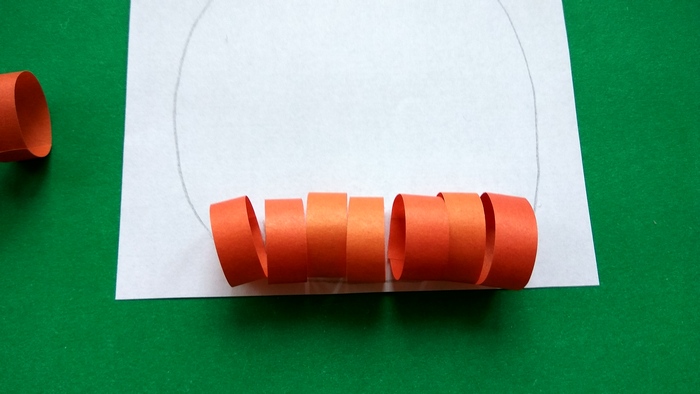
5. Start gluing the prepared parts onto the area marked with a pencil, starting from the bottom. Turn the rings so that the glued part is hidden. Then the craft will look much neater.
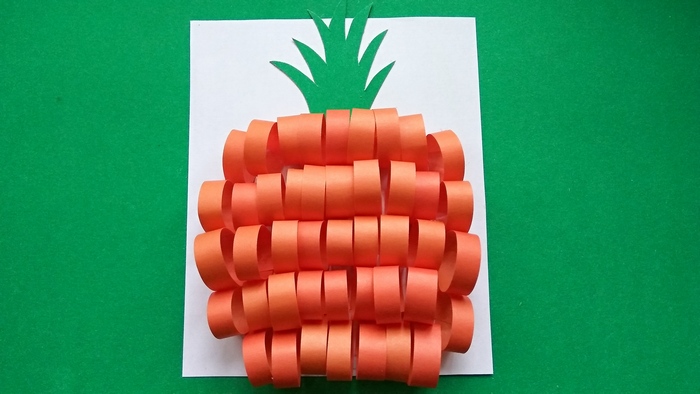
6. Moving upwards, fill the entire surface bounded by the pencil with rings. At first it is better to increase the number of rings in the rows, then to decrease it.
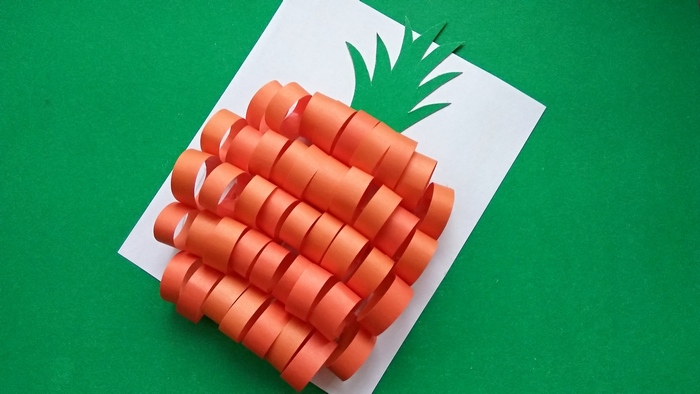
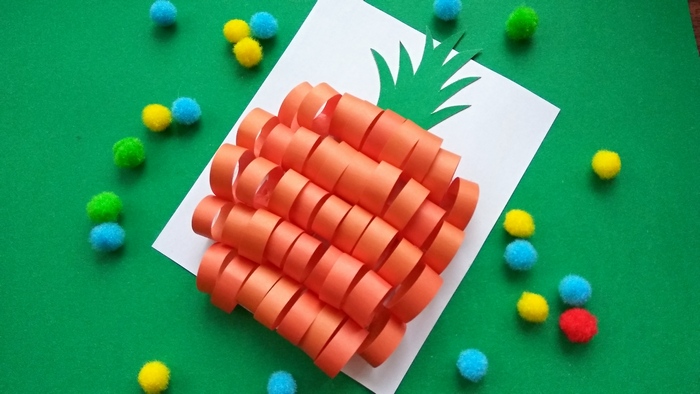
7. Juicy, bright and appetizing pineapple from paper is ready. It turned out to be a summer craft that will please its creator all year round.


