
 There are many ways to use popsicle sticks to create applications. They can be used for counting, making unusual bookmarks, and other items. This lesson shows another unique option using paper. Developmental crafts, which is offered here, will allow children to playfully learn colors in English, of course, for the youngest children will be suitable for other options, such as learning the names of fruits, vegetables, geometric shapes and so on. Thus, it is not necessary to go to the store and buy an expensive development kit for a child, it is much more useful, interesting and practically free to perform a unique handicraft with your own hands. If possible, do it together with your child, and he will definitely enjoy the process.
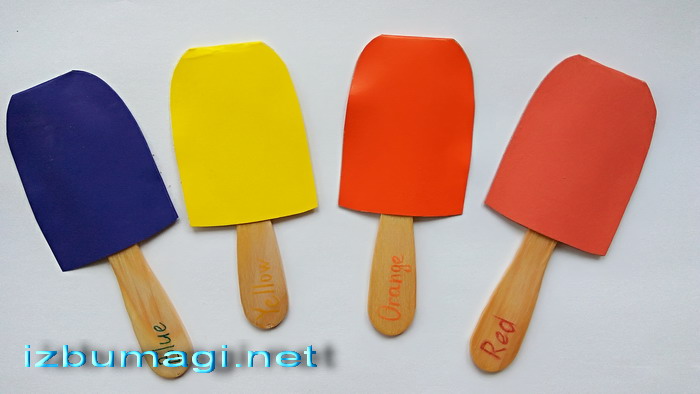
What are these developmental parts? They are made in the form of ice cream. The ice cream stick is traditional wooden, it is a throwaway material, and the top part is bright, two-layer, made of paper. Like a cap, the edible part of the popsicle is put on the stick. It is necessary to sign with a pen, marker or felt-tip pen the names of colors in English, it is desirable to use those colors of the stick, which deciphers the answer, and the upper part should also be made of paper of the same color. That is, learning the colors, the child will be able to pick up the right pair of parts and put them together.
The master class for making such ice creams is very simple. Let's look at it step by step.
To make the crafts you will need:
- a set of colored cardboard;
- scissors;
- glue;
- Popsicle sticks (flat, wooden);
- colorful gel pens (felt-tip pens, markers and so on).
How to make a developing applique for learning the names of colors in English with your own hands
1. Take popsicle sticks, or rather, when you eat together with your child this wonderful treat, do not throw away the unique throwaway material. Wash, dry it and leave it for all sorts of crafts. And they can come up with quite a few.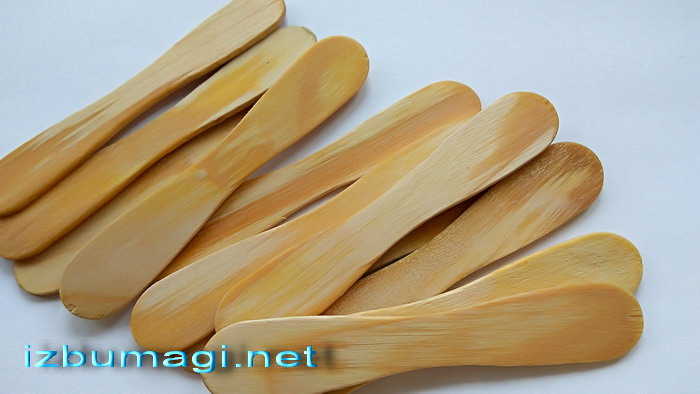
2. Choose the colors you want to explore with your child and use bright gel pens of the same color to write their names on one side of the stick. The writing should be bright and stand out against the wooden background. For example, Red, Blue, Orange, Yellow are the 4 colors you want to study. You can replace the pen with a felt-tip pen. Be sure to give the lettering a chance to dry, otherwise if you grasp the letters with your fingers, they may smudge. While the stem is drying, work on creating the top of the applique.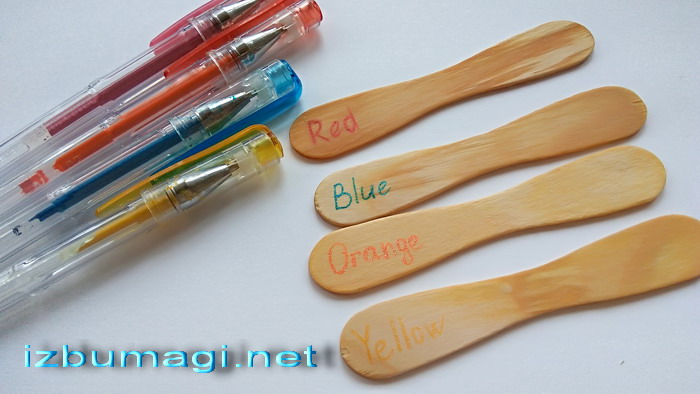
3. Since you chose to study the colors red, blue (cyan), orange, and yellow, take the same pieces of heavy cardboard. Fold each sheet in half and draw the shape of a popsicle. Carefully cut out the double piece with scissors. Make sure the two layers are joined together at the top. Round only the corners. In this way, you will have a piece as if it were a kind of fold-out postcard.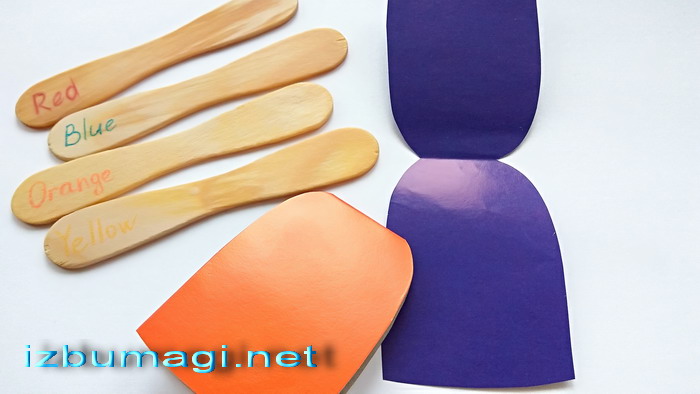
4. Glue each prepared piece together, gluing only the sides. Move only along the edge of the paper. Then fold the cot and smooth it out with your finger. Thus, you will get a kind of cover, in which you can insert a popsicle stick. It is better to leave to dry each piece with its own stick, so that the products take the desired shape.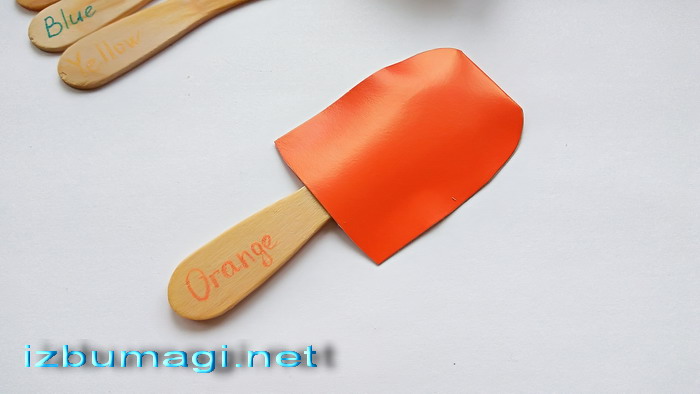
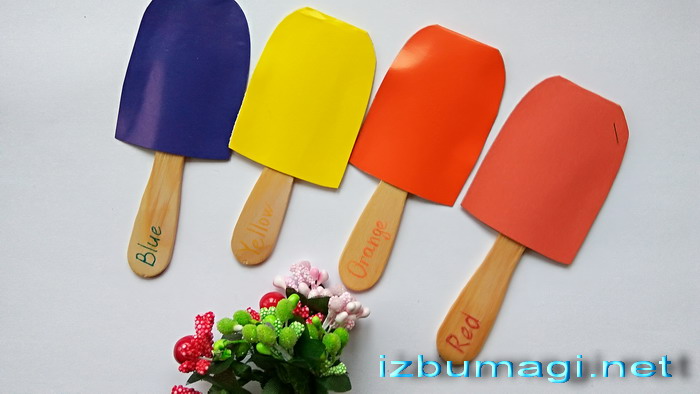
5. Prepare all the required popsicle patterns in this way. You will get blue, yellow, orange and red versions. This is such an interesting craft.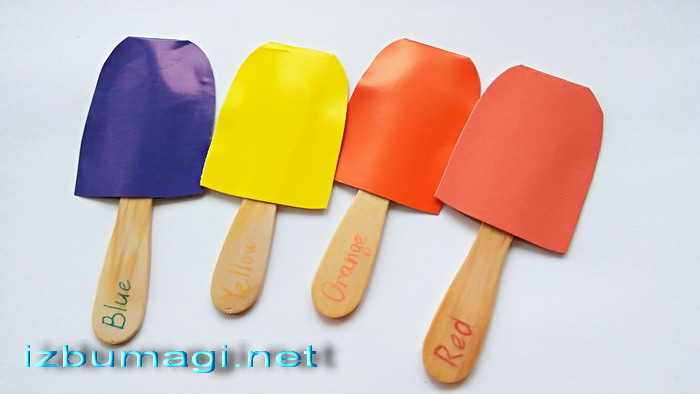
6. Since the top part is removable, you can continue the game. You can swap the sticks and give your child the task of arranging the parts correctly. This will give an opportunity to repeat the material, check his knowledge of the names of colors in English.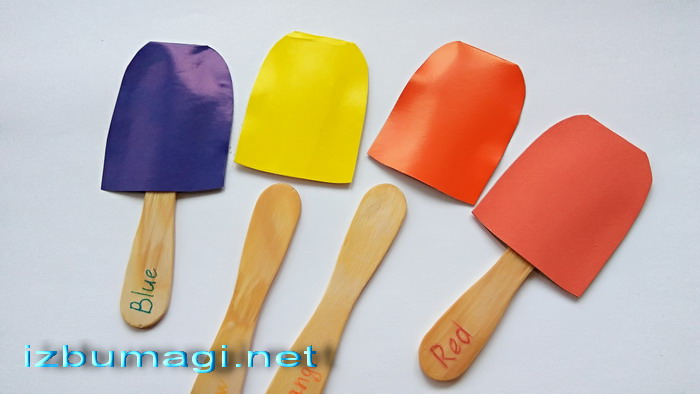


C'est si facile à apprendre quand on utilise cette méthode et c'est bien expliqué aussi.
This method is very easy to learn and well explained.