
 After learning how to fold unusual triangular modulars with two pockets, we move on. In this lesson we will model a bright, summery, delicious strawberry. Perhaps this is the most popular summer berry. It is loved by all adults and children. And it always looks appetizing, beckons to taste the cherished fruit. To make a model of strawberry, you need to prepare the same size modules of three colors: pink or red, black and green, but the main color is undoubtedly red or pink. Almost all layers of the berry will be made of these modules.
To make a strawberry in the technique of modular origami prepare:
- paper: red (bright pink), green and black;
- a ruler, scissors, a pencil.
[H3]How to make bright strawberries with your hands[/H3]
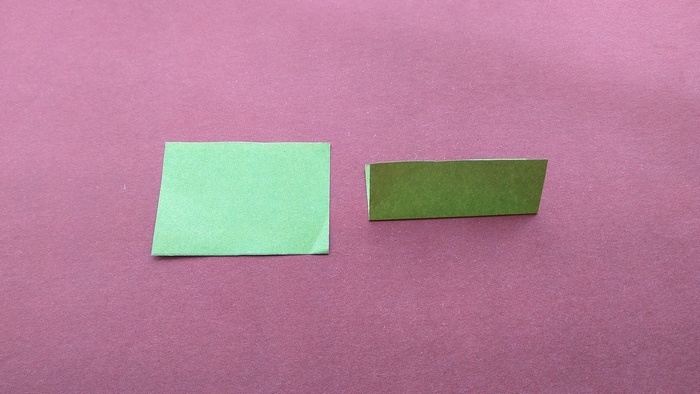
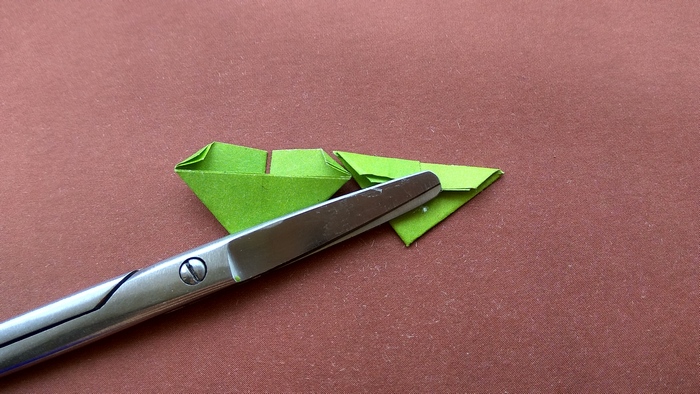
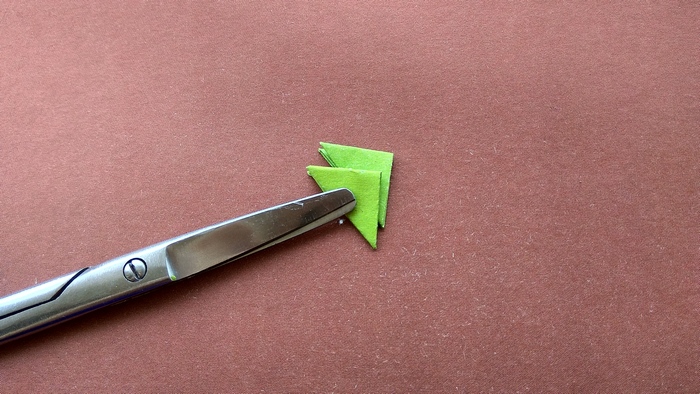
1. Traditionally, it is necessary to tell or remind how to make triangular modules with two pockets, from which most often assembled figures in the technique of amazing modular origami. Divide the green sheet into rectangles of size 1/16. By the way, the size of the parts you can pick up and more, then the whole berry will be larger. Rectangles of any color are folded in the same way. Let's consider the process on the example of a green blank. Fold the rectangle in half along the long side.
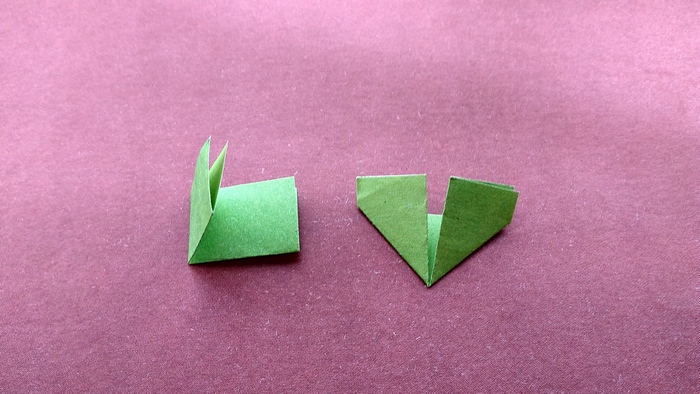
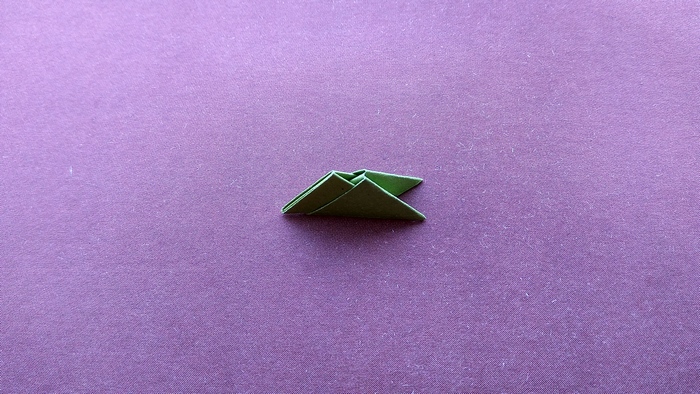
2. Next, with the same folding, mark out the transverse center line in the narrower triangle (do not straighten the previous fold). The second folding step is necessary for further work. Lift both sides up so that a corner is formed at the bottom, at that, both halves of the bottom side will close in the center.
3. Turn the triangle over with the back blind side facing you. First, bend the top small corners at an angle of 450 so that they do not peek out of the module later on.
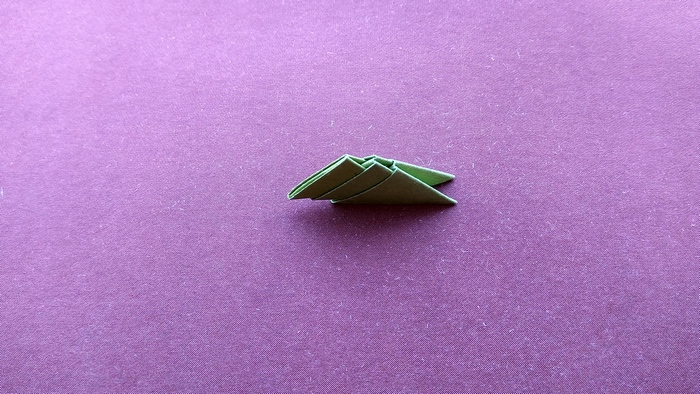
Lower the entire protruding part down to align with the blind side.
4. And lastly, fold the piece in half so that the 2 pockets, which are formed by folding, look outward. This complex triangle will become a part for assembly. This construction holds its shape well.
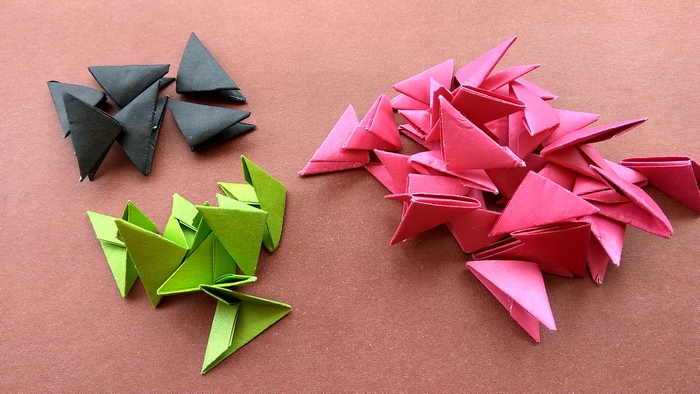
5. In total you need to prepare 27 red, 7 green and 6 black triangles to fully proceed to assembly.
6. Start with the top green stalk. Insert the corners of one piece into the pockets of the second green piece, pulling all the way through.
7. Then glue 1 more green piece in the same way.

8. Use the 2 red modules to insert the corners of the bottom green piece (leaving one pocket in each of the red modules free).
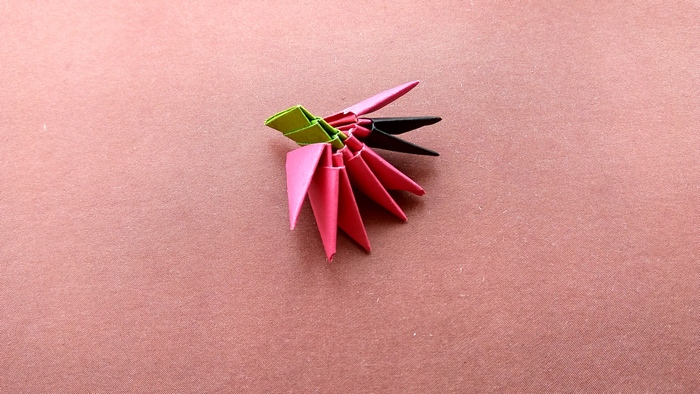
9. Attach 1 red piece on each side. Now insert 1 black and 2 red pieces at the bottom.
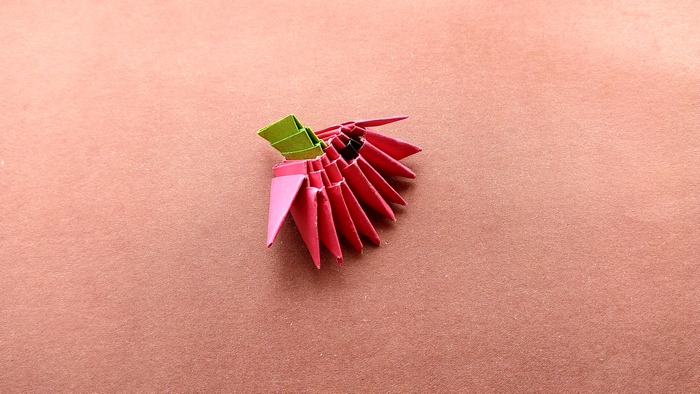
10. Now join the red pieces again on the sides and put 4 red pieces on the bottom. In this way, the berry model will expand.
11 Attach the next 2 red patterns to the sides. Sew through the 5 red and 2 black patterns.
12. Now the shape of the strawberry will be tapered. Thread the 4 red modules through from the bottom.
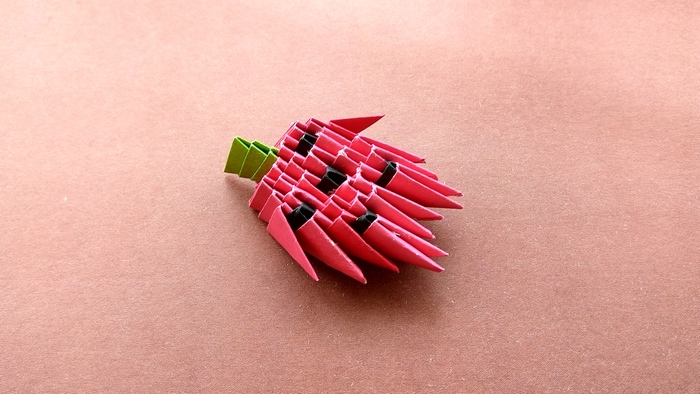
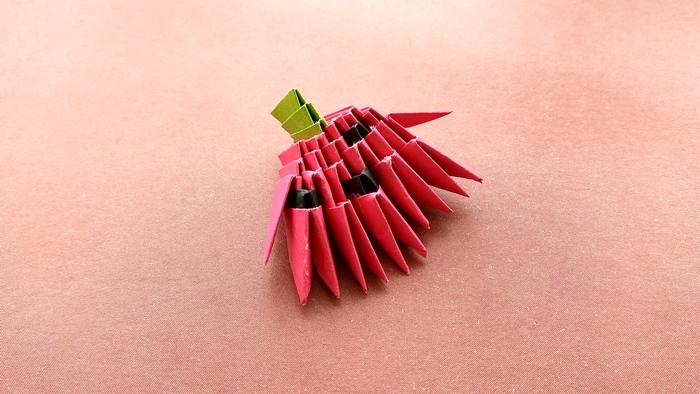
13. Continue with 2 black and 1 red piece, then duplicate the black again with 2 red pieces.
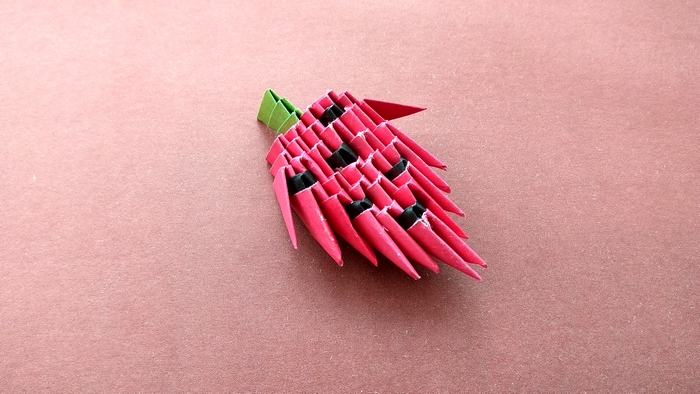
14. Add 1 black piece in the center and complete the pattern with 1 red piece.
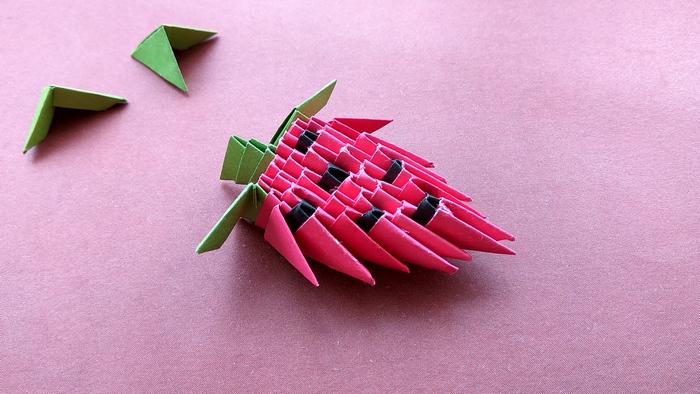
15. Insert the green pieces into the side pockets so that one piece each faces outward.
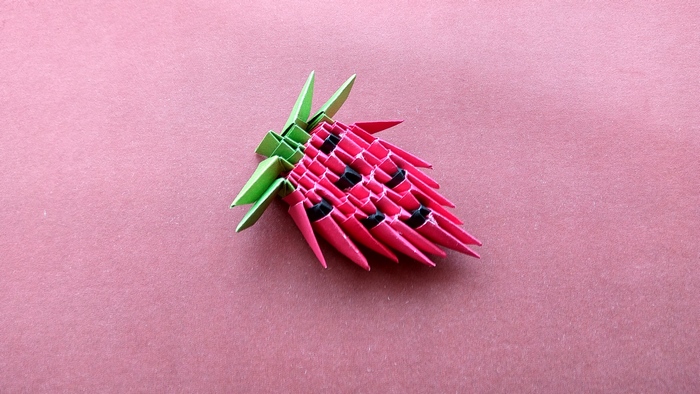
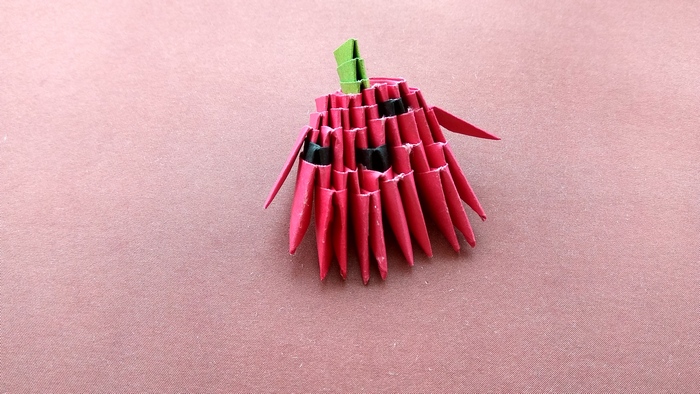
16. Next, insert an additional 2 more green leaves.
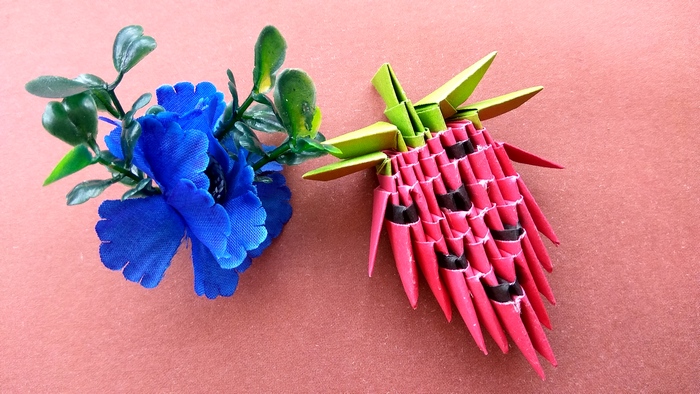
The brightly colored strawberries are ready.


