
 If you learn to make crafts from money bills, you will stop having difficulties with choosing and decorating gifts. Do you often give money to your family and friends for their birthdays or New Year? Most likely you do. Recently, it is a practical and popular gift, although it does not carry any aesthetic value. Money will never replace the attention, the desire to make your loved one feel good when you think over and choose a gift for him or her yourself.
The other thing is manigami figures. This is a kind of hamdmade product. On the one hand, you are still giving money, on the other hand, you can see at once that the giver has spent time and effort to somehow customize his gift in a unique way to make it pleasant for the recipient.
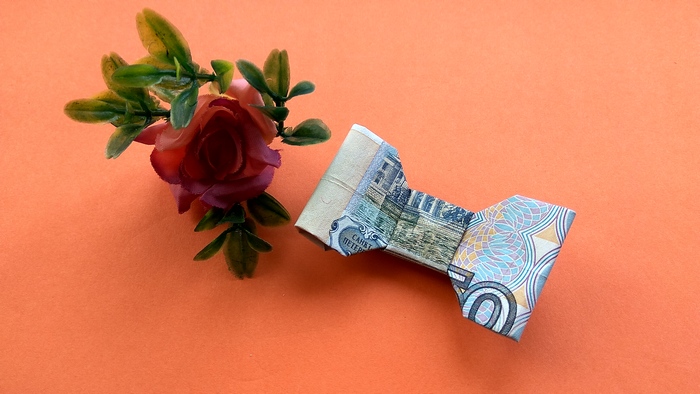
This lesson shows how to assemble a bow from a banknote. You will only need a banknote, nothing else.
[H3]Stages of bow assembly[/H3]
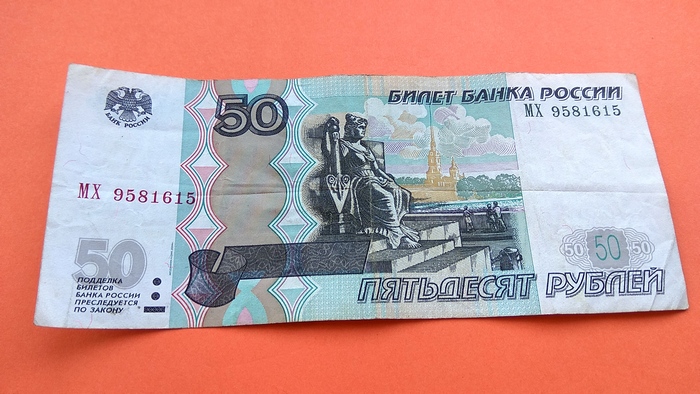
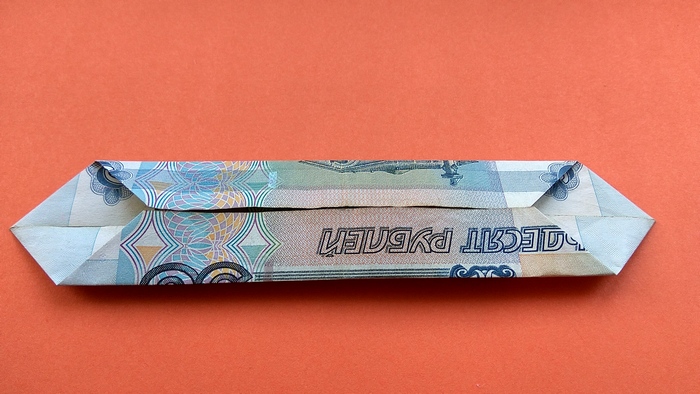
1. Initially, the rectangular shaped part is arranged horizontally.
2. In the second step, the rectangle is folded in two by the greater height. The reference point is photo 2.
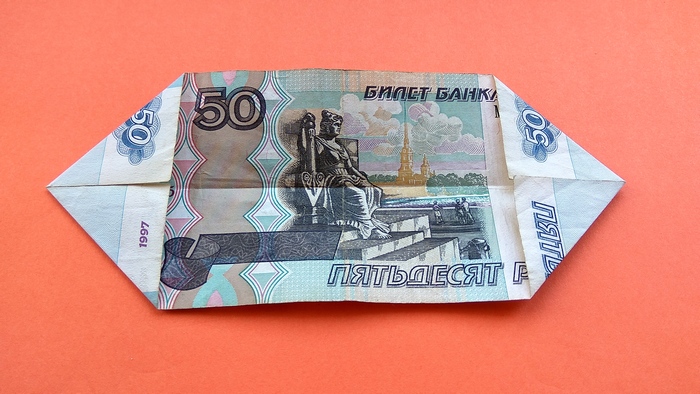
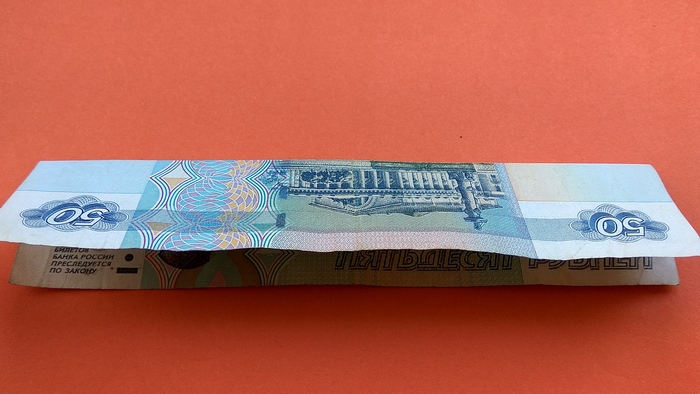
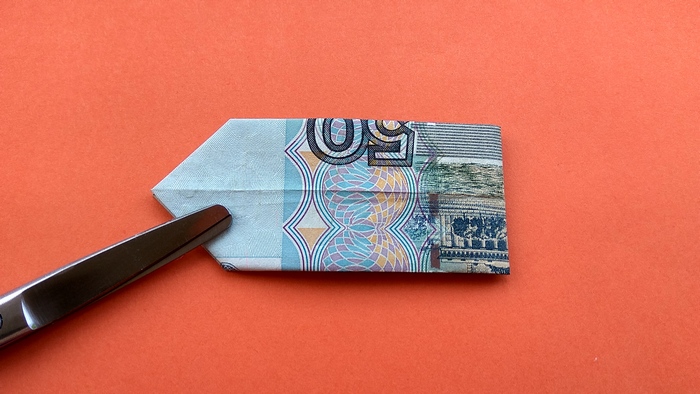
3. The rectangle is then returned to its original position. All 4 corners of the banknote are bent symmetrically to the center line. Pairs of adjacent corners are joined at one point. Photo 3 demonstrates that you should get a boat pattern.
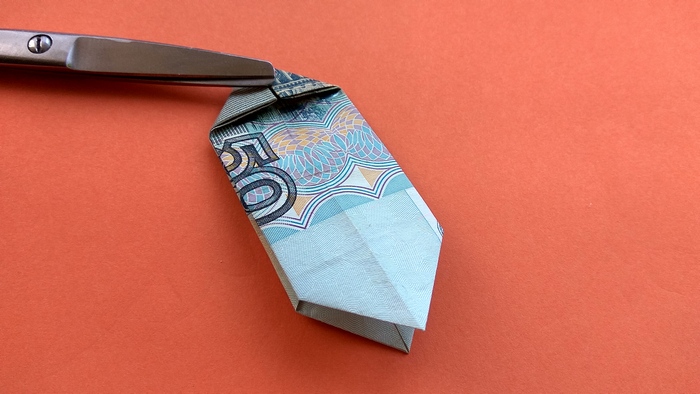
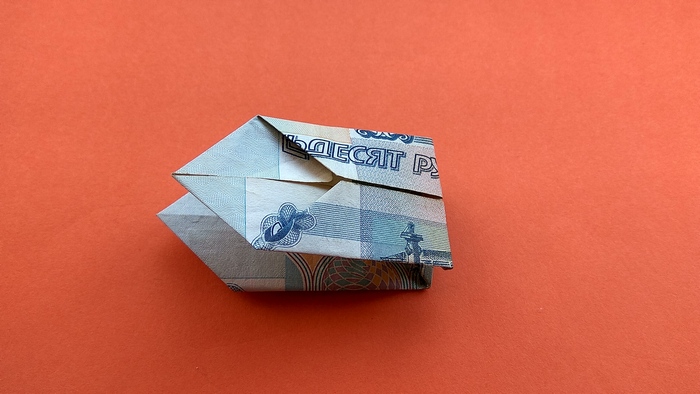
4. The banknote is held in a position with bent corners, then bend the wide sides of the former rectangle, or rather what is left of them. It is necessary to close the sides along the center line, as shown in photo 4.
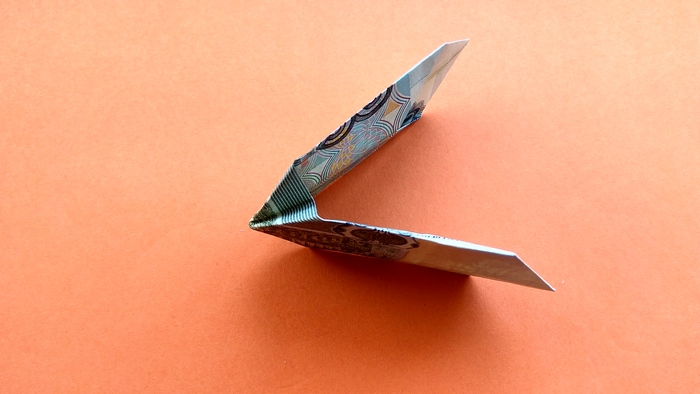
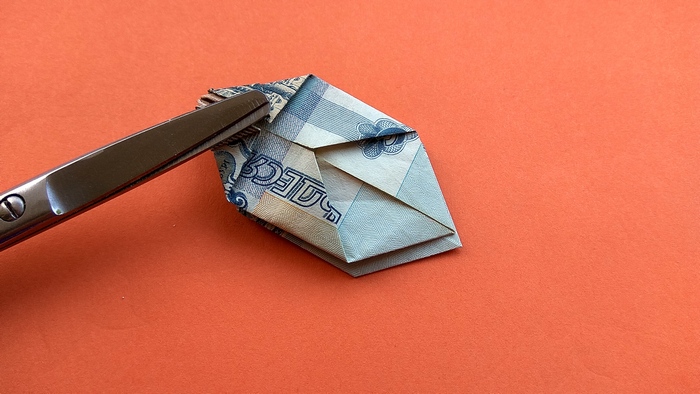
5. The narrow layered piece is folded in half, this time across. Photo 5 shows that the sharp corners are aligned at this stage.
6. The corners of the blind side of the blank are folded to emphasize the middle of the bow.
7. The bent corners are turned inward, as if pressed in, symmetrically on both sides with the fingers.
8. The whole bow is turned out in the opposite direction. Photo 8 shows that you should be guided by the lines marked by the small side triangles when folding the bow tongues.
9. In this reverse position, the corners are folded again. But now the paper will resist even more.
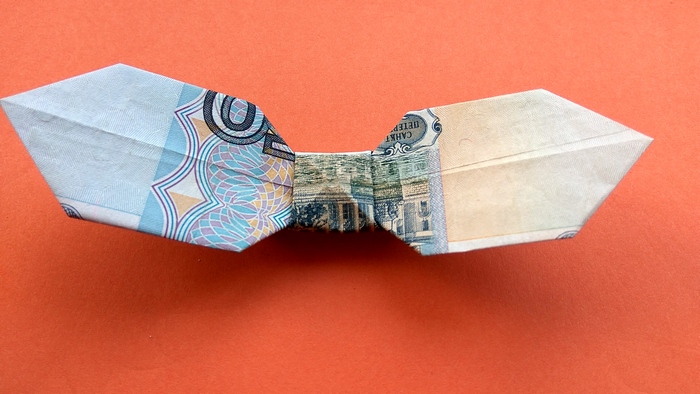
10. After that, the side tabs are opened to the sides. A square is formed in the center - the middle of the bow. It can be clearly seen on photo 10.
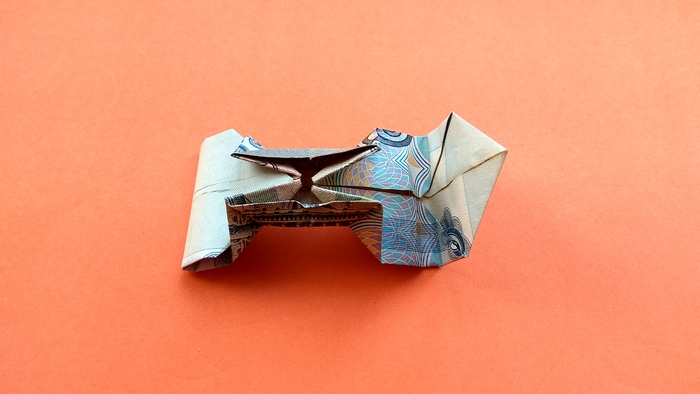
11. Reversed, the tails are folded into the grooves formed on the inside.
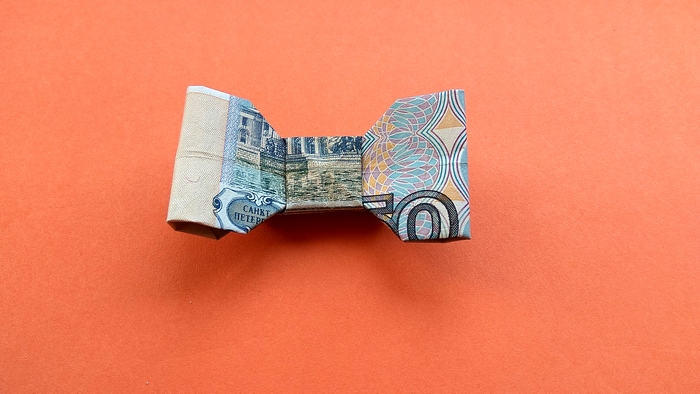
12. The finished bow is smoothed. If all operations are performed correctly, you will get the model demonstrated in photo 12. Now attach the obtained copy to the gift.


I wish I'd heard about this stuff before. It's really cool to see a topic like this. Now I know what hobby I'm gonna do this year.