
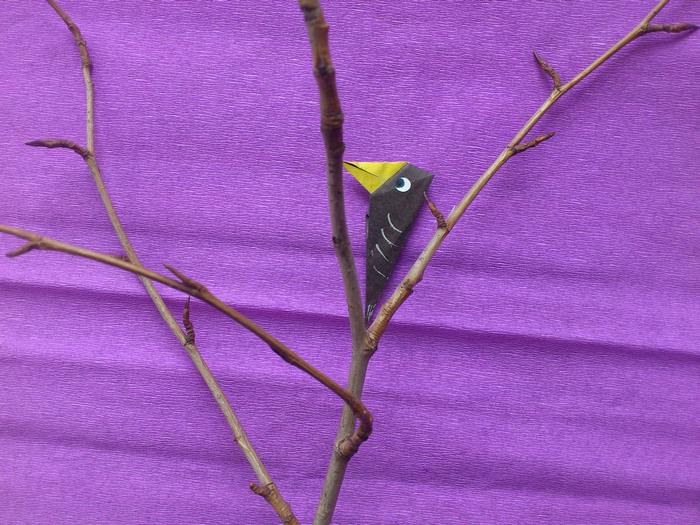
 This lesson describes in detail how to create with your own hands a starling bird from paper in the origami technique. Such a model is made on the basis of a square of black one-sided paper and is very similar to a black feathered bird with a sharp beak and a sharp tail. Origami is a unique technique that allows you to create unusual paper copies of animals, birds and all sorts of objects. Let's consider the process of folding on the example of a black figure of starling. This lesson is designed for preschool children, as it involves only a few folding steps.
What to prepare for modeling an origami starling:
- a piece of one-sided paper, as well as a pencil, scissors, and a ruler to draw and cut out a square of the desired size;
- silver and yellow pens;
- a black felt-tip pen and white paper;
- glue.
[H3]How to make an origami starling bird[/H3]

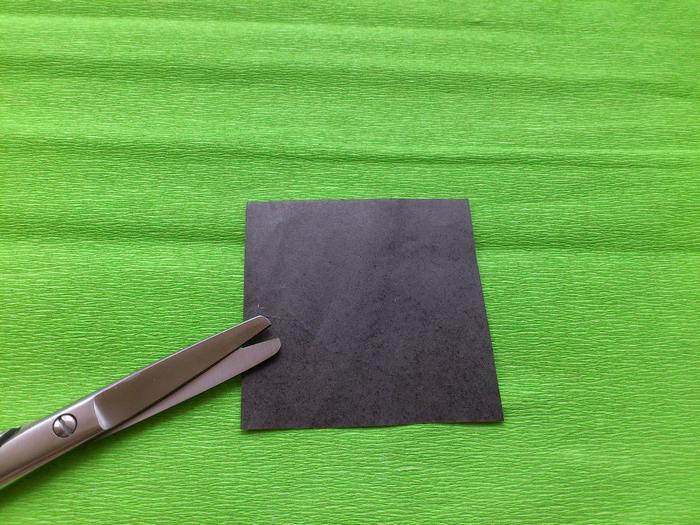
1. Cut a square of any size from the prepared black paper. This is the only piece of paper you will need to create the craft. Therefore, the larger the side of the square, the larger the figure will be. Use a ruler and a simple pencil to draw lines, then cut out the square you are looking for.
2. Start the folding process by selecting the two diagonals in the desired square. Fold the piece twice across the diagonals, and then fold it over. Then we will use the obtained cross-shaped fold lines to orient ourselves to get the bird.
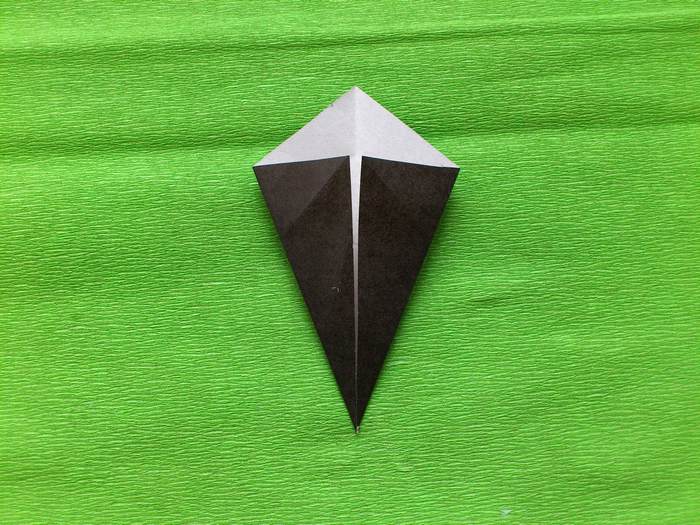
3. Unfold the square folded in the previous step to the original position. Place the two adjoining sides against one of the folded diagonals. Bring the sides of the former square together in the center and smooth the paper with your fingers. The result is a quadrilateral piece with one very sharp corner.
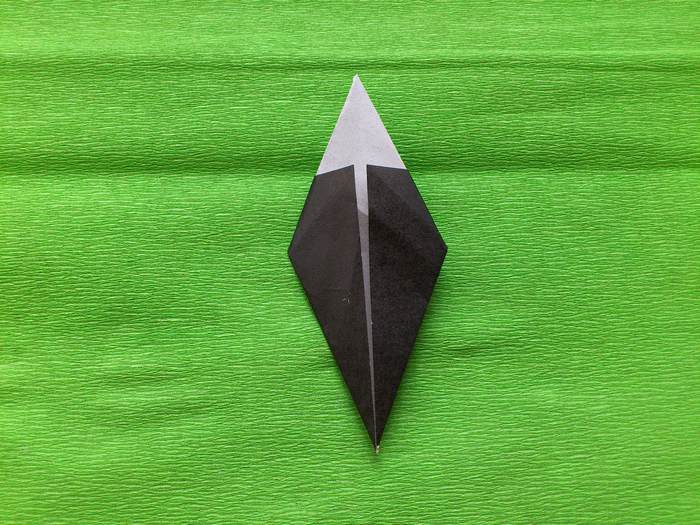
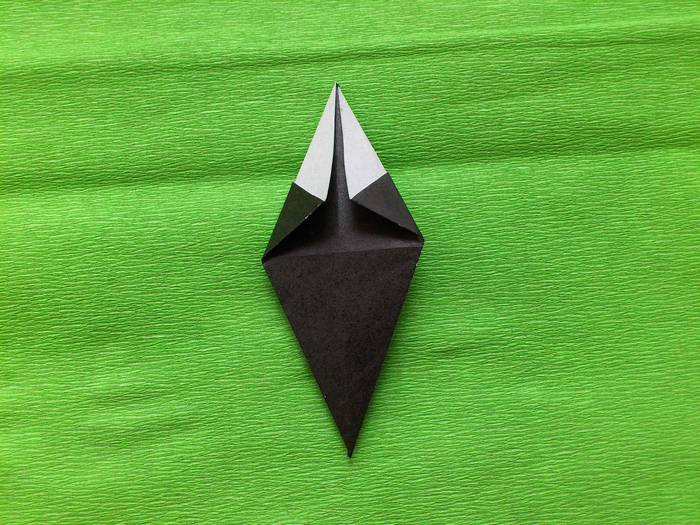
4. Turn the folded piece toward you with the back side facing you and fold again. Make a rhombus by folding the top two adjoining sides toward you. Tuck in the folds. This will show the white side of the paper.
5. Turn the other side of the pattern over again.
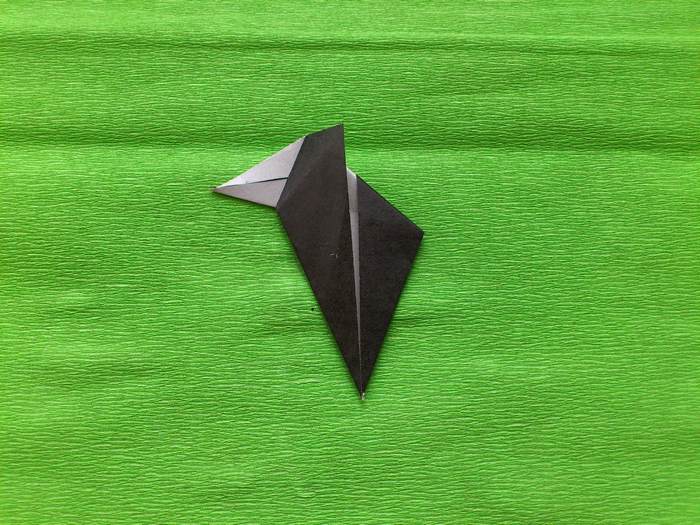
6. Bend the top corner at an angle of 45 degrees, as shown in the photo, away from yourself. In this way, you will see the beak of the bird on the side.
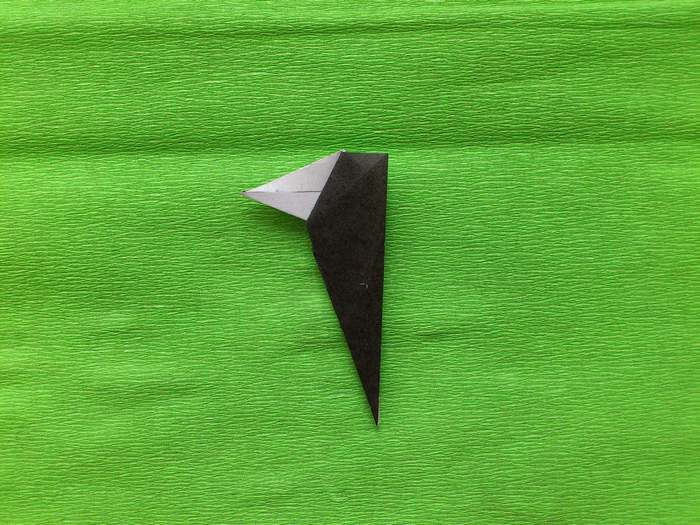
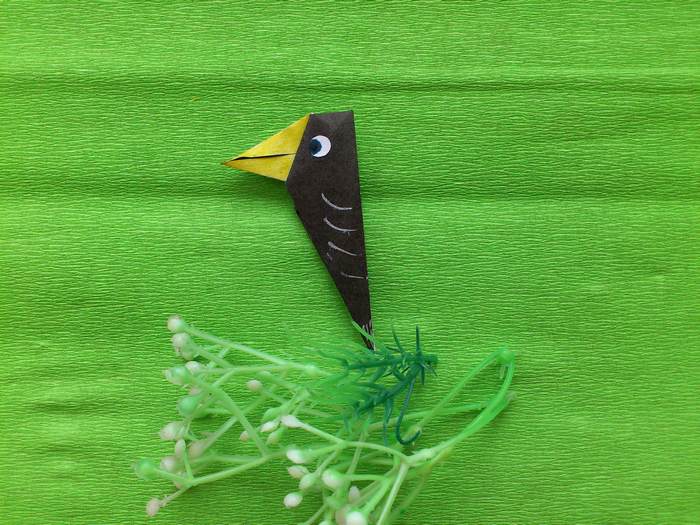
7. Now fold the piece in half lengthwise. You will get a narrow figure - a starling with a sharp beak (white part of the paper) and a sharp tail (lower pointed part). If necessary, use glue at this stage.
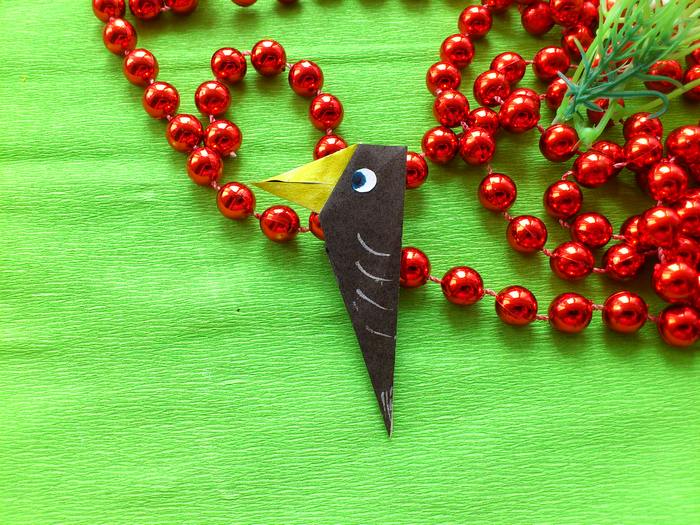
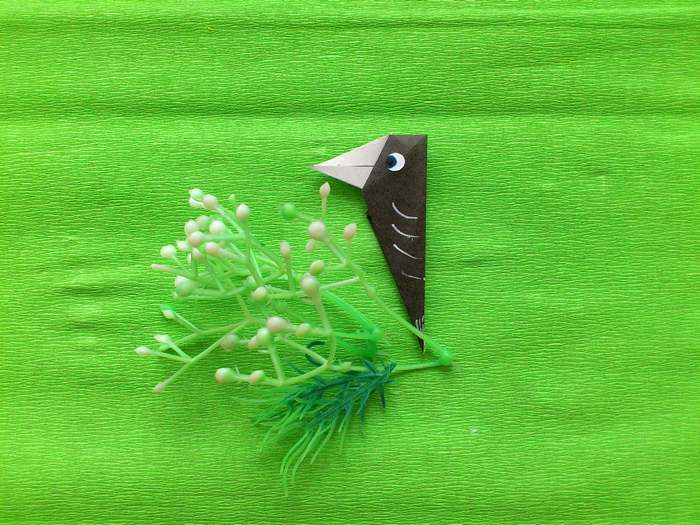
8. Next, use a silver pen, a white circle and a black felt-tip pen to draw the eye, tail and wing feathers. Or use the ready-made running eyes.

The origami bird is ready. If you want, you can color the beak with a yellow pen.


I've never tried origami before, but thanks to this article, I got it right the first time. The starling turned out neat, even without much experience. Great job!