
 A skillful cook can prepare a cupcake from the list of products given in the recipe. And children can make such a craft, for example, from paper. This lesson shows how to make an origami cupcake in a few simple steps. Then such a product can be applied during the game, feed dolls, cutting into portions with scissors, or decorate a card or other application. In any case, origami is an amazing kind of creativity, which requires care and accurate reproduction of the instructions, in order to get a positive result as a result.
The cupcake will be made of paper, you can use any color of your choice, but it is desirable that the sheet is white on the back side. Then we will get a plausible copy of the dessert with cream. Now let's consider how to model doll food from paper.
What to prepare for an origami cupcake:
- 1 sheet of colored paper, the back of which is white;
- Scissors;
- Glue (optional);
- Something to decorate the craft (cream corrugated paper was used in this case).
Origami cupcake steps
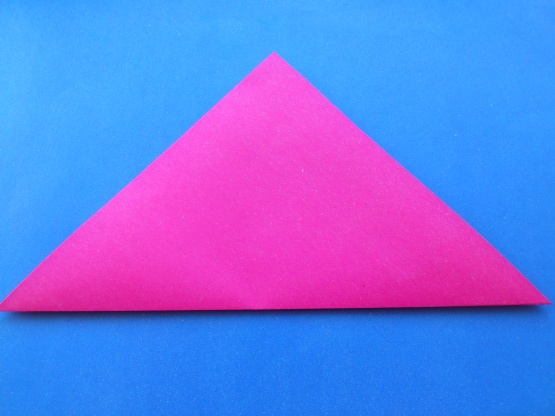
1. Like most origami models, this figure is made on the basis of a square. Naturally, you can take any size you want, but not too small, so that the paper is easy to work with. Cut out the square and fold diagonally so that the white part remains inside.
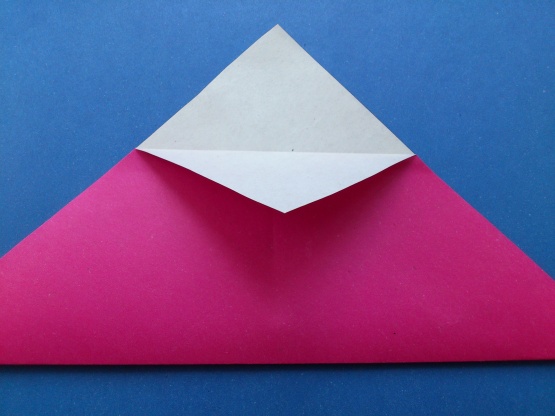
2. Place the resulting triangle with the right angle facing up. Fold the right corner of the top layer toward you, showing the white side. Bring the corner down and fold over the fold. Make sure that the tip touches approximately the center of the triangle's height after folding.
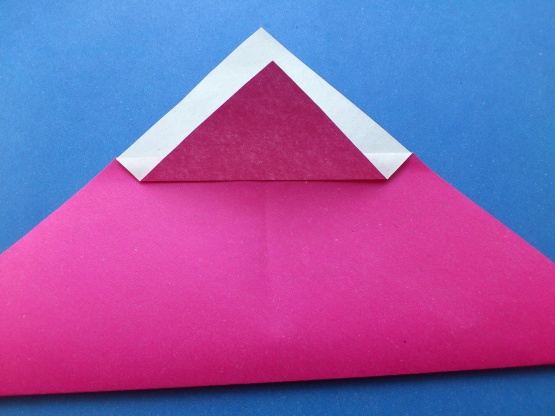
3. Return the previously lowered corner upwards, but do not align with the original position, but make a crease at the bottom.
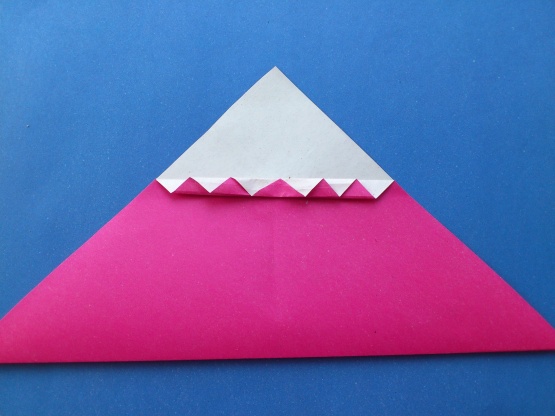
4. Push the corner down again, again forming a crease at the fold. And so on return the corner up and down until you have a kind of harmonic, in the center of the triangle will be visible two-color snake. It is at this point you can use glue, especially if your paper is dense and sticks out after folding.
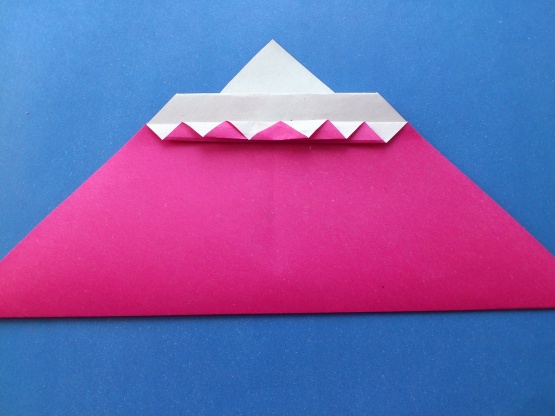
5. Follow the same procedure for the second layer of the original triangle. Push the corner down to approximately the center of the white protrusion, then back up, leaving a crease.
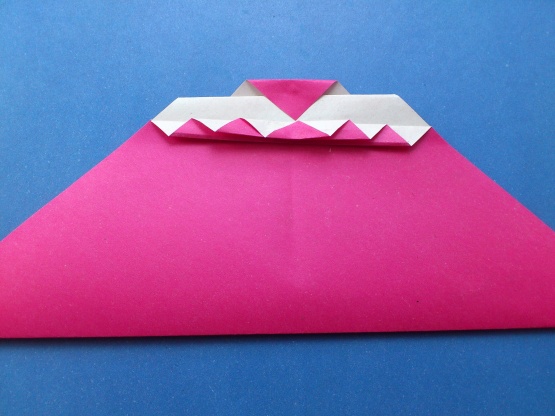
6. Curve the top tip toward you and bring it down, showing the colored side. Glue can also help here.
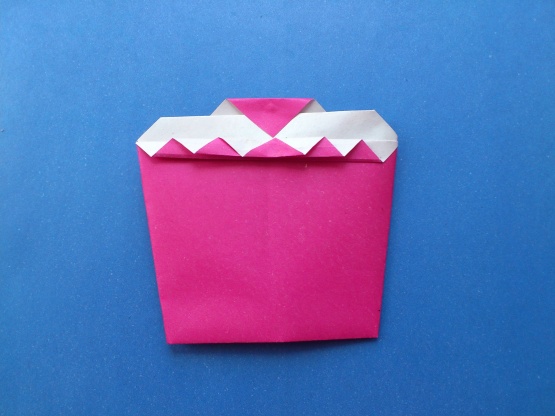
7. Turn back the sides of the triangle. Do this symmetrically. The result should be a trapezoid.
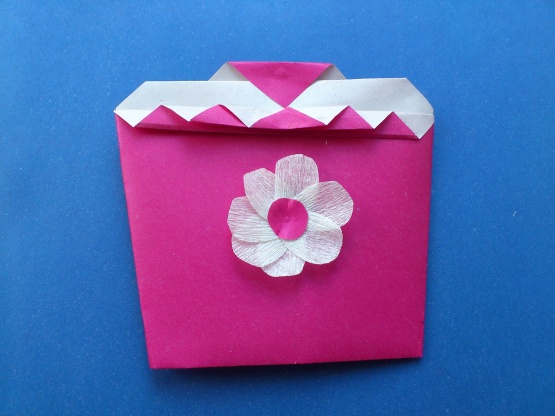
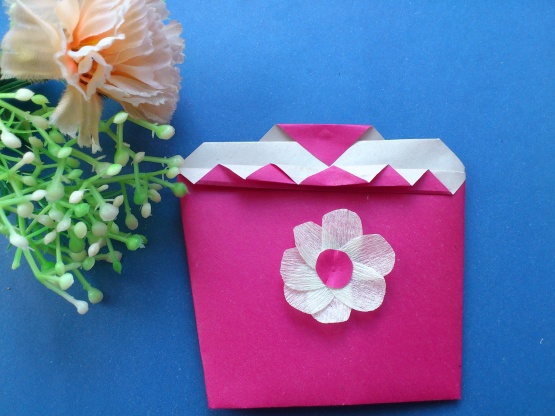
8. The cupcake is almost ready, but you would like to decorate it additionally. Use corrugated paper for this. Cut out a few petals, glue into a flower and attach to the center part.
Origami cupcake is ready. This is a simple assembly scheme that will be interesting for children.


