
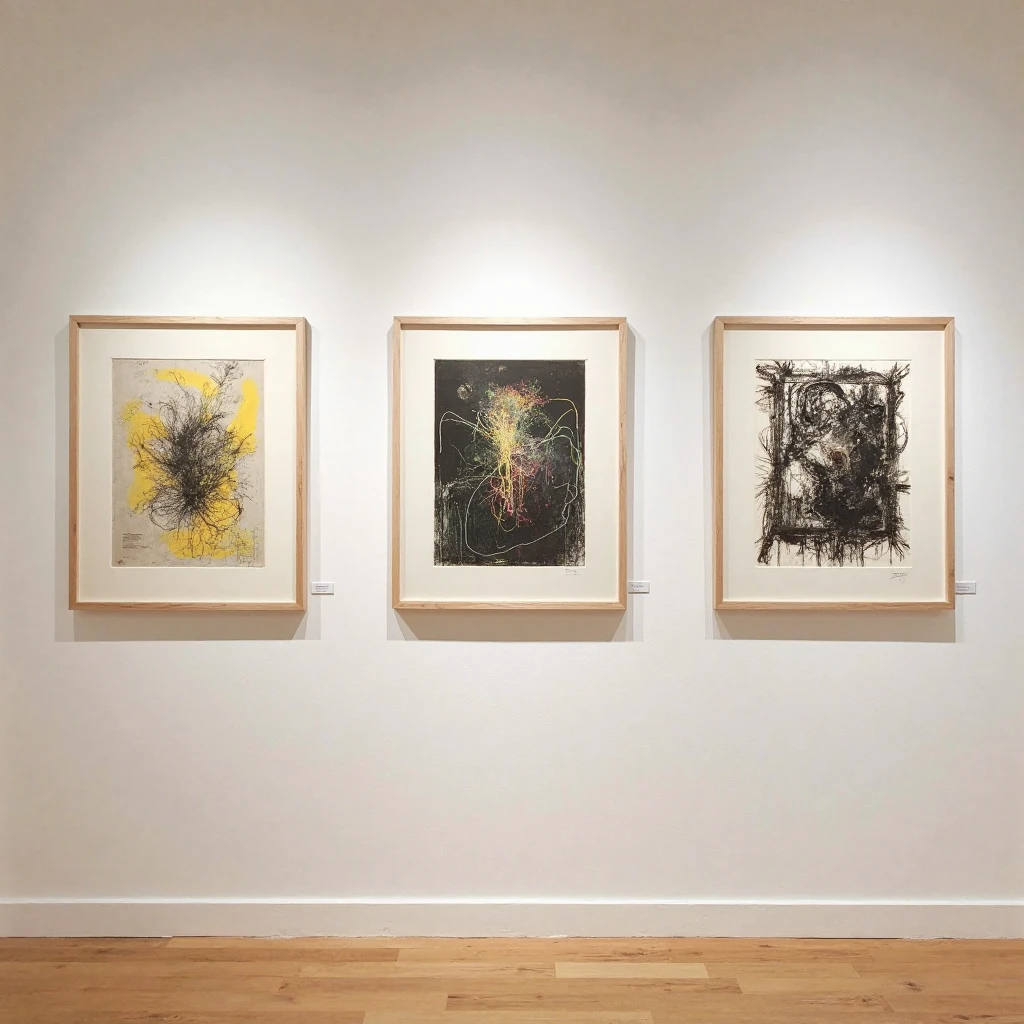
Monotype is an amazing printing technique that creates one-of-a-kind prints with a painterly softness effect. Unlike etching, where you can make many of the same prints, monotype is always unique. In this article you will learn:
✔ What monotype is and how it differs from other printing techniques.
✔ What materials are best to use (from glass to acrylic sheets).
✔ 5 monotype techniques - from basic to layered.
✔ How to correct errors and improve prints.
✔ Ideas for creativity - from abstracts to realistic landscapes.
🎨 What is monotype?
Monotype (from Greek. mono - alone, typos - print) is a hybrid of painting and printing, where ink is applied to a smooth surface and then printed onto paper.
How is it different from other techniques?
| Technique | Repeatability | Clarity of lines |
|---|---|---|
| Engraving | A lot of the same prints | High |
| Lithography | Up to 100 impressions | Medium |
| Monotype | Only one quality print | Soft, painterly transitions |
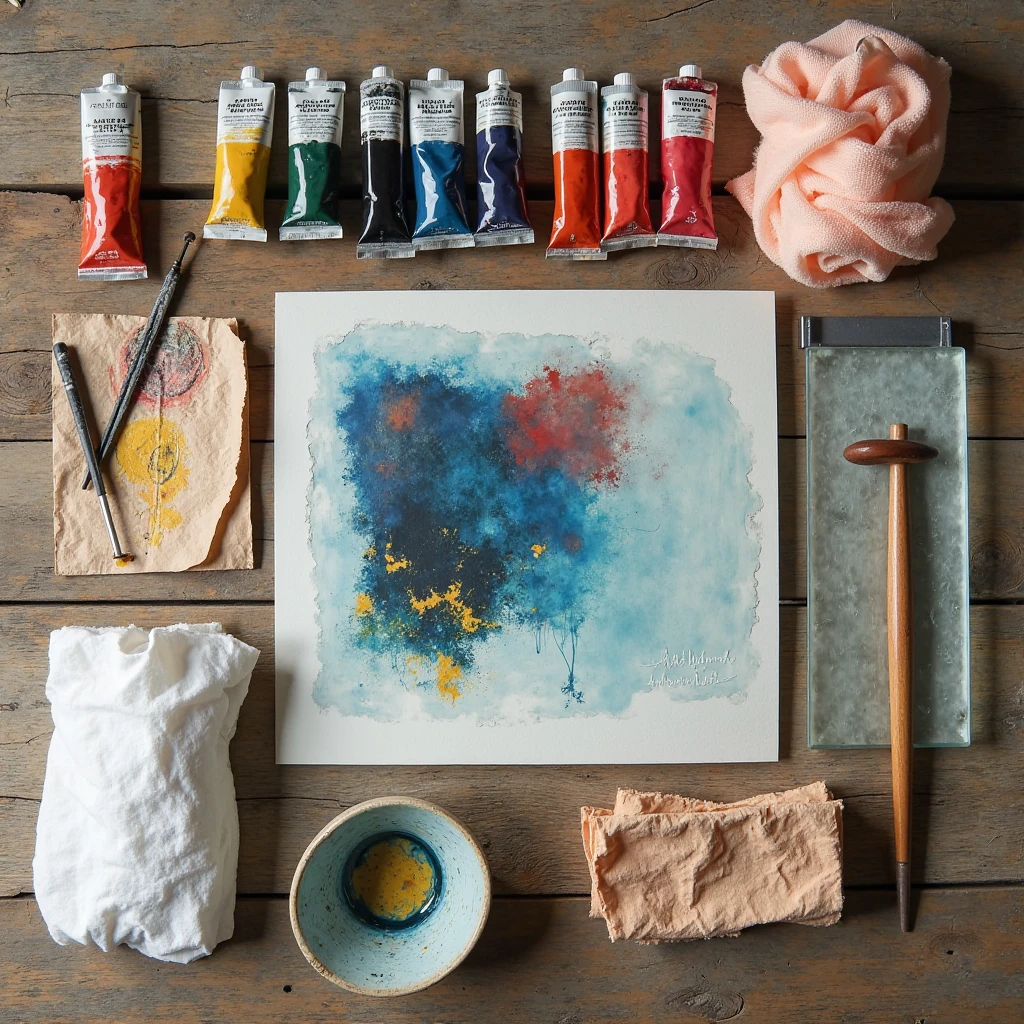
🛠️ Materials and tools
1. Paint application surfaces:
- Glass (4-5 mm thick) - gives the sharpest prints.
- Acrylic sheet - lighter and safer than glass.
- Glossy film - a budget option for beginners.
2. Colors:
- Oil + olive oil - They take a long time to dry, but they give a beautiful finish.
- Acrylic + drying retarder - more comfortable for beginners.
- Water-soluble printing ink - professional choice.
3. Paper:
- Watercolor (200-300 g/m²) - absorbs paint without warping.
- Rice - for delicate translucent effects.
- Newspaper - for proofs.
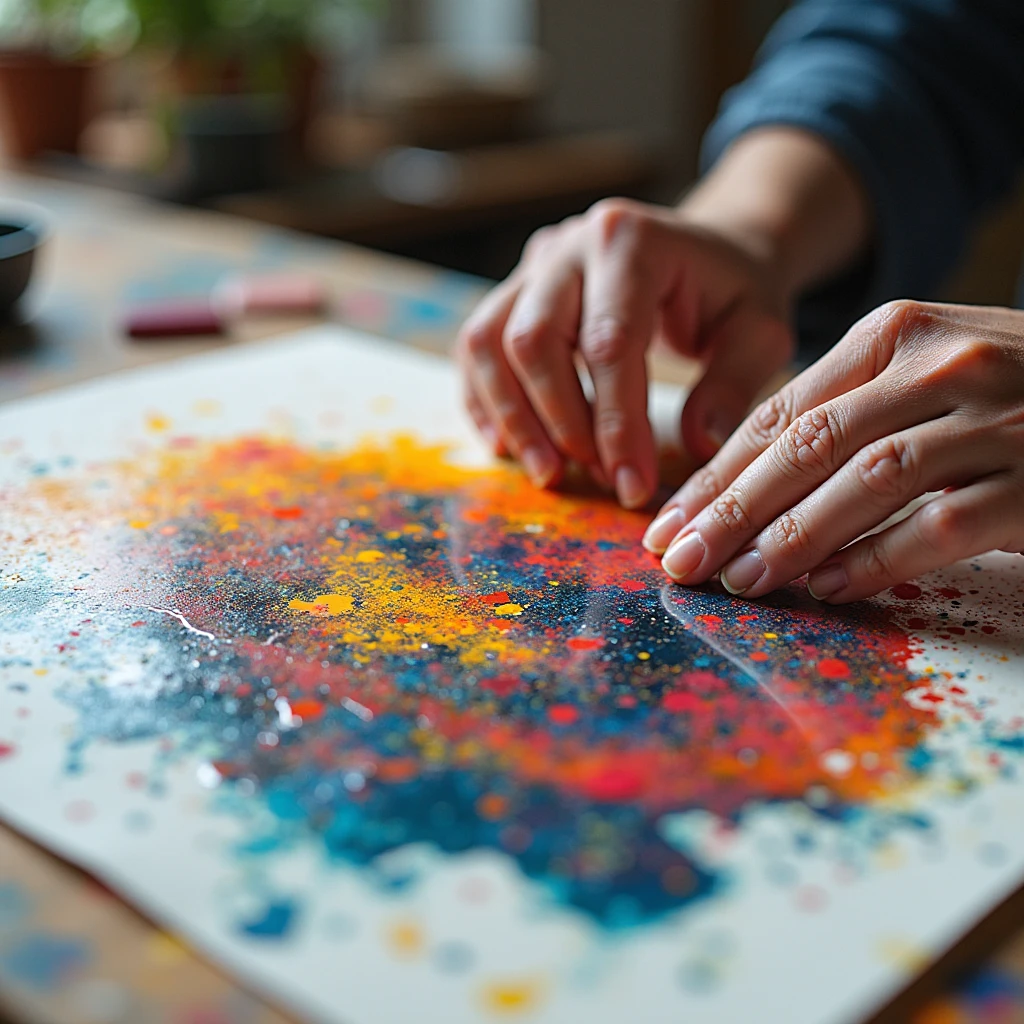
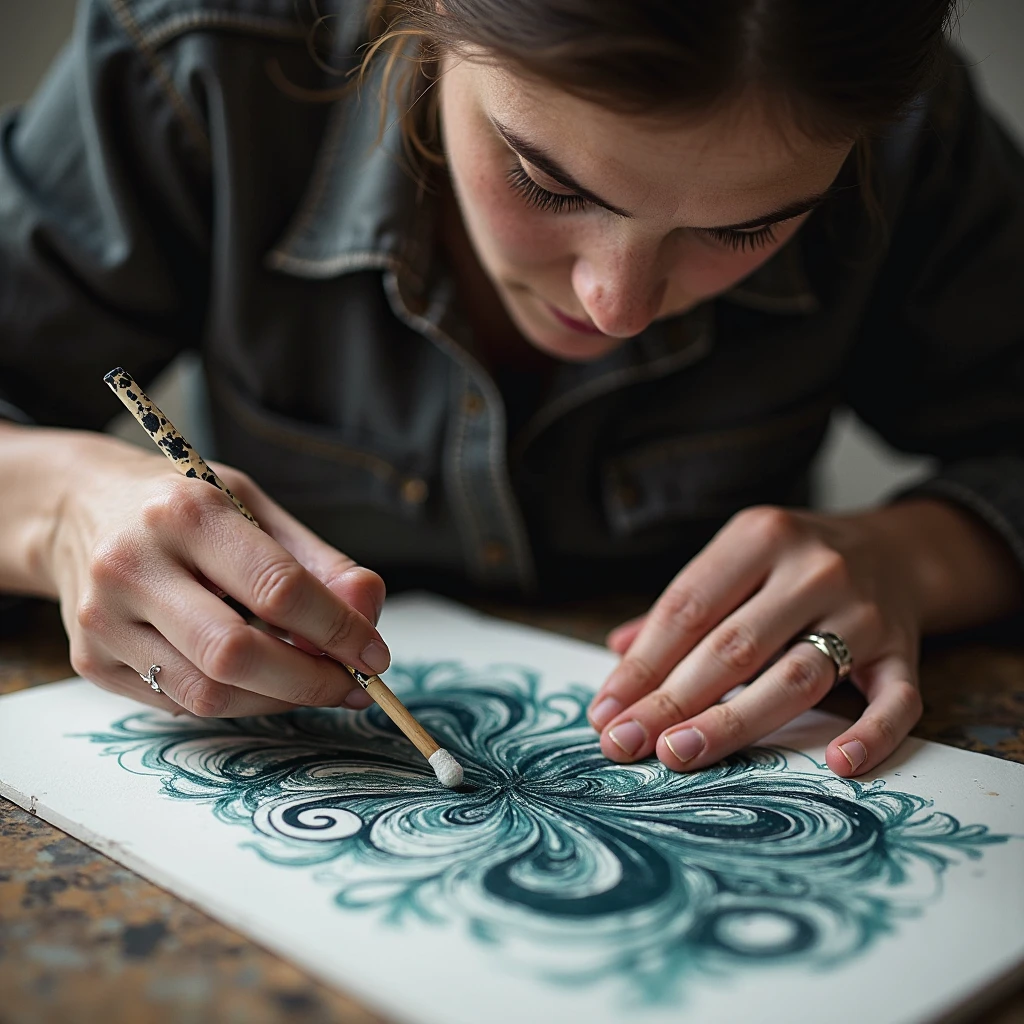
✋ 5 monotype techniques
1- Basic ("light on dark")
- Apply the paint to the glass with a roller in an even layer.
- Remove the drawing:
-
Spatula - for clear lines.
-
Cloth/sponge - for soft stains.
-
Cover with paper, roll with a hand roller.
-
Effect: Graphic white lines on a dark background.
2. Pictorial ("dark on light")
- Apply the paint with a paintbrush directly onto the paper.
- Cover with clean glass, press down.
- Carefully remove - some of the paint will transfer to the glass.
Effect: Soft Watercolor Brushes.
3. multilayered
- Make the first print, let dry for 10 min.
- Apply the new elements on top.
- Repeat printing with exact alignment.
Tip: Use cardboard registration tags.
4. Using stencils
- Cut the template out of the tape.
- Stick it on the glass before applying the paint.
- Remove the stencil before printing.
Idea: Geometric compositions in the Bauhaus style.
5. "Ghost Imprint" (second printing).
- Do not clean the glass after the main print.
- Cover again with paper - you will get a pale "shadow".
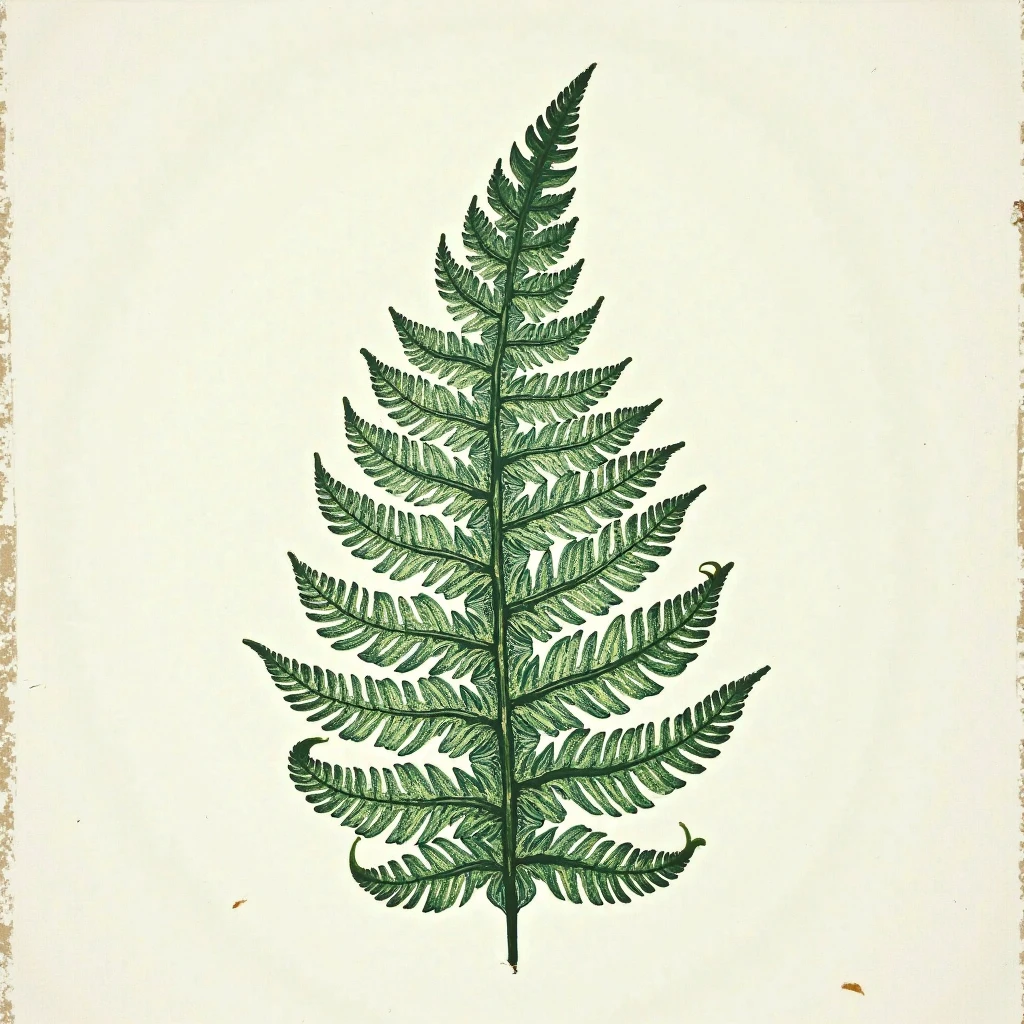
🌿 Natural motifs in monotypes
How to print leaves:
- Paint the back of the sheet (where the veins are more embossed).
- Cover with paper, roll with a rolling pin.
- Carefully remove the sheet.
What plants are appropriate:
- Fern (complex pattern).
- Maple (coarse veins).
- Grass (thin lines).
⚠️ Solving common problems
Problem: The paint is too thick.
Solution: Add 5-10% of linseed oil. (for oil) or water (for acrylic).
Problem: The paper is sticking.
Solution: Lightly moisten it before printing.
Problem: Fuzzy print.
Solution: Increase the pressure - run a dry spoon over the back side.
💡 Tips from professionals
✔ For texture, add sand or sawdust to the paint.
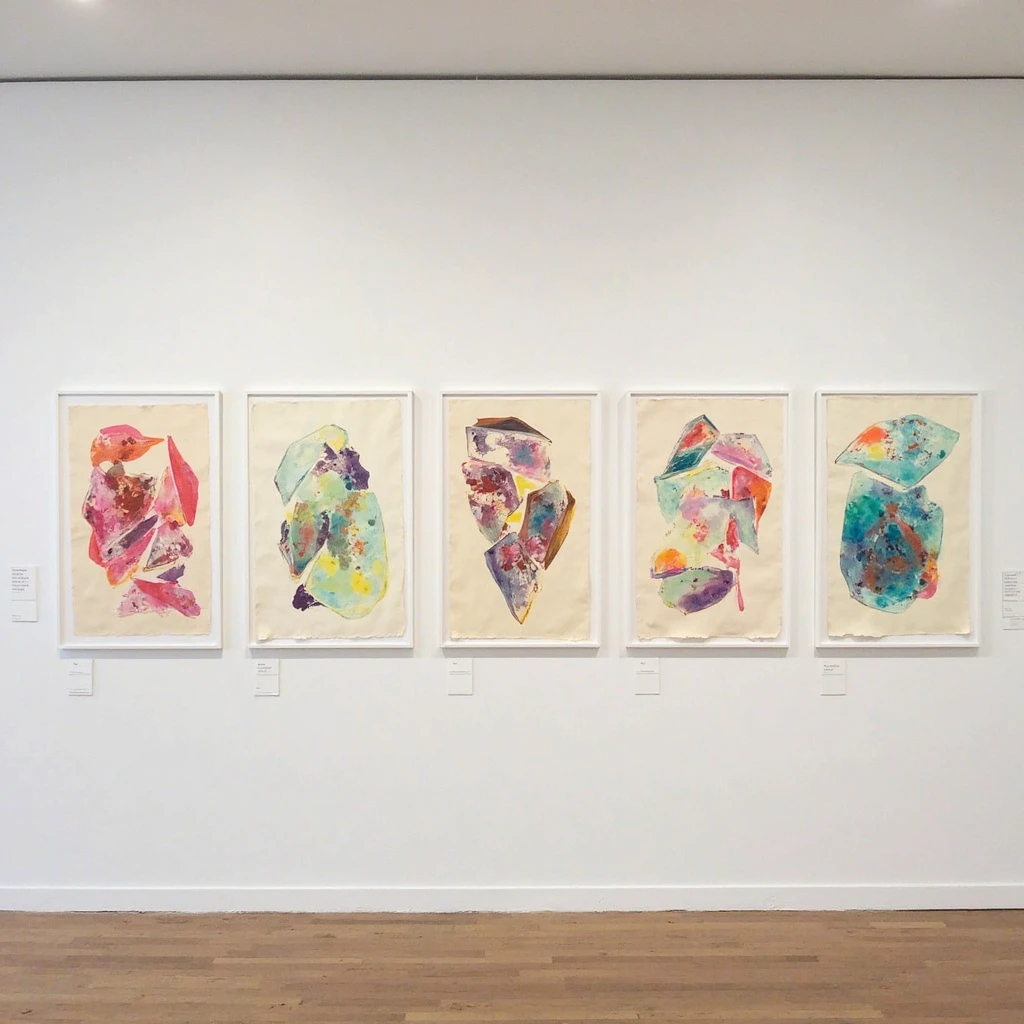
✔ Save glass with paint residue - is a ready-made abstract background.
✔ Take pictures of every step of the way - monotype is unpredictable!
🖼️ Organizing and saving works
1. Fixation:
- Acrylics are spray lacquer.
- Oil-based - 6 months after drying.
2. Passepartout:
- Leave it margins of 5-7 cm - the print breathes.
3. storage:
- Between the panes of glass with a 2 mm spacer.
Monotype - is the magic of randomness and control. Each print is as unique as a snowflake!
Ready for an experiment? In the next master class. "Engraving on cardboard: simple as children, spectacular as professionals"! ✨


