
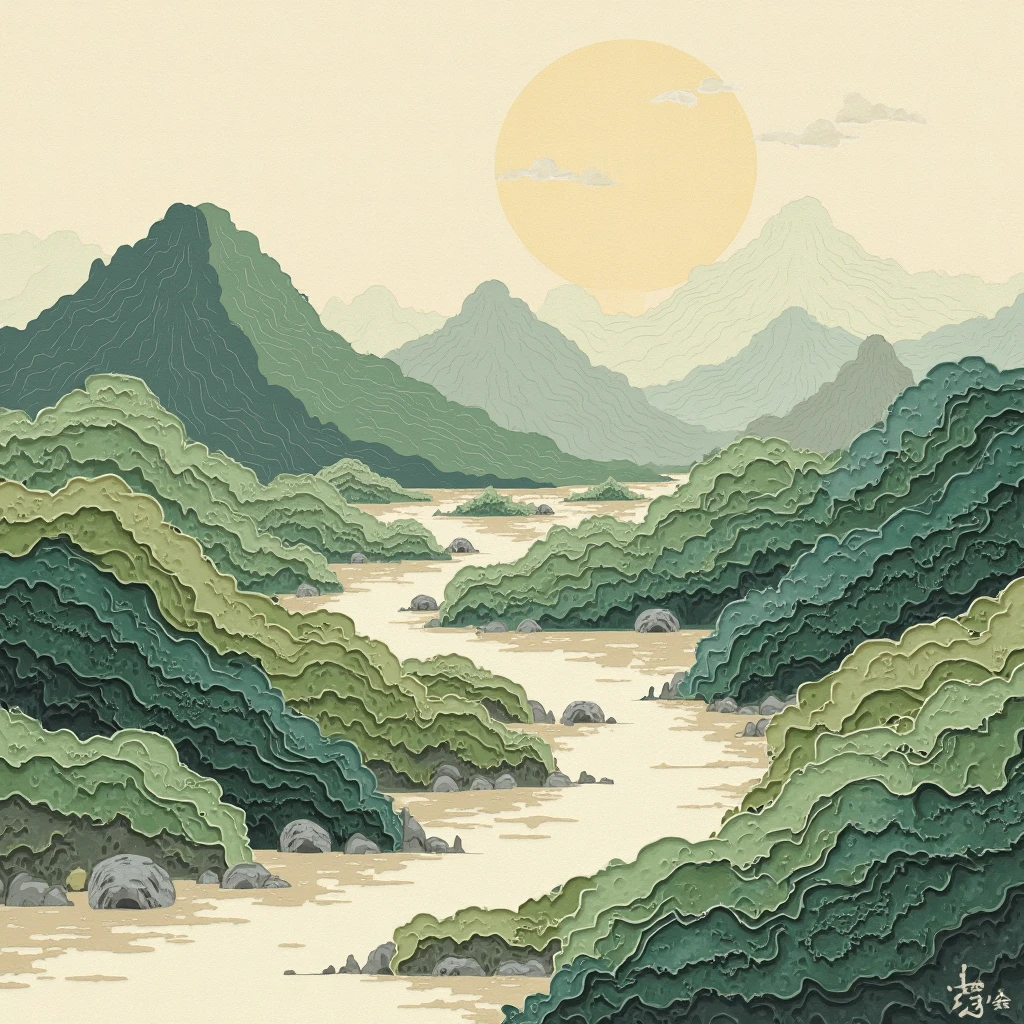
The technique of working with crumpled paper opens up limitless possibilities for creativity, allowing you to turn ordinary sheets into dynamic relief compositions. In this article you will learn how to create complex 3D collages, what materials are better to use and how to apply them in the interior.
📜 History of technology
The method of creating three-dimensional compositions from crumpled paper originates from two traditions:
-
The Japanese art of "chigiri-e." (8th century)
-
Ripped and crumpled rice paper.
-
Minimalist Landscapes.
-
-
European papier-mâché (17th century)
-
Volumetric sculptures made from crumpled layers.
-
Contemporary artists such as Li Hongbo are turning this technique into high art by creating "stretchable" sculptures.
🎨 5 advantages of the technique
- Accessibility - suitable even for children.
- Environmental friendliness - waste paper utilization.
- Tactility - develops fine motor skills.
- Volume without gravity - lightweight suspended structures.
- Uniqueness - it's impossible to replicate the wrinkle pattern.
📦 Materials needed
| Material | For what purpose. | Alternative |
|---|---|---|
| Newsprint | Mint base | Old magazines |
| Kraft paper | Dense elements | Packing cardboard |
| PVA glue | Layer bonding | Flour cluster |
| Acrylic paints | Coloring | Gouache + varnish |
| acrylic primer | reinforcement | Diluted gypsum |
Professional Lifehack: Add 1/5th of the putty to the glue for strength.
✂️ Step-by-step master class
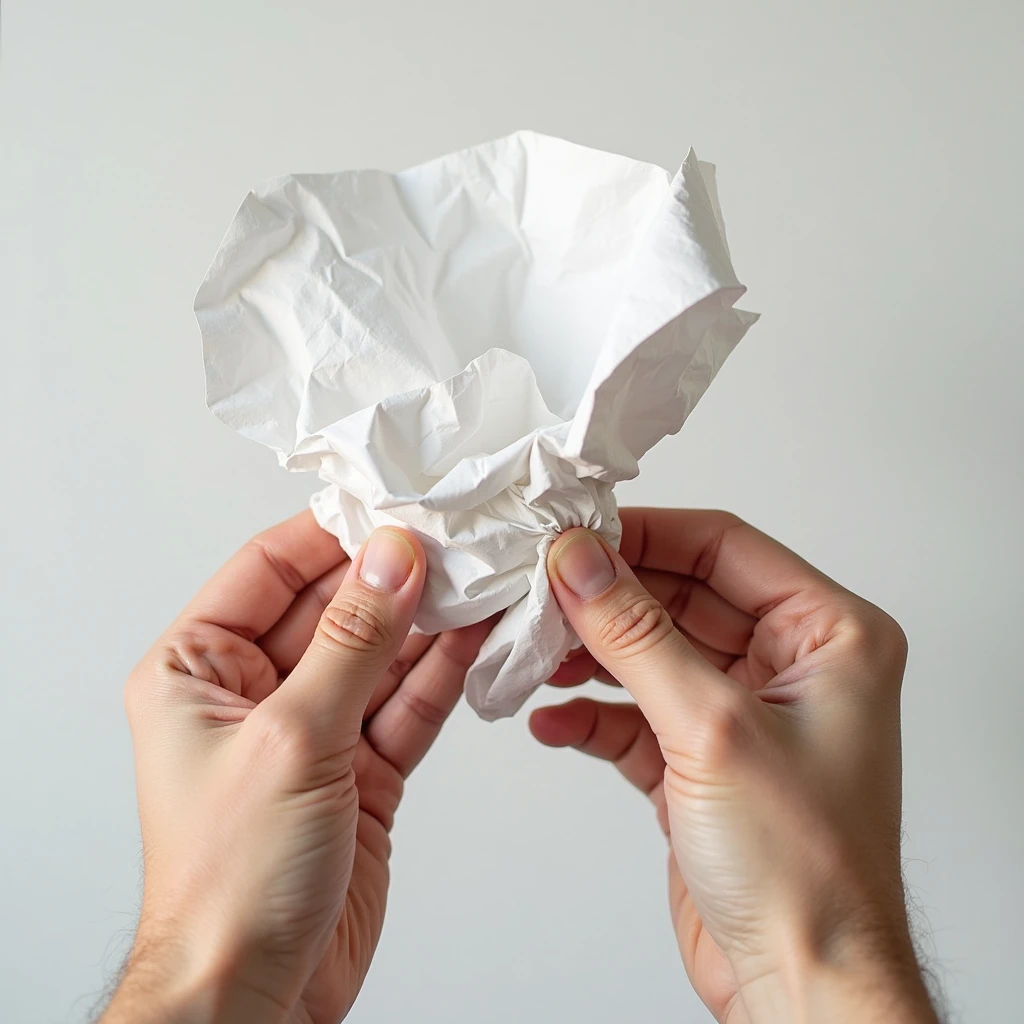
Step 1: Paper preparation
-
Crumpling:
-
Squeeze the sheet into a clump, then partially unfold it.
-
For fine texture, crumple through the fabric.
-
-
Gluing:
-
Soak with diluted PVA (1:3 with water).
-
Dry on foil so it doesn't stick.
-
Step 2: Creating a 3D structure
Freeform method
- Twist "sausages" out of crumpled paper.
- Assemble like a jigsaw puzzle, securing with glue.
Method "Architectural"
- Make a wire frame.
- Cover with crumpled paper, like papier-mâché.
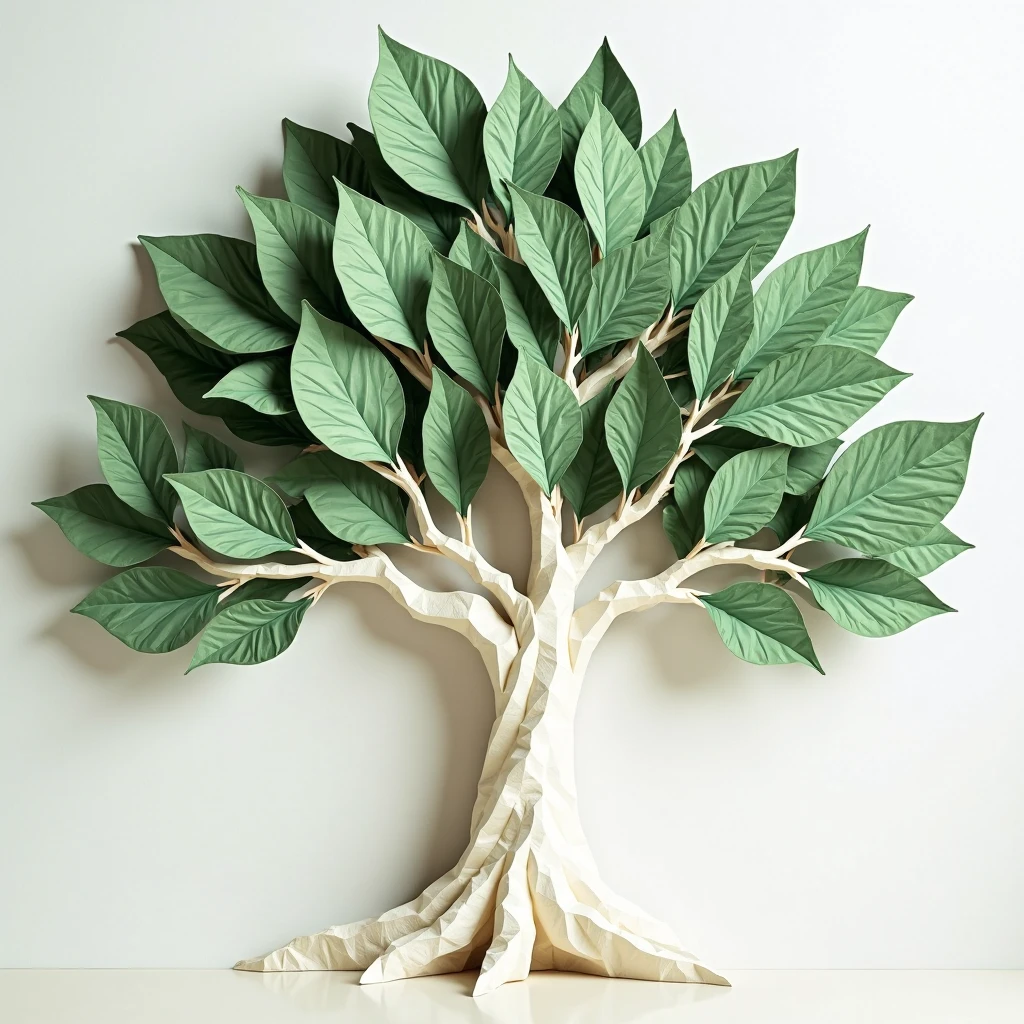
Example: A tree with a voluminous crown:
- The trunk is tightly compressed rolls.
- The leaves are slightly wrinkled cones.
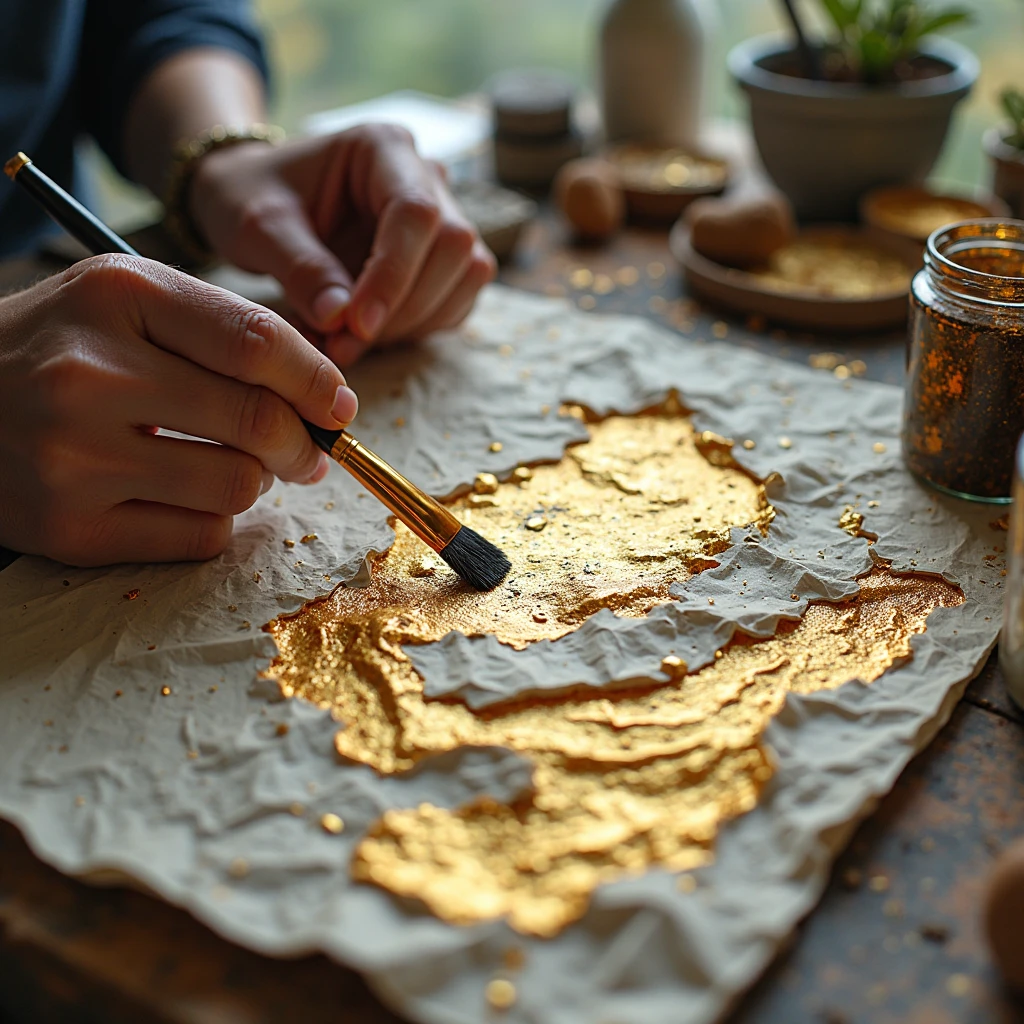
Step 3: Painting and finishing
-
Primer:
-
Apply white acrylic to even out the color.
-
-
Dry Brush:
-
Go gold/bronze over the bulges.
-
-
Aging:
-
Tint the recesses with brown oil paint.
-
🌿 7 ideas for themed collages
-
Geological strata
-
Alternate brown/beige layers.
-
-
Cosmic nebulae
-
Purple and blue range + glitter.
-
-
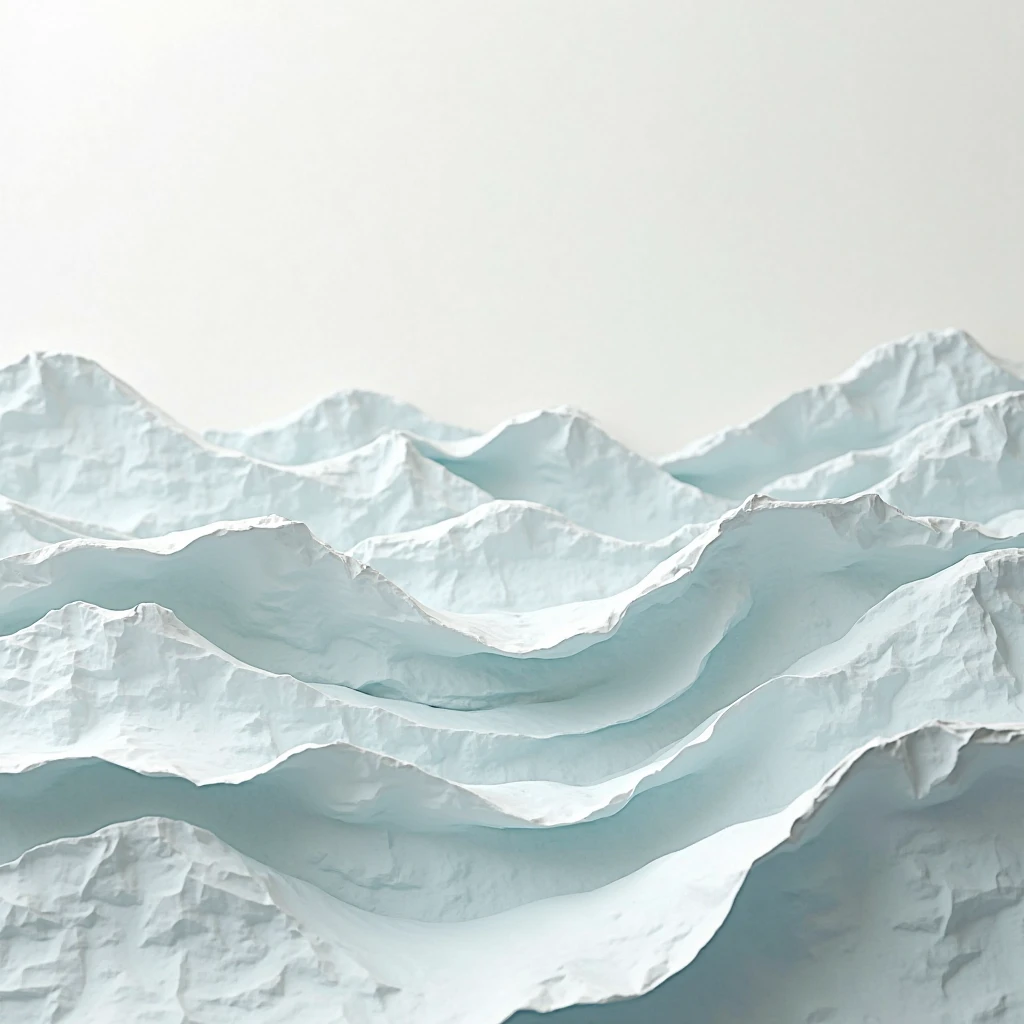
Underwater world
-
Blue waves of corrugated stripes.
-
-
Cityscape
-
Crumpled "buildings" with window slits.
-
-
Abstract portrait
-
Facial features through deliberate deformation.
-
-
Seasonal compositions
-
Autumn leaves made from yellow and orange paper.
-
-
Minimalism
-
Monochromatic white "pleats".
-
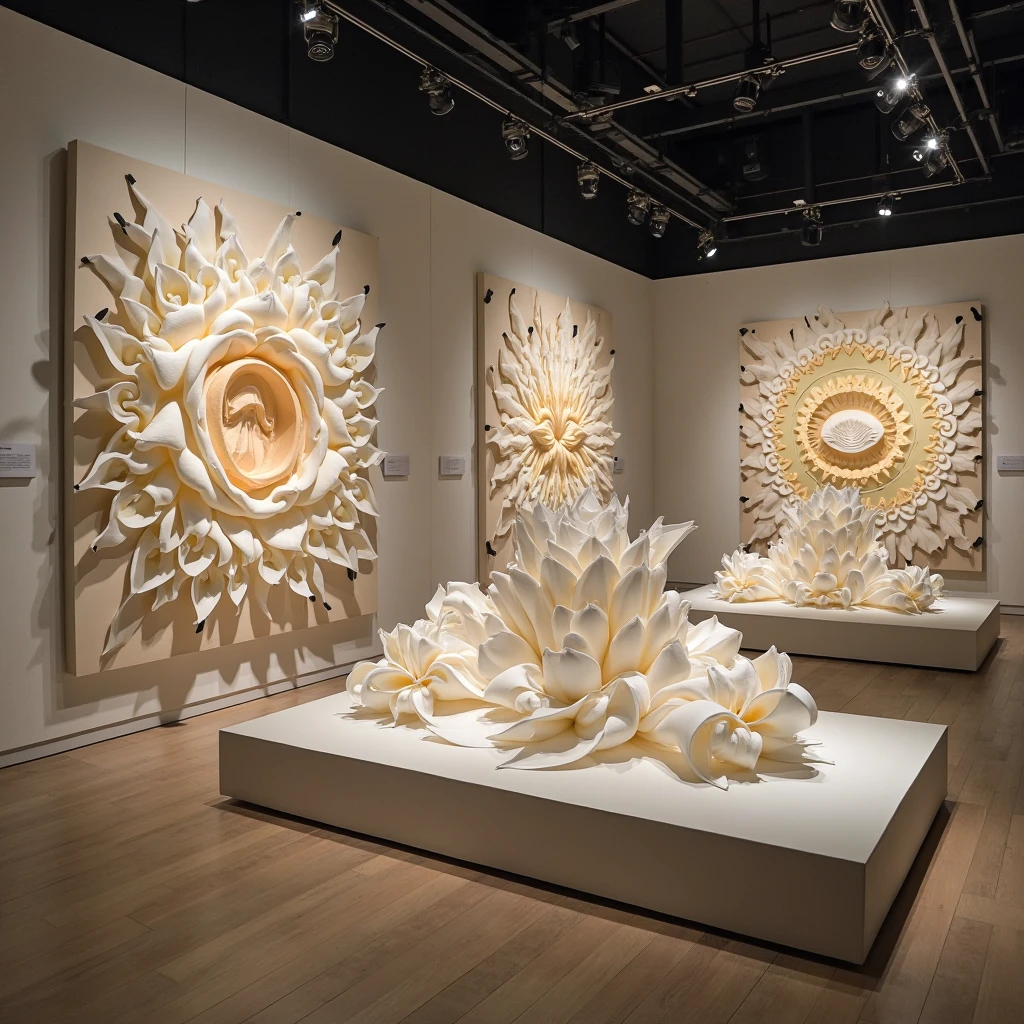
🏠 Interior applications
1. Wall panels
- Fasten to canvas or plywood.
- Tip: Create a modular composition of 3-4 pieces.
2. lampshades
- Cover the crumpled sheets with a balloon, then burst it.
3. Photo frames
- Decorate the edges with crumpled "waves".

⚠️ Problem Solving
Problem: The paper is spreading.
Solution: Use spray glue instead of PVA.
Problem: Molds appear.
Solution: Add 2-3 drops of tea tree oil to the glue.
Problem: Doesn't hold its shape.
Solution: Route the wire inside the twists.
🎭 Art Therapy Aspects
- Stress relief - the process of crumpling paper reduces anxiety.
- Creativity development - there are no "right" shapes.
- Tactile therapy - working with different textures.
🌍 Environmentally friendly alternatives
- Recycled paper: old books, maps.
- Natural colors: turmeric, coffee.
- Kleister: flour + water (for children's work).
💡 Tips from professionals
✔ For large jobs, use packing paper.
✔ To emphasize the shadows - direct the light from the side.
✔ Digitize the collage: take a picture at a 45° angle.
Dimensional collages from crumpled paper - is an art where flaws become virtues. Start with a simple lump and you'll be surprised how it turns into a masterpiece!


