
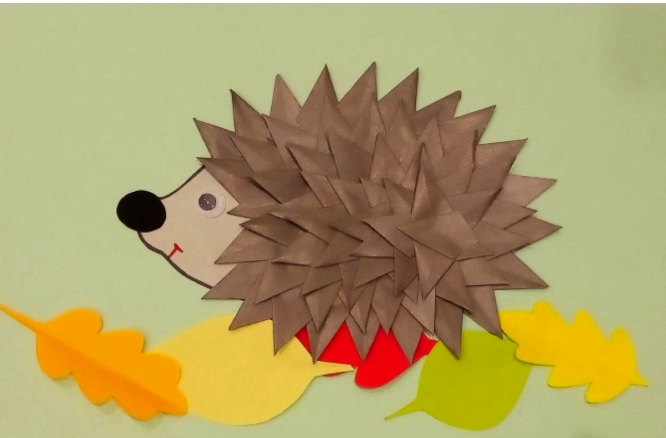
If you're looking for a simple but effective paper craft with character, try assembling a hedgehog from paper in the technique of modular origami. This work combines the ease of execution with an interesting result, and the finished figure is suitable for children's art and for the design of autumn compositions. The main thing is a little patience, accuracy and a few dozen identical triangular modules.
For crafts will not require anything supernatural - only paper, a little glue (if desired) and diligence. The design is assembled from identical blanks folded according to the principle of modular origami.
What you'll need
- A4 paper (preferably heavy, but not cardboard) - about 10-15 sheets
- Scissors or office cutter
- Ruler and pencil
- A little PVA glue (optional for fixing the construction)
- Black eye marker
- A small piece of black paper for the nose
Read also: How to make a strawberry in modular origami technique
Step 1: Preparing the modules
The whole hedgehog will be assembled from identical triangular modules. To create them, A4 sheets are cut into rectangles 1:2. The optimal size is 5×7 cm. One hedgehog will need about 200-250 modules, depending on the desired size. We recommend using paper in brown, gray or ochre colors, so the hedgehog will look natural. 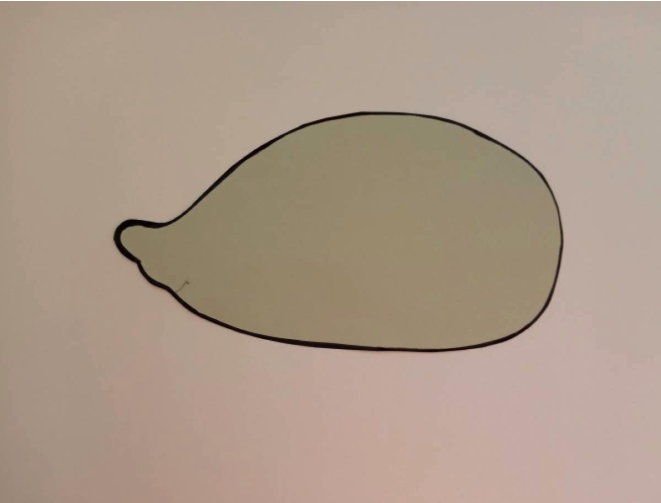
Each rectangle is folded in half lengthwise, then across, then fold the corners to the center to form a triangle. 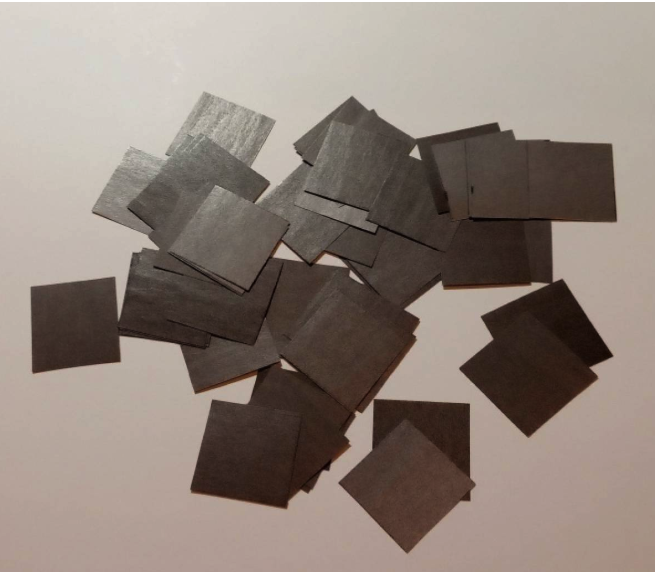 The bottom corners are folded up, and then the whole module is folded in half. You get a dense triangle with two pockets - this is the building block of the whole hedgehog.
Step 2: Base of the torso 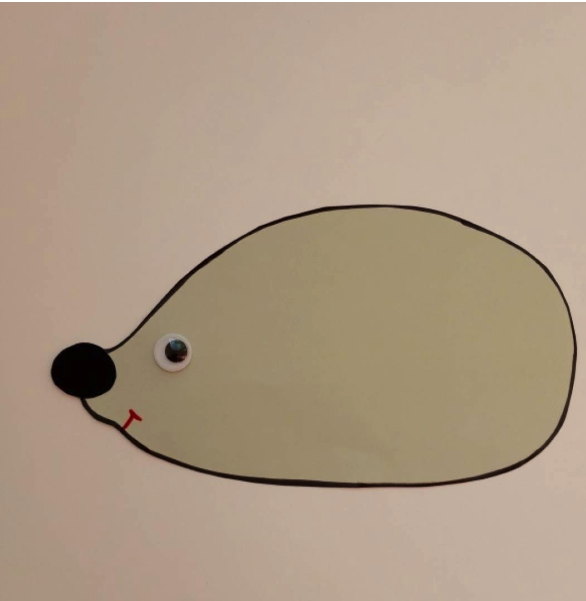
Start assembling from the bottom row. Place 2 modules side by side, insert the third module on top, inserting its "legs" into the pockets of the lower modules. In this way the ring of the first row is formed. Usually starts with 16-18 modules in a circle.
Next rows are assembled in the same way, but with a slight offset to create a rounded shape - this will be the body of the hedgehog. Gradually, from row to row, add modules, forming the volume. After 8-10 rows, the diameter can be reduced to complete the back. 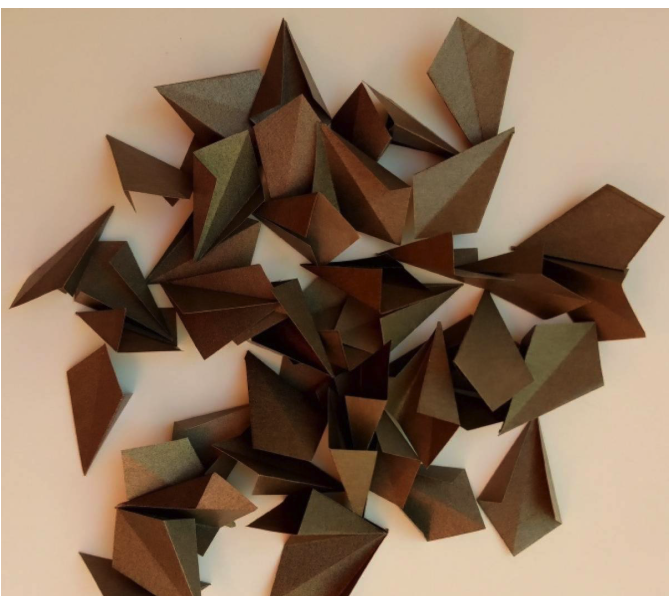
Step 3: Muzzle
To make the front part, the number of modules in a row should be reduced. In this case, the rows are stacked a little tighter, creating a cone-shape. Leave a small hole in the last rows - this will be the place for the nose. 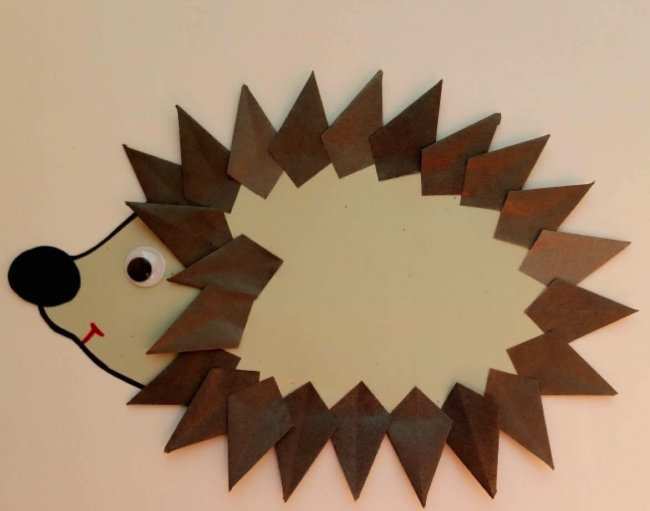
The nose can be made from a twisted piece of black paper or a bead. The eyes are drawn with a marker or glued from white and black paper.
Step 4: Details and decoration 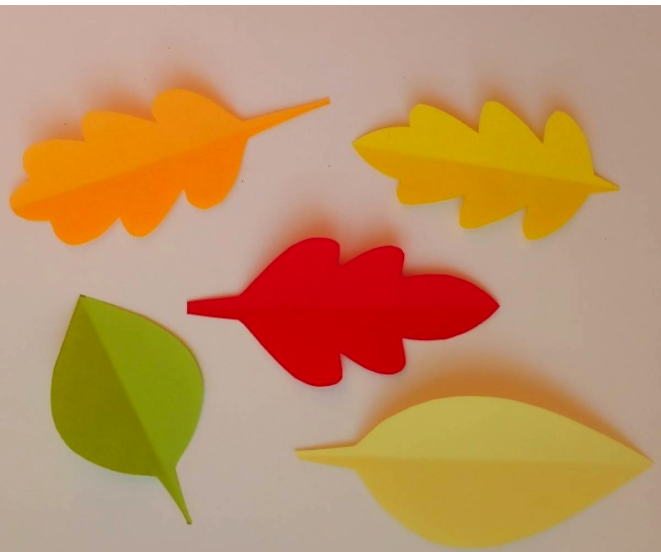
For the paws, you can cut out small oval pieces of paper and glue them on the bottom. Some people add ears from folded modules. If you want a more "autumnal" mood, you can glue some paper leaves, small apples or mushrooms to the back.
The hedgehog stands firmly on a flat surface and can be used as part of a composition or as a separate interior figure. Thanks to the modular technique, it is voluminous and textured.
Tips 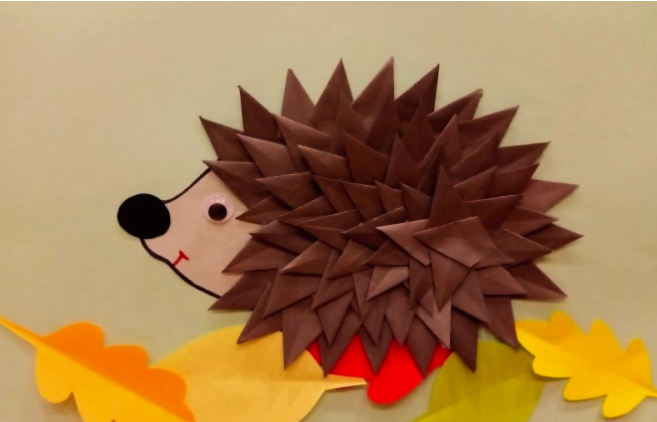
- It is better to stack the modules all at once - this way the assembly goes faster and smoother
- For younger children, it is advisable to prepare the cutting and folding stage of the modules in advance
- You do not need to glue the structure - the modules hold together well. However, the bottom and top rows can be fixed with glue for strength
- If you wish, you can make the hedgehog colored by adding modules of other shades or drawing a pattern on the modules before assembly


