
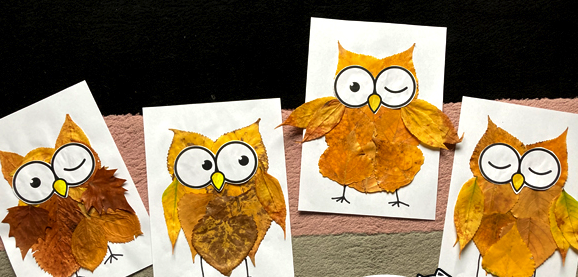
The owl is not only a symbol of wisdom, but also a grateful form for creativity. It is easy to stylize, revive, make cartoon or vice versa - realistic. Crafts in the form of a paper owl can be a great decoration for the room, bookmark, decor for the holiday of autumn or school exhibition. And most importantly - it can be made with your own hands from improvised materials. Here are the step-by-step instructions.
What you need to prepare
Nothing complicated - you can find everything at home or buy it in a couple minutes:
- heavy colored paper (preferably brown, beige, yellow, white, orange);
- scissors;
- glue stick or PVA;
- pencil;
- a black felt-tip pen or a pen;
- If desired, a compass or an object to trace the circle.
Step 1: body foundation
Take a piece of brown paper. Cut out a rectangle of about 10 by 15 centimeters. Roll it into a cylinder and glue the edges together. This makes the base of the owl - the body. If the paper is soft, you can insert a twisted piece of cardboard inside for stability. 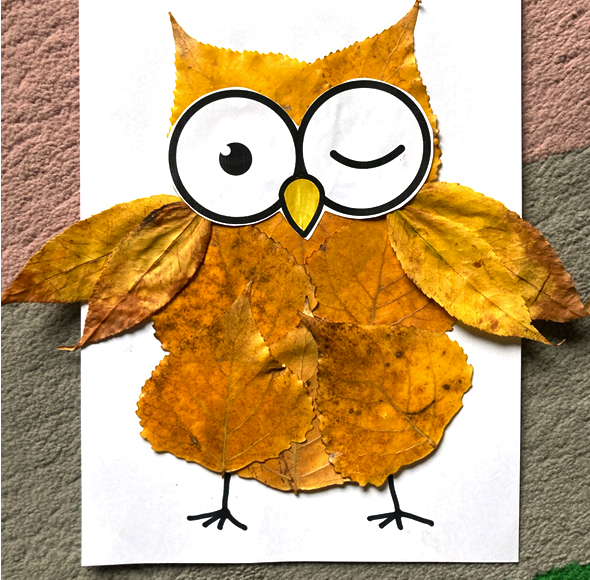
Press the top of the cylinder in a little on both sides - you get two "ears". Bend the tips outwards. This is a simple but expressive detail that gives the craft a character.
Step 2: eyes and beak 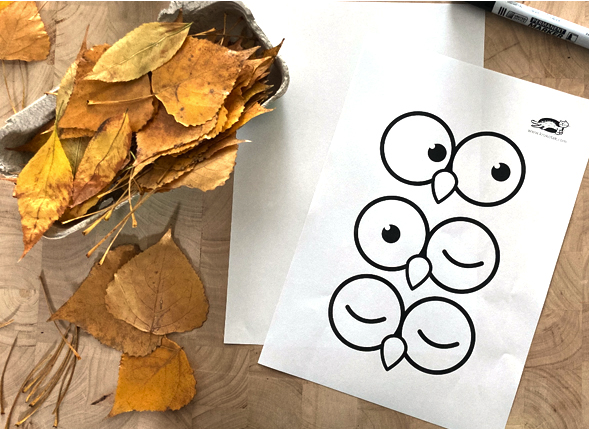
It is hard to imagine an owl without expressive eyes. Cut out two circles from white paper - about 3 centimeters in diameter. You can trace the lid of a plastic bottle. Then - two slightly smaller circles of yellow or orange paper. In the center - two black circles (pupils). Glue them on top of each other: white, then yellow, then black. This makes an eye.
Glue the eyes on the top of the body next to each other. Below that is the beak. This is a small triangle of orange paper pointing downwards.
Read also: How to draw an owl with a pencil
Step 3: wings 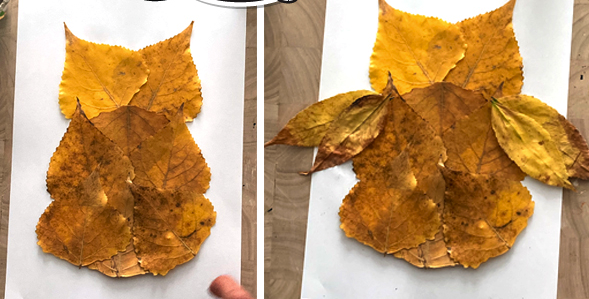
Cut two 8-9 centimeters long ovals out of brown paper (the same color as the base). Make one edge slightly pointed. These will be the wings. Glue them to the side of the cylinder, you can glue them at a slight incline - as if the owl has spread its feathers.
If you want to make the craft more expressive - wings can be cut out of paper with a pattern or add on them feathers of paper of a different color.
Step 4: Breast and legs
Glue an oval of beige paper, slightly smaller than the diameter of the body, onto the owl's belly. You can draw wavy lines on it, imitating feathers, or just stripes. It is better to do it before gluing - it is neater.
Paws - two short strips of paper, of which we make three "fingers" at each end. Glue at the bottom, slightly peeking out from under the body. 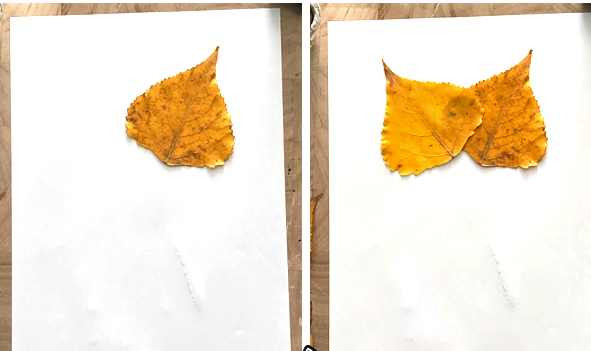
Step 5: tail and decorations
At the back you can glue a tail - a small triangle or a fan made of paper. If desired, add eyebrows, eyelashes, glasses, a bow or a cap to create a cartoon character.
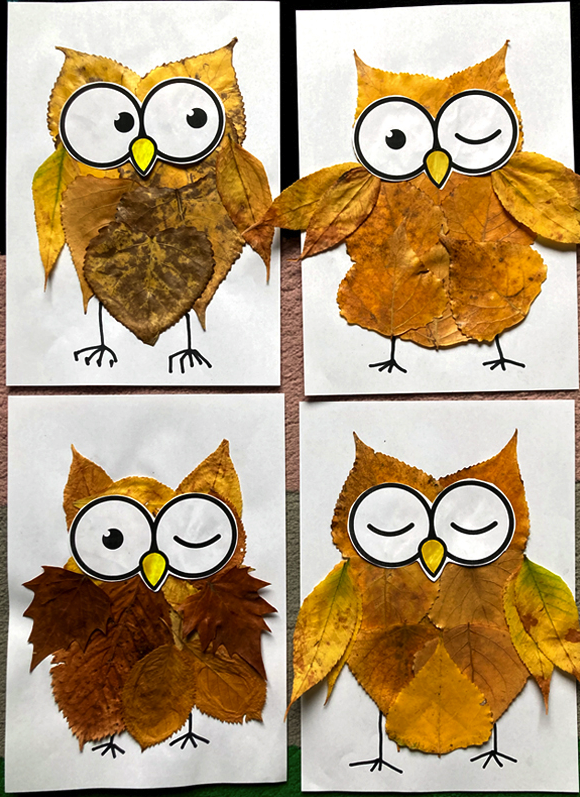
Such an owl easily turns into a hero of the story, especially if you make several copies and place them on a shelf, stand or postcard. The same template can be colored in different ways and you will have a whole owl family.
Conclusion
A paper owl is not only a craft, but also a creative experiment. It can be made in one evening, either with a child or by working by yourself. It does not require precision in millimeters, but allows you to show imagination, pick colors and play with details. The handicraft can become a bookmark, an element of the photo zone, a table decoration or a participant of the school exhibition. The main thing is not to be afraid to try.


very useful