
Spring is not just a change of seasons, it is a real transformation of the world around us. Nature comes to life, fills with colors, the air becomes warmer, and the mood becomes brighter. At such moments we especially want to express our joy and creative spirit. One of the most accessible ways is to create a spring application with your own hands. Crafts with daffodils - a great reason to plunge into the atmosphere of spring awakening and create a bright composition that can decorate any interior or become a heartfelt gift.
Applique with daffodils is not just a task made of colored paper. It is an opportunity for a child or an adult to show imagination, practice accuracy, develop the eye and spatial thinking. It is especially important that such a craft does not require expensive materials - just a little paper, a drop of patience and a good mood.
Read also: Corrugated paper daffodils
Materials needed:
- Colored paper (white, yellow, green)
- Cardboard for the base
- Scissors
- Glue (PVA or glue stick)
- Pencil
- Ruler
Step 1: Preparing the base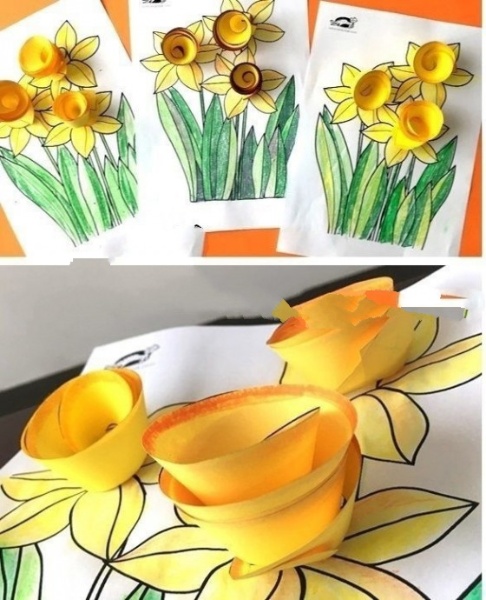
Take a sheet of A4 cardboard - this will be the background of your applique. You can use blue or light green color to emphasize the spring mood. If desired, add a light background - sky, grass or clouds.
Step 2: Creating petals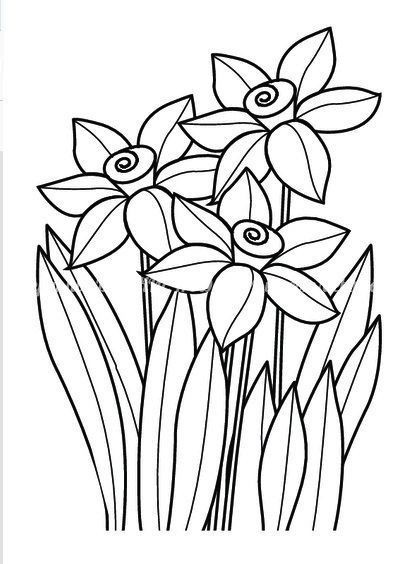
Cut out oval-shaped petals with pointed ends from white paper. You need six petals for one flower. To make them identical, make one template and trace around it several times. It is desirable to bend the petals slightly in the center, so they will look more voluminous. 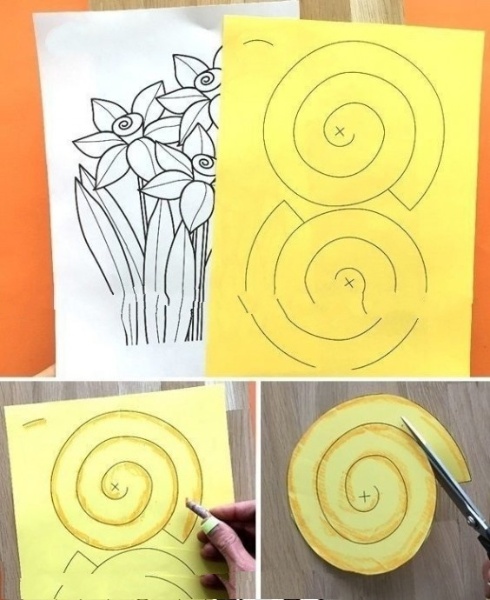
Step 3: Making the center
Cut a 5×1 cm strip of yellow paper. One edge can be cut into a fringe. Twist it into a tube and fix it with glue. Such a middle will create the necessary volume and give the flower a recognizable appearance. 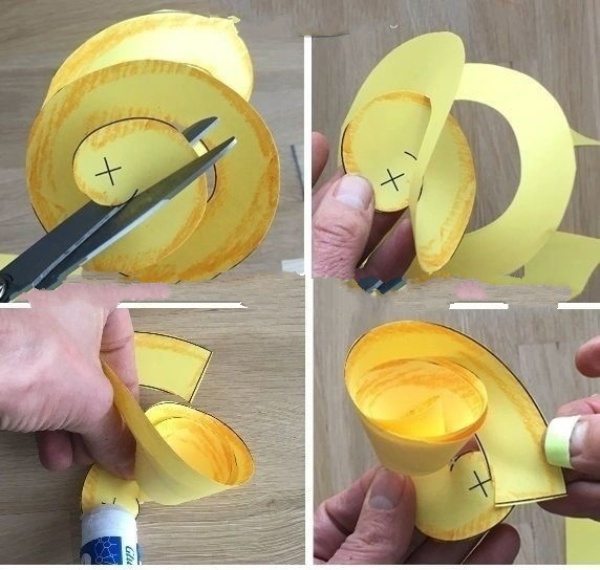
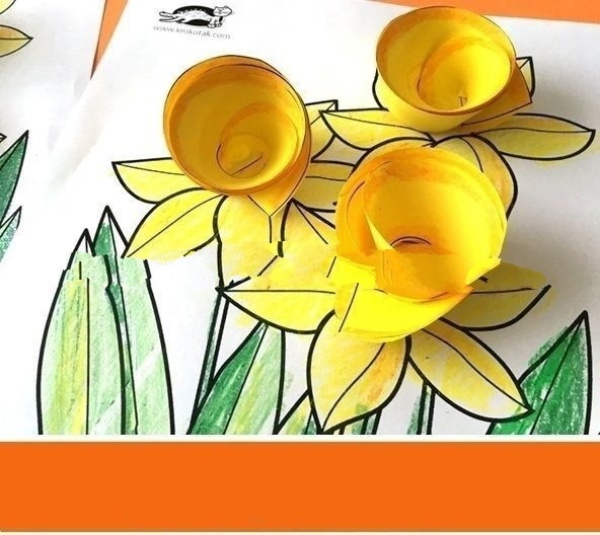
Step 4: Assembling the flower
Glue the petals in a circle, carefully forming a daffodil. Glue a twisted yellow tube in the center of each flower. Make sure that all the elements are firmly fixed.
Step 5: Leaves and stems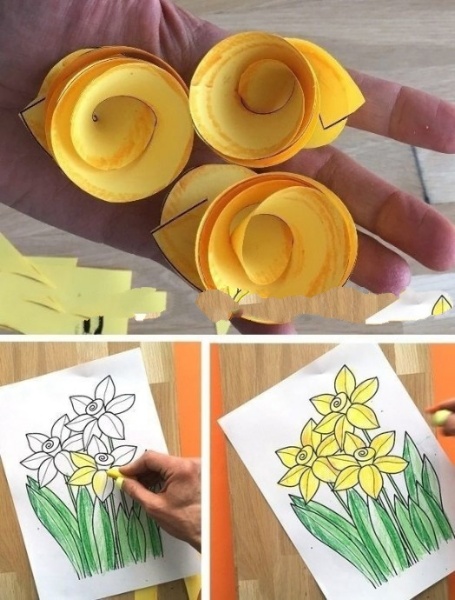
Cut out long stems and narrow leaves from green paper. Give the leaves a slightly wavy shape. Glue the stem, the flower on top of the stem, then the leaves at the base.
Step 6: Decorating the background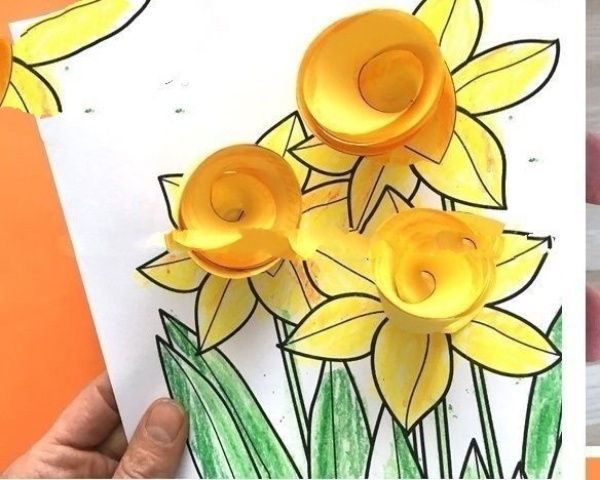
Add to the background:
- sun and clouds (from colored paper),
- butterflies, birds, or even a "Happy Spring" sign,
- grass - torn green paper at the base of the work.
The decor adds brightness and makes the applique a complete composition.
Design options and creative ideas:
- Make an entire bed of daffodils by placing the flowers in a staggered pattern.
- Frame the craft in a cardboard frame or hang it as a wall panel.
- Use glitter or gel pens to emphasize the edges of the petals.
- Make a congratulatory inscription and you have your card ready.
- Try felt or cotton disks instead of paper for a unique result.
- Place the finished work in a frame under glass - you will get a full-fledged interior decoration.
Application Ideas:
- A postcard for March 8th
- Decorating a school or home corner
- A craft for the spring art contest
- A gift for a grandmother, caregiver or teacher
- A fun joint activity with weekend children
Conclusion
Spring Daffodils" applique is not only a beautiful craft, but also a real art therapy. It unites a generation, helps to develop useful skills and simply brings joy. It is important not so much to cut out the petals perfectly, but to put a part of yourself into the work. And the result is always bright, spring and soulful.


