
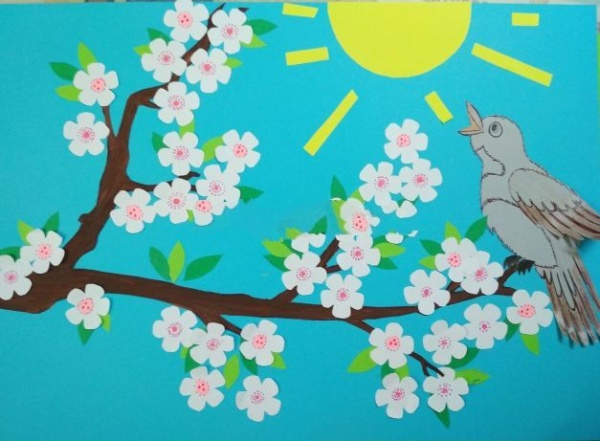
Spring is a time of renewal and inspiration. After a cold winter, everything around you comes alive: the trees are covered with their first flowers, the sky is brighter, and the voices of returning birds can be heard in the air. One of the symbols of spring is a bird sitting on a blossoming branch. This is the image we will realize today with the help of colorful application from colored paper.
This master class is perfect for schoolchildren and preschoolers, as well as a great activity for family creativity. In the process, children will develop their motor skills, spatial thinking and sense of composition, as well as learn more about spring phenomena in nature.
Materials needed
- Colored paper: blue (background), brown (branch), pink and yellow (flowers), green (leaves), and any colors for the birdie
- A4 cardboard
- Glue stick or PVA
- Scissors
- Pencil
- Ruler
- Black felt-tip pen or marker
Step 1: Preparing the background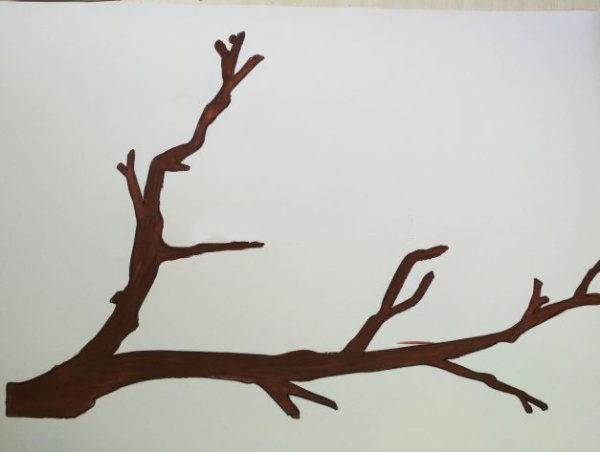
Take a sheet of blue cardboard - it will represent the sky. If desired, you can paint the background lightly with watercolor or add clouds, sun, light wind with light strokes. An option for younger children is to cut the sun out of yellow paper and glue it in the corner.
Step 2: The branch
Cut a long wavy strip of brown paper 2 cm wide - this is the base of the branch. To make it more natural, you can cut out branches. Glue the branch on the background - diagonally or horizontally. This creates the basis of the whole composition. 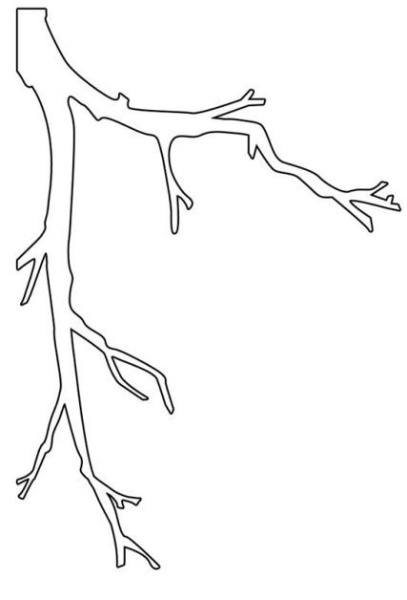
Step 3: Flowering buds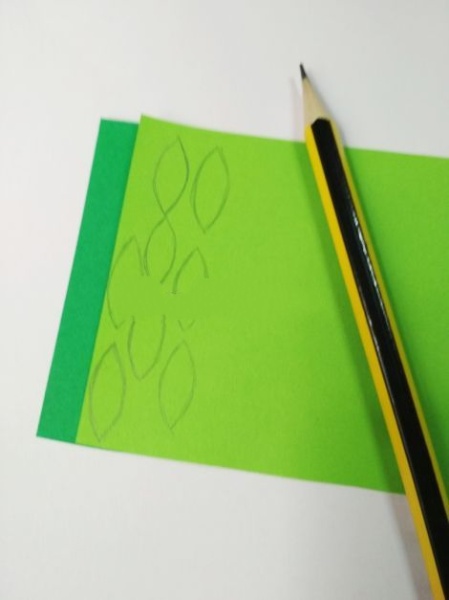
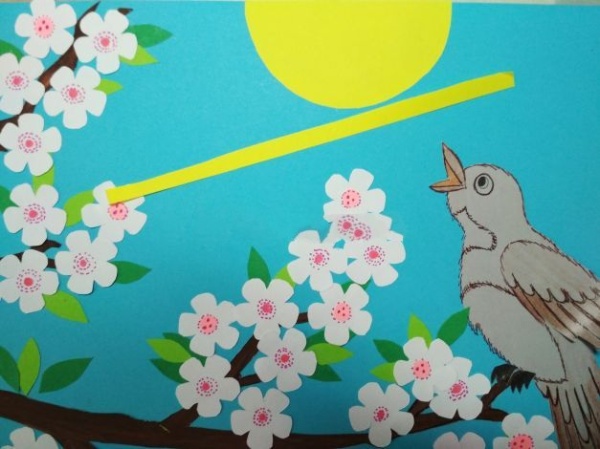
Cut out flowers from pink paper - you can use a template: five petals gathered in a circle. The number is 6-10 pieces. In the center of each flower glue a yellow circle - the middle. Ready flowers are placed on the branch in a chaotic order, as in nature. For volume - glue only the center of the flower, and lift the petals a little. 
Step 4: Leaves
The leaves are cut out of green paper: oval, elongated, with a pointed end. They can be folded a little along the center to create a vein. Leaves are glued on the branch, mixed with flowers. This gives the applique a spring brightness. 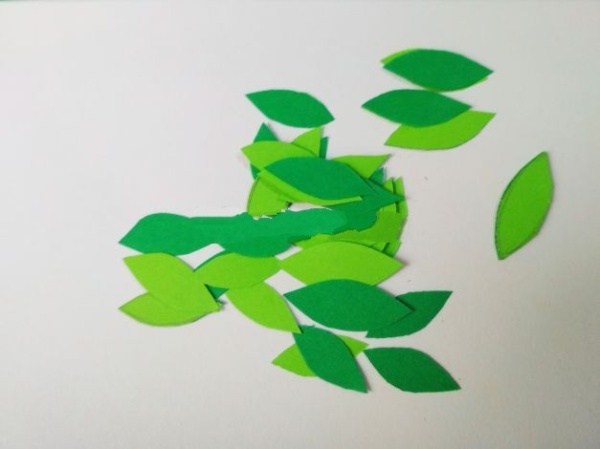
Step 5: Bird
Draw or cut out a bird template. The shape of the body can be oval, with a pointed tail. The wings and tail are separate parts. You can use paper of different colors: for example, blue back, yellow belly. Glue the bird on the branch, add an eye with a felt-tip pen, add a beak and legs. The wing can be left slightly raised for volume. 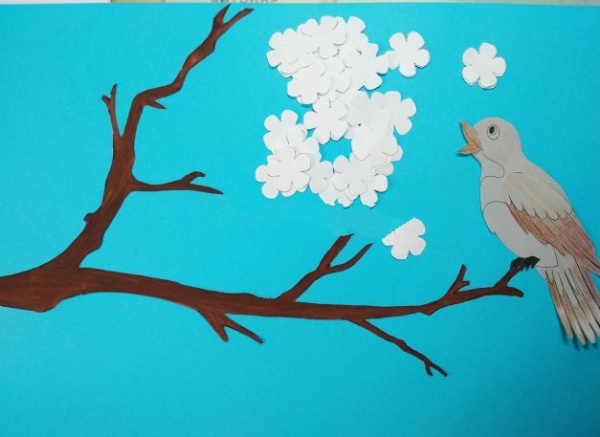
Step 6: Detailing and decorating
At this stage children can show their imagination: add clouds, bees, butterflies, raindrops, musical notes next to the bird (if it sings). This makes the work truly authorial. The use of glitter, corrugated paper, ribbons is also welcome. 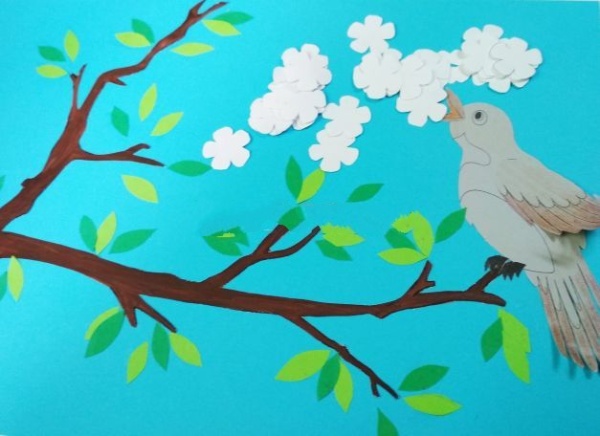
Application:
- Spring gift for mom, grandma, teacher
- Competition work in kindergarten or school
- Spring corner or window decoration
- A postcard for Bird Day or Spring Day.
- Joint weekend family art activities
Tips:
- Use templates for younger children to make cutting out easier
- Let the children choose the colors - it develops taste and initiative
- Don't be afraid to add new elements: buds, dewdrops, feathers
- You can make 2-3 birds on a branch to make a family or a flock
Conclusion
Creating an applique "Bird on a blossoming branch" is not only a useful and educational activity, but also a way to really feel spring. Each child can put a part of himself into the work and decorate it in his own way. And the main thing is that the result is pleasing to the eye and creates a spring mood.


Didn't think it was this easy.